Ga door naar hoofdinhoud

Wat je nodig hebt

Deze demontage is geen reparatiehandleiding. Om je Pac-Man Connect and Play te repareren, gebruik onze reparatiehandleidingen.

  1. Deze stap is niet vertaald. Help het te vertalen

    : stap 1, afbeelding 1 van 2 : stap 1, afbeelding 2 van 2
    • I start by flipping over the device.

  2. Deze stap is niet vertaald. Help het te vertalen

    : stap 2, afbeelding 1 van 3 : stap 2, afbeelding 2 van 3 : stap 2, afbeelding 3 van 3
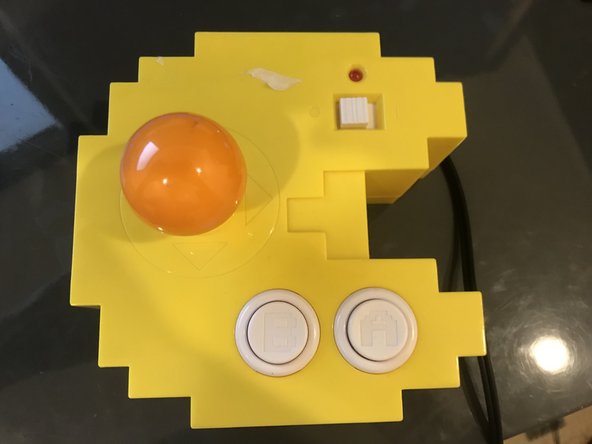
    • I remove 5 Phillips head screws for the case

    • And one more to remove the batteries

  3. Deze stap is niet vertaald. Help het te vertalen

    : stap 3, afbeelding 1 van 2 : stap 3, afbeelding 2 van 2
    • Inside, all I see are glorious Phillips Head screws!

    • Finally! Something repairable!
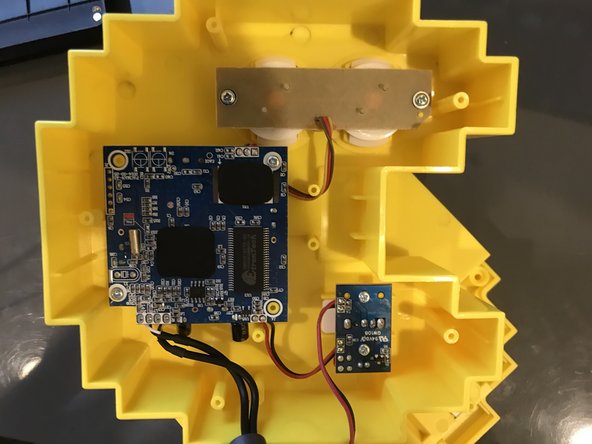
    • Battery Compartment

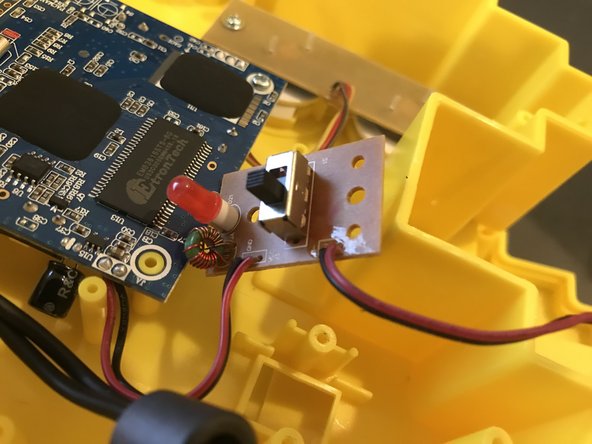
    • Power Switch and LED board

    • Mainboard/Joystick board

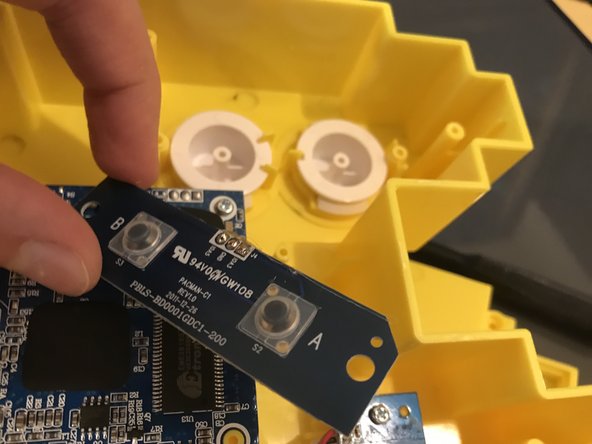
    • A and B button board

  4. Deze stap is niet vertaald. Help het te vertalen

    : stap 4, afbeelding 1 van 2 : stap 4, afbeelding 2 van 2
    • I start with the buttons.

  5. Deze stap is niet vertaald. Help het te vertalen

    : stap 5, afbeelding 1 van 1
    • They were very, very easy to get to and remove.

  6. Deze stap is niet vertaald. Help het te vertalen

    : stap 6, afbeelding 1 van 3 : stap 6, afbeelding 2 van 3 : stap 6, afbeelding 3 van 3
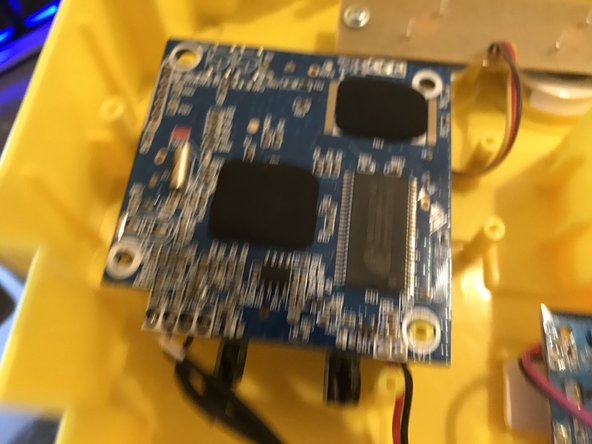
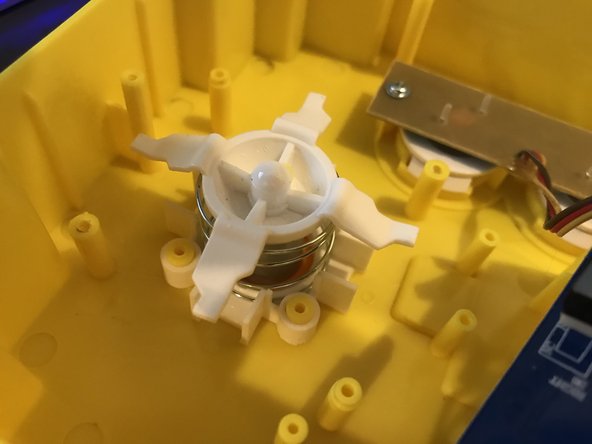
    • Now, for the mainboard.

    • 2 screws get me underneath.

    • But, what's this?

  7. Deze stap is niet vertaald. Help het te vertalen

    : stap 7, afbeelding 1 van 3 : stap 7, afbeelding 2 van 3 : stap 7, afbeelding 3 van 3
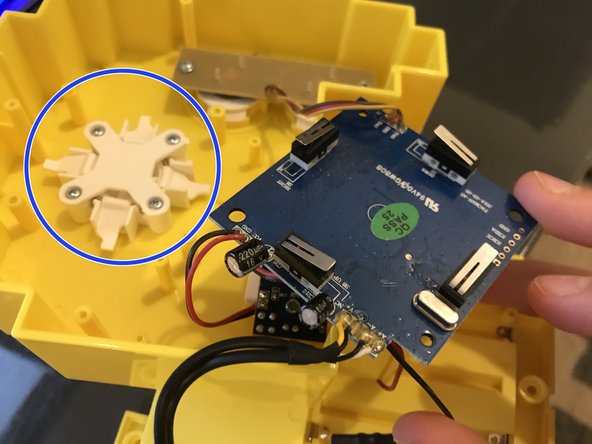
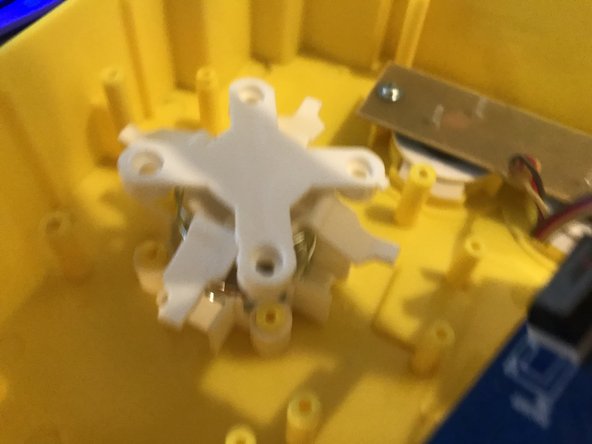
    • Another 4 screws, and POP! it is holding a spring down, for the joystick.

    • There did not appear to be an easy way to get the joystick out, however.

  8. Deze stap is niet vertaald. Help het te vertalen

    : stap 8, afbeelding 1 van 2 : stap 8, afbeelding 2 van 2
    • Finally, I see a power regulator?

  9. Deze stap is niet vertaald. Help het te vertalen

    : stap 9, afbeelding 1 van 2 : stap 9, afbeelding 2 van 2
    • Nope! It's just the power switch and LED.

  10. Deze stap is niet vertaald. Help het te vertalen

    : stap 10, afbeelding 1 van 1
    • Back Main PCB IC Identification:

    • You may need to enlarge it to view the text.

  11. Deze stap is niet vertaald. Help het te vertalen

    : stap 11, afbeelding 1 van 2 : stap 11, afbeelding 2 van 2
    • In conclusion, I LOVE how it's all the J1 Phillips Head screw, throughout the entire device.

    • It's easy to get under every board.

    • There are, unfortunately, no plugs, and so everything is soldered on. This removes the possibility of replacing any electrical internals.

9021007

Lid sinds: 07/13/18

4.599 Reputatie

25 handleidingen geschreven

2 opmerkingen

It should not be too hard to replace stuff as long as you know how to solder. However many chips cannot be replaced as they are either epoxied on or need to be programmed before it would work in the device.

CChin - Antwoord

Can you help me?

I need repair this game and need the number of part of the integrated circuit number U15 this can find at side of the red an black wire in the principal board. In my board is absolutely Imposible read it is destroyed. Only can read the first number (4) and the last (2L)

PLEASE HELP ME!!

jonatan quintero - Antwoord

Voeg opmerking toe

Weergavestatistieken:

Afgelopen 24 uren: 3

Afgelopen 7 dagen: 12

Afgelopen 30 dagen: 35

Altijd: 1,757