Ga door naar hoofdinhoud

Oster BLSTSS-PZO Power Cord Replacement

Wat je nodig hebt

  1. Oster BLSTSS-PZO  Power Cord Replacement, Circuitboard: stap 1, afbeelding 1 van 1
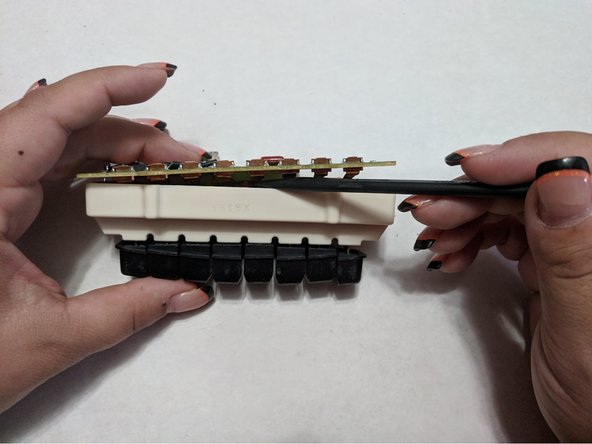
    • Use the prying tools to open the four plastic screw holes on the bottom of the blender.

  2. Oster BLSTSS-PZO  Power Cord Replacement: stap 2, afbeelding 1 van 1
    • Use the Phillips #1 Screwdriver to unscrew the four 16 mm screws and remove the plastic bottom.

  3. Oster BLSTSS-PZO  Power Cord Replacement: stap 3, afbeelding 1 van 1
    • Gently remove the circuit board.

  4. Oster BLSTSS-PZO  Power Cord Replacement: stap 4, afbeelding 1 van 2 Oster BLSTSS-PZO  Power Cord Replacement: stap 4, afbeelding 2 van 2
    • Use the spudger to detach the black wire from the circuit board.

    • Repeat for yellow wire.

  5. Oster BLSTSS-PZO  Power Cord Replacement: stap 5, afbeelding 1 van 3 Oster BLSTSS-PZO  Power Cord Replacement: stap 5, afbeelding 2 van 3 Oster BLSTSS-PZO  Power Cord Replacement: stap 5, afbeelding 3 van 3
    • Use the Phillips #1 to remove the four 8mm screws.

    • Use the medal spudger to detach the circuit board from the buttons.

    • Gently pull and release circuit board from buttons.

  6. Oster BLSTSS-PZO  Power Cord Replacement, Power Cord: stap 6, afbeelding 1 van 3 Oster BLSTSS-PZO  Power Cord Replacement, Power Cord: stap 6, afbeelding 2 van 3 Oster BLSTSS-PZO  Power Cord Replacement, Power Cord: stap 6, afbeelding 3 van 3
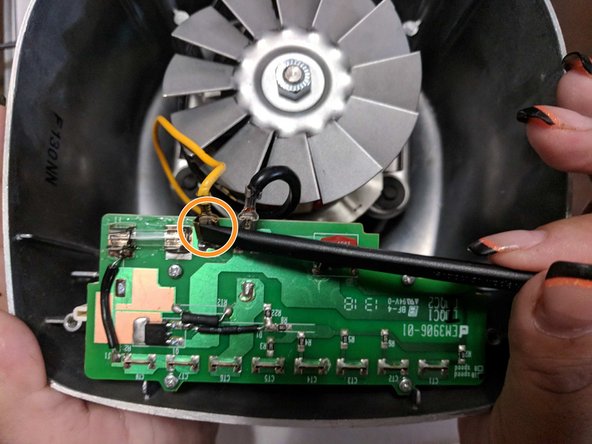
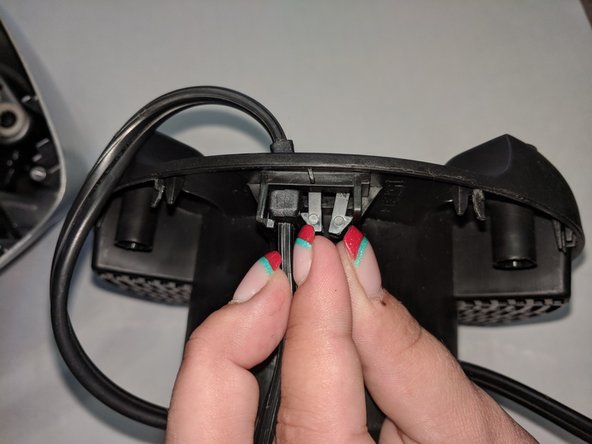
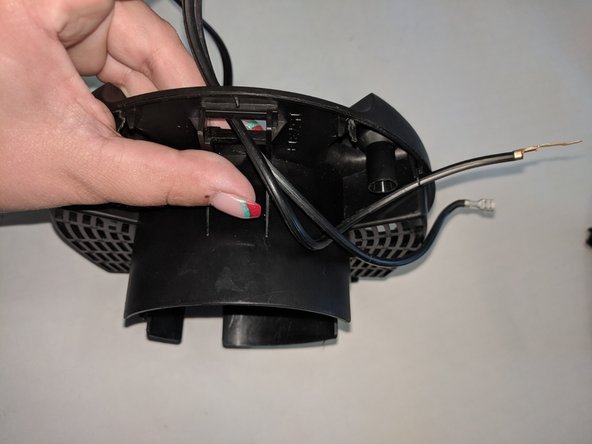
    • Locate petal prong on the end of the power cord.

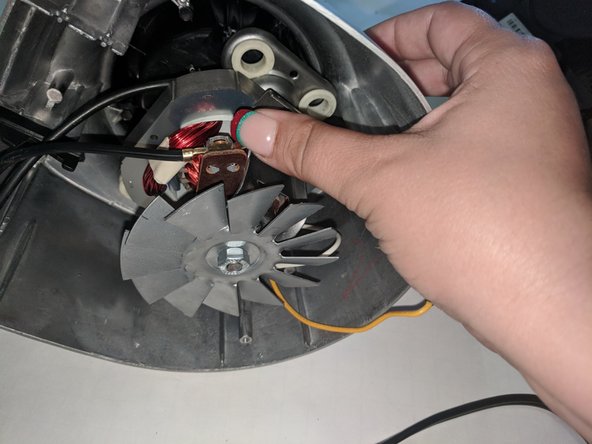
    • Bend metal prong until it's straight with your finger.

  7. Oster BLSTSS-PZO  Power Cord Replacement: stap 7, afbeelding 1 van 2 Oster BLSTSS-PZO  Power Cord Replacement: stap 7, afbeelding 2 van 2
    • Spring will pop out when you pull out metal prong

    • Pull prong out of the hole.

  8. Oster BLSTSS-PZO  Power Cord Replacement: stap 8, afbeelding 1 van 3 Oster BLSTSS-PZO  Power Cord Replacement: stap 8, afbeelding 2 van 3 Oster BLSTSS-PZO  Power Cord Replacement: stap 8, afbeelding 3 van 3
    • Pinch plastic prongs on base of blender to remove plastic securing device.

    • Remove plastic securing device.

    • Pull power cord out of blender base.

Conclusie

To reassemble your device, follow these instructions in reverse order.

Loren Hyer

Lid sinds: 09/20/17

101 Reputatie

1 Handleiding geschreven

0 opmerkingen

Voeg opmerking toe

Weergavestatistieken:

Afgelopen 24 uren: 0

Afgelopen 7 dagen: 1

Afgelopen 30 dagen: 1

Altijd: 190