Inleiding
This guide will assist you in removing the back casing of the clock to access the on/off switch and put it back in place.
Wat je nodig hebt
-
-
Hold clock so that the clock face is facing away from you.
-
Using your thumbs, push up on the battery cover.
-
Once battery cover is removed, pull down on AC Adapter Jack.
-
-
-
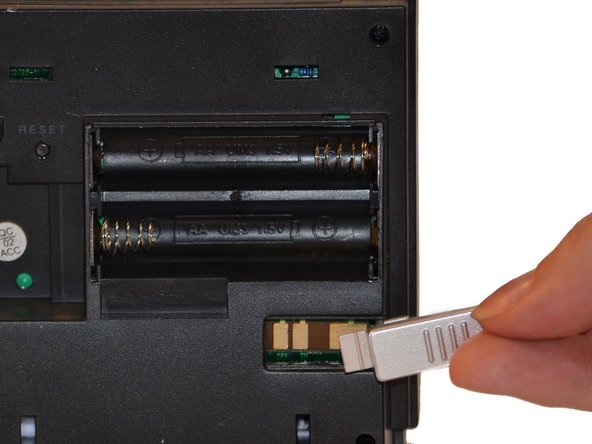
Use one hand to stabilize the clock.
-
Using your other hand, push batteries toward spring and pull out at an angle.
-
-
-
-
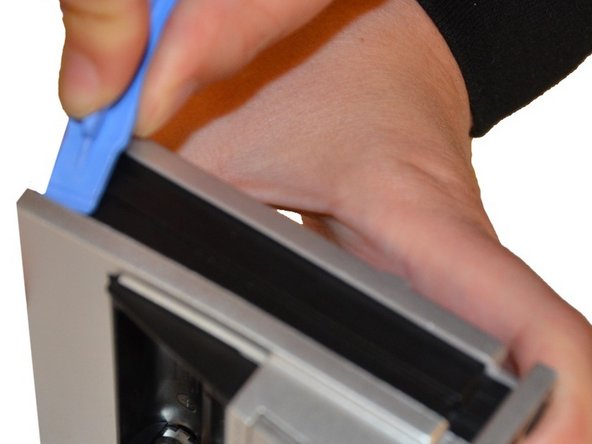
Use a Plastic Opening Tool to pry off the silver casing on the back.
-
Pry at the top of device.
-
Once the back is open at the top, pry at the side of the device closest to the battery compartment.
-
On/Off switch should come off with casing.
-
-
-
Insert switch into slot as shown in picture. Push in until you hear a "click."
-
Replace the back of the clock by pressing cover back into place.
-


To reassemble your device, follow these instructions in reverse order.
To reassemble your device, follow these instructions in reverse order.
Annuleren: ik heb deze handleiding niet afgemaakt.
3 andere personen hebben deze handleiding voltooid.
Team

Eastern Washington University, Team 1-6, Carnegie Fall 2015 Lid van Eastern Washington University, Team 1-6, Carnegie Fall 2015
EWU-CARNEGIE-F15S1G6
1 Lid
4 handleidingen geschreven