Deze versie kan foutieve bewerkingen bevatten. Schakel over naar de recentste gecontroleerde momentopname.
Wat je nodig hebt
-
Deze stap is niet vertaald. Help het te vertalen
-
Pull the tab towards you and lift up to remove the battery cover.
-
Remove the two AA batteries.
-
-
Deze stap is niet vertaald. Help het te vertalen
-
Unscrew the four 8mm Phillips #2 screws.
-
Unscrew the six 25mm Phillips #2 screws.
-
Reinstall the backup battery cover so it is out of the way.
-
-
Deze stap is niet vertaald. Help het te vertalen
-
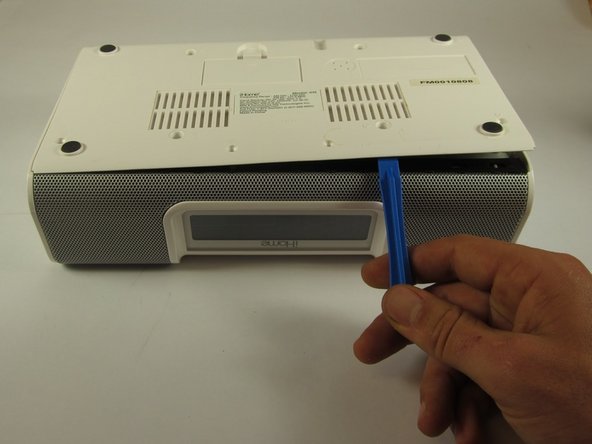
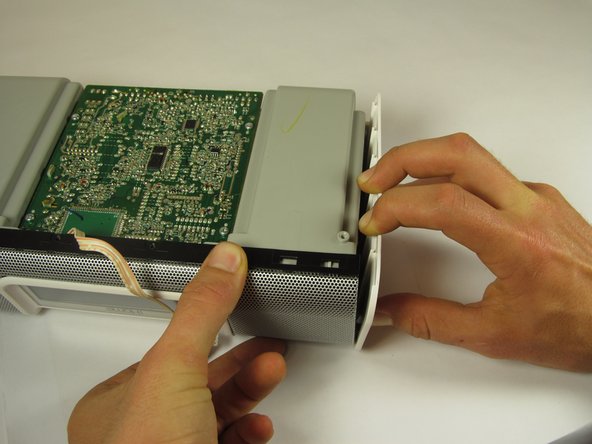
Pry the backplate up with a plastic opening tool between the back plate and the speaker grill.
-
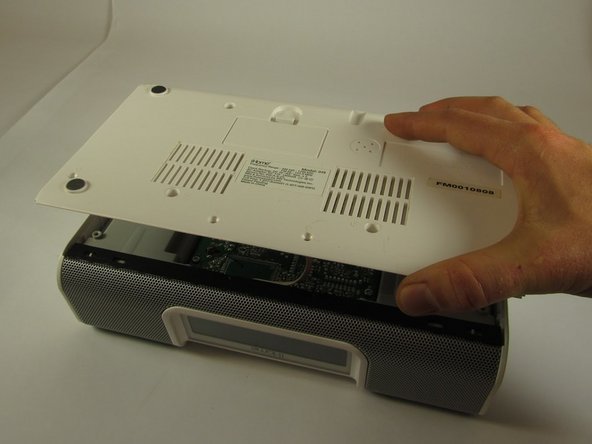
Lift the bottom plate up while making sure the connector remains attached.
-
-
Deze stap is niet vertaald. Help het te vertalen
-
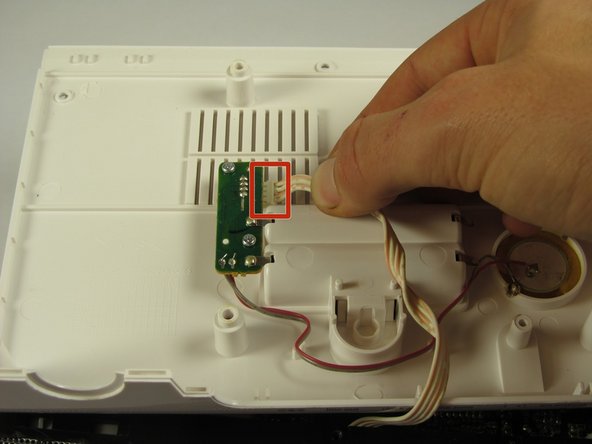
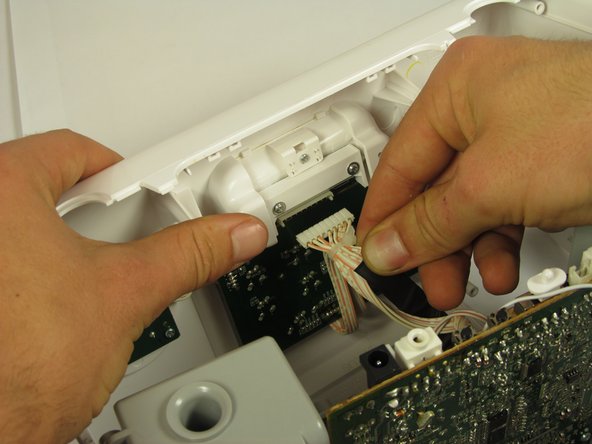
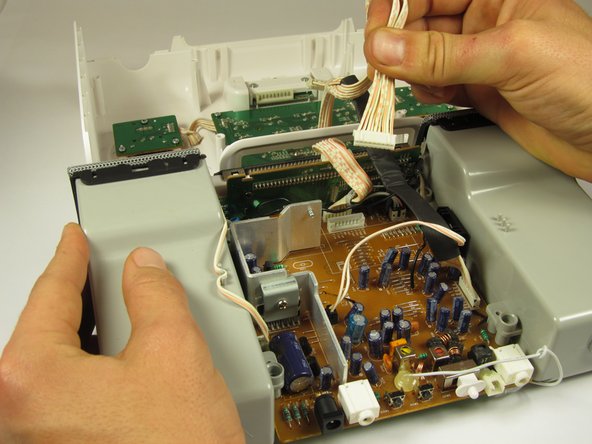
Use your hands to flip the backing plate away from you and rest it upside down on the iH9.
-
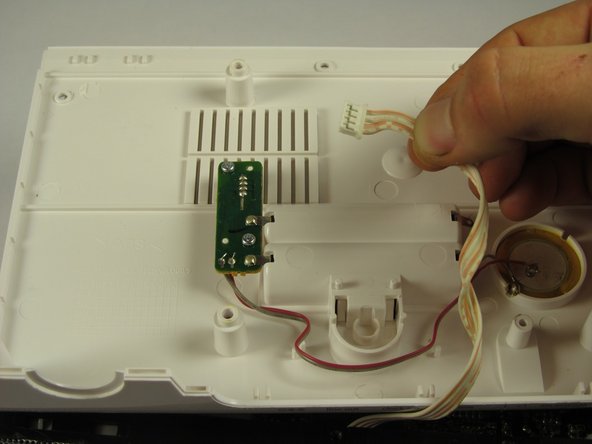
Unplug the white and orange 4-pin connector by pulling it in the direction of the wires.
-
Set the backing plate aside.
-
-
-
Deze stap is niet vertaald. Help het te vertalen
-
Place the device so that the speaker grill is face down.
-
Remove the two 10mm Phillips #2 screws on interior sides of the speaker housings.
-
-
Deze stap is niet vertaald. Help het te vertalen
-
Place the iH9 upside down.
-
Using both hands, pull the housing siding away from the device while simultaneously lifting the motherboard and speaker assembly straight up.
-
Repeat for the other side.
-
-
Deze stap is niet vertaald. Help het te vertalen
-
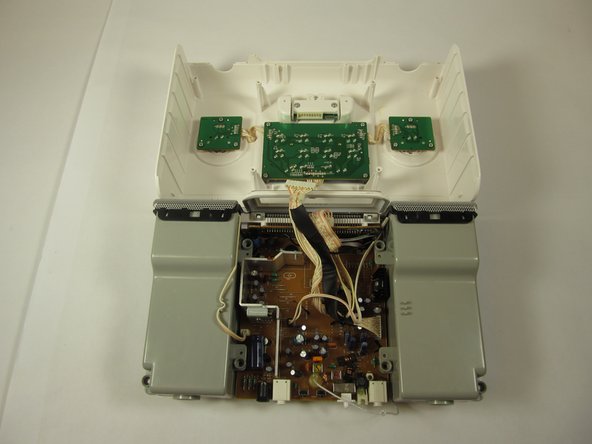
Stand the iH9 on its grill.
-
Separate the motherboard and speaker assembly by rocking it back and forth and pulling the assembly towards you.
-
Remove the small back panel.
-
-
Deze stap is niet vertaald. Help het te vertalen
-
Firmly pull the wide 9-pin connector with black covering on the underside of the upper housing to unplug it.
-
Lay the housing and core assembly flat and close to each one another.
-
-
Deze stap is niet vertaald. Help het te vertalen
-
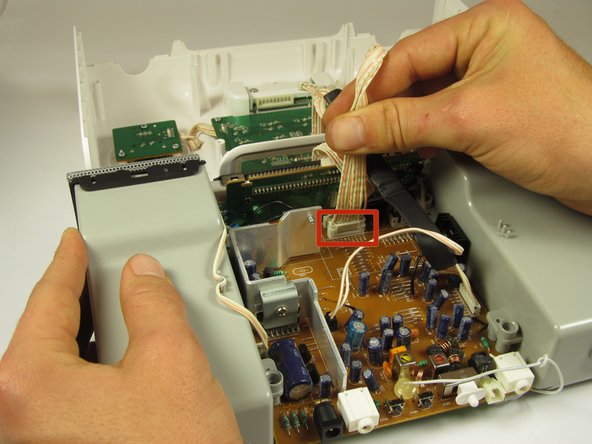
Unplug the narrow 9-pin connector from the motherboard.
-
-
Deze stap is niet vertaald. Help het te vertalen
-
Cut the zip tie holding the wires together with a wire cutter. The two sides of the device housing are now fully separated.
-


Team

Cal Poly, Team 8-39, Amido Winter 2015 Lid van Cal Poly, Team 8-39, Amido Winter 2015
CPSU-AMIDO-W15S8G39
4 Leden
8 handleidingen geschreven