Wat je nodig hebt
-
-
Remove the SIM tray.
-
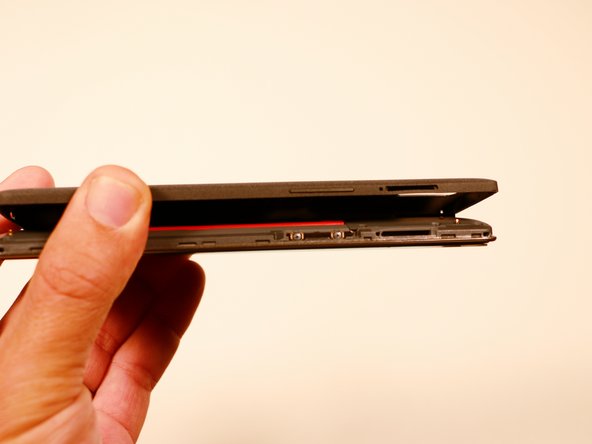
Using a plastic opening tool, carefully separate the back panel from the main body assembly of the phone. Be extra careful around the SIM slot or other weak areas.
-
You may encounter some resistance due to hidden locking clips around the inside edge of the phone. Not to worry; just move in one consistent direction around the phone as opposed to jumping from spot to spot!
-
Top to bottom, left to right, clockwise or counter clockwise, once we make it about half way around the device, the panel is easily removable by hand.
-
-
-
-
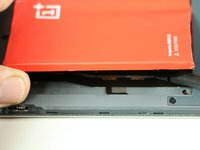
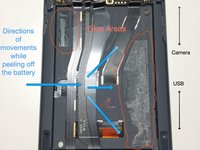
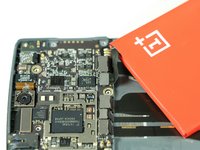
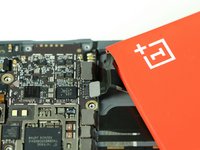
After we have removed the motherboard cover, we notice that the battery is intact and has a black ribbon attached to it, which is mounted on the logic board.
-
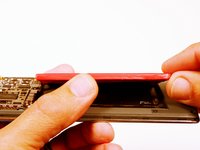
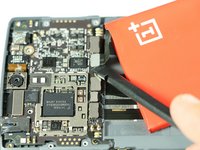
Using the spudger, carefully begin to lift the the battery up from the side opposite the ribbon. Be aware that there is high-grade adhesive holding the battery in its bay, so proceed with caution.
-
-
-
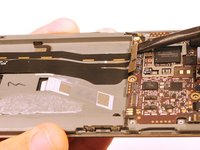
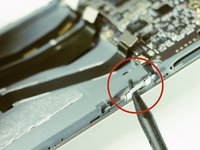
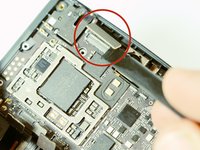
After the battery has been removed, use the spudger to disconnect the remaining ribbons.
-
Notice that there are two side ribbons, one on each side (volume up/down and power), and a top ribbon as well as those from the battery compartment.
-
-
-
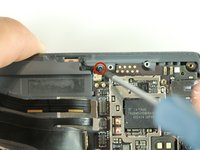
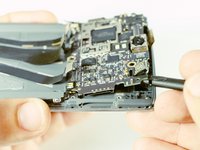
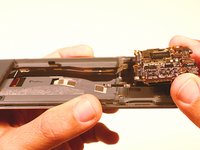
After removal of the ribbons, there is one final screw. Once you have removed this, the motherboard easily pries out with spudger.
-
This is the only screw that differs in size. This screw is a philips 00, 3.00 mm. in length.
-
-
Gereedschap gebruikt in deze stap:Tweezers$3.99
-
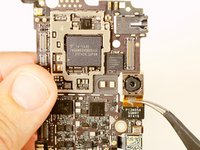
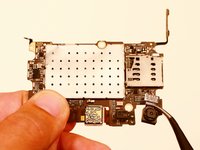
Once the motherboard has been removed simply pry off the rear facing camera with a spudger or angled tweezers.
-
-
Gereedschap gebruikt in deze stap:Tweezers$3.99
-
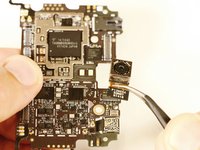
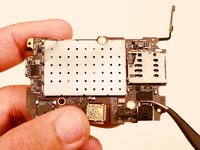
Once the motherboard has been removed simply pry the front facing camera off of its connector with a spudger or angled tweezers.
-
To reassemble your device, follow these instructions in reverse order.
Annuleren: ik heb deze handleiding niet afgemaakt.
4 andere personen hebben deze handleiding voltooid.

