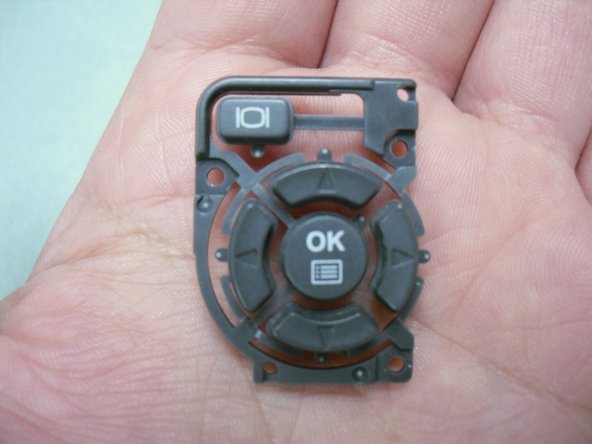
Ga door naar hoofdinhoud

Olympus Camedia D560 Rear Panel Control Buttons Replacement

Wat je nodig hebt

  1. Olympus Camedia D560 Rear Panel Control Buttons Replacement, Rear Panel Control Buttons: stap 1, afbeelding 1 van 2 Olympus Camedia D560 Rear Panel Control Buttons Replacement, Rear Panel Control Buttons: stap 1, afbeelding 2 van 2
    • Before disassembling your camera, be sure it is powered off.

    • Remove two screws from the video port located at the side panel of the camera.

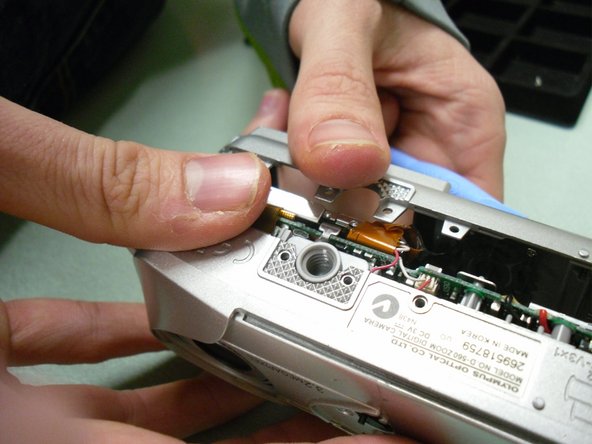
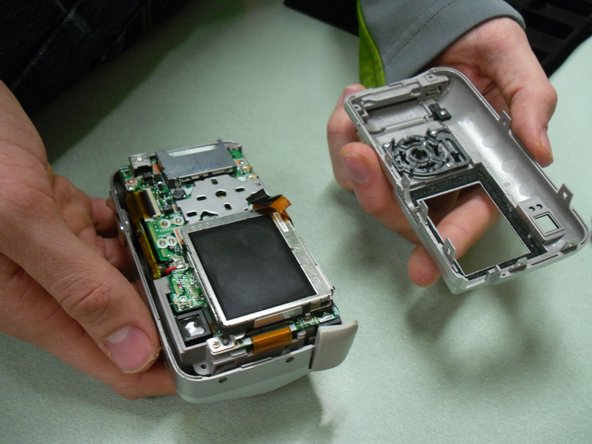
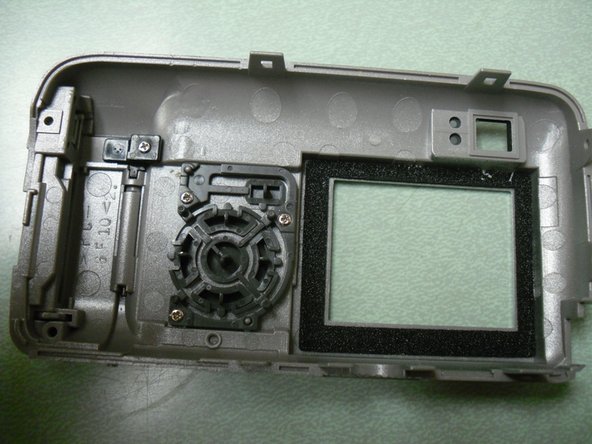
    • Remove three screws from the bottom panel of the camera.

  2. Olympus Camedia D560 Rear Panel Control Buttons Replacement: stap 2, afbeelding 1 van 2 Olympus Camedia D560 Rear Panel Control Buttons Replacement: stap 2, afbeelding 2 van 2
    • Open the USB port cover, and remove three screws from inside.

    • Next, open the memory slot cover and remove the screw.

  3. Olympus Camedia D560 Rear Panel Control Buttons Replacement: stap 3, afbeelding 1 van 3 Olympus Camedia D560 Rear Panel Control Buttons Replacement: stap 3, afbeelding 2 van 3 Olympus Camedia D560 Rear Panel Control Buttons Replacement: stap 3, afbeelding 3 van 3
    • Use the blue opening tool to loosen and separate the back cover from the camera.

  4. Olympus Camedia D560 Rear Panel Control Buttons Replacement: stap 4, afbeelding 1 van 3 Olympus Camedia D560 Rear Panel Control Buttons Replacement: stap 4, afbeelding 2 van 3 Olympus Camedia D560 Rear Panel Control Buttons Replacement: stap 4, afbeelding 3 van 3
    • Locate and unscrew the three screws inside the back cover body (picture 3) .

    • Remove button pad assembly from the back cover.

  5. Olympus Camedia D560 Rear Panel Control Buttons Replacement: stap 5, afbeelding 1 van 3 Olympus Camedia D560 Rear Panel Control Buttons Replacement: stap 5, afbeelding 2 van 3 Olympus Camedia D560 Rear Panel Control Buttons Replacement: stap 5, afbeelding 3 van 3
    • The button assembly is now separate from the back cover.

    • Inspect for broken areas. Replace or clean the button parts.

Conclusie

To reassemble your device, follow these instructions in reverse order.

2 andere personen hebben deze handleiding voltooid.

GradStudents2011

Lid sinds: 09/08/11

30 Reputatie

3 handleidingen geschreven

Team

0 opmerkingen

Voeg opmerking toe

Weergavestatistieken:

Afgelopen 24 uren: 0

Afgelopen 7 dagen: 0

Afgelopen 30 dagen: 11

Altijd: 1,062