Deze versie kan foutieve bewerkingen bevatten. Schakel over naar de recentste gecontroleerde momentopname.
Wat je nodig hebt
-
Deze stap is niet vertaald. Help het te vertalen
-
Pull firmly from the top of the headset facial interface to remove the foam frame.
-
-
Deze stap is niet vertaald. Help het te vertalen
-
Remove the six T3 4mm screws from the top and bottom edges of the case.
-
-
Deze stap is niet vertaald. Help het te vertalen
-
Insert the spudger underneath the edge of the lens on the left or right side.
-
Slide the spudger upwards and around the edge of the frame to undo the tabs underneath.
-
Repeat for the other side of the frame.
-
-
-
Deze stap is niet vertaald. Help het te vertalen
-
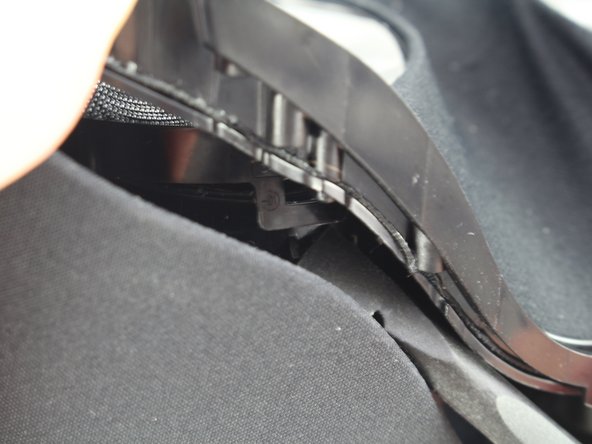
Lift up the frame to see a tab hidden underneath the lycra mesh along the edge of the lens.
-
Pull up on the tab with the spudger.
-
Repeat for the corresponding tab on the other lens.
-
-
Deze stap is niet vertaald. Help het te vertalen
-
Lift up on the plastic frame around the lens.
-
Slide a finger around the inside edge, pulling outward from the center of the lens to release the other tabs.
-
Repeat for the frame on the other lens.
-
-
Deze stap is niet vertaald. Help het te vertalen
-
Pull up along the outer frame.
-
Remove the facial interface.
-
-
Deze stap is niet vertaald. Help het te vertalen
-
Move the lenses as close together as possible by sliding the button on the bottom of the frame towards the center of the frame.
-
Remove the four Phillips #00 4mm screws from the outer edge of the base of the lenses.
-
-
Deze stap is niet vertaald. Help het te vertalen
-
Push off the 8 tabs (4 per lens) from the base of the lens using a spudger.
-
-
Deze stap is niet vertaald. Help het te vertalen
-
Stretch the headset frame apart to make the lenses more accessible.
-
While the headset frame is spread apart, pull the corner of the lens out. The rest of the lens will unlatch.
-
Pull out the lens.
-
Repeat for the other lens.
-
Annuleren: ik heb deze handleiding niet afgemaakt.
3 andere personen hebben deze handleiding voltooid.


