Inleiding
Over time, the joysticks on the quest will wear out, and you'll experience joystick drift. While there can be temporary solutions for this, the best fix is to just replace the joystick itself. However, this is not an easy task with the Meta/Oculus Quest 1, requiring a complete disassembly of the controllers.
This is not a repair I'd recommend for most, due to how easy it is to break components that are extremely difficult to repair (eg: traces in thin ribbon cables), however, with the high price and scarcity of quest 1 replacement controllers, it's the only option available for many.
Just note, throughout the guide, the images may periodically change between the left and right controller. Most steps are the exact same between the two, any notable differences however will be noted. In my experience however, the left controller is a bit more difficult than the right, which is noted in the step where the IR Ring Shield is removed.
Wat je nodig hebt
-
-
Remove the battery compartment cover
-
Remove the battery
-
Remove the sticker in the back of the battery compartment, to reveal two screws
-
-
-
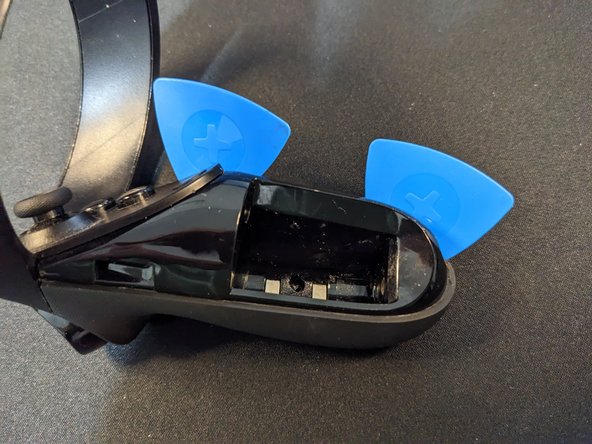
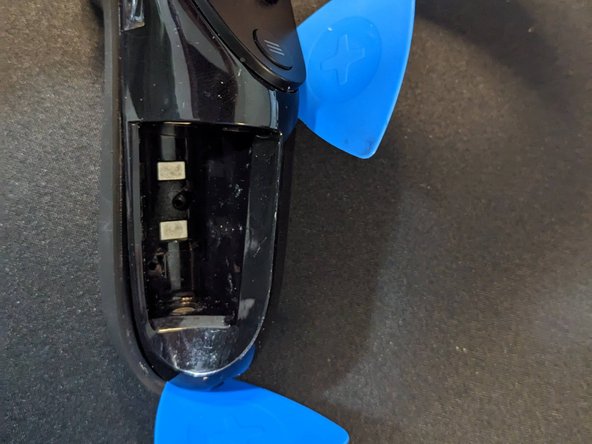
Insert a pick near the bottom of the controller
-
Insert another pick near the top as indicated
-
Slide the bottom pick around the bottom, the clips on the other side should pop out
-
-
-
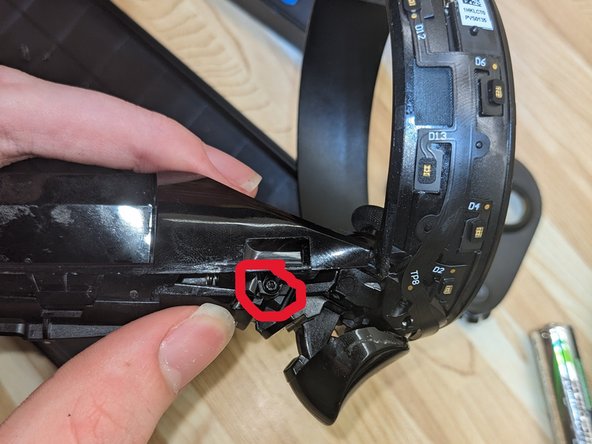
Remove the two screws near the trigger, these hold in the IR Ring Shield.
-
-
-
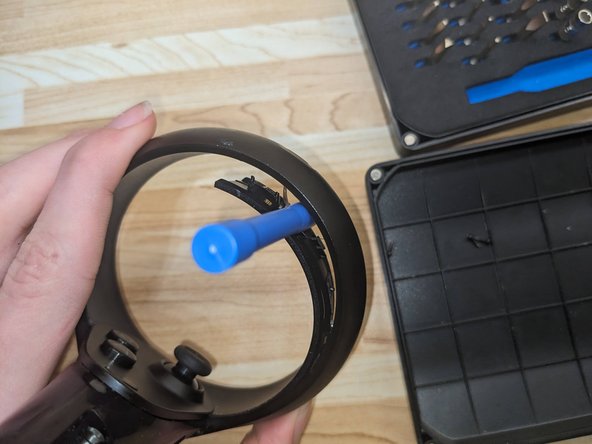
Using a similar process, start prying off the other side of the IR Ring.
-
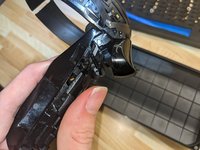
Once You have both sides off, you'll want to start to slowly pry around towards the main part of the controller, you'll likely feel alot of force in this process (note the completely white parts of my fingers haha).
-
-
-
-
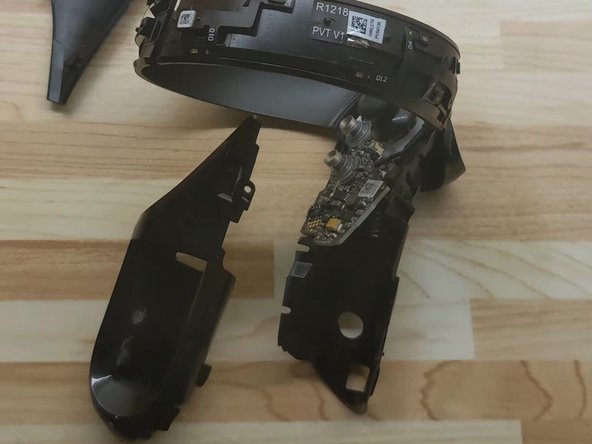
Try pushing the two halves over eachother, as shown, while trying to keep the IR LEDs from being damaged.
-
Additionally, keep trying to slice the adhesive around the edges towards the main body of the controller
-
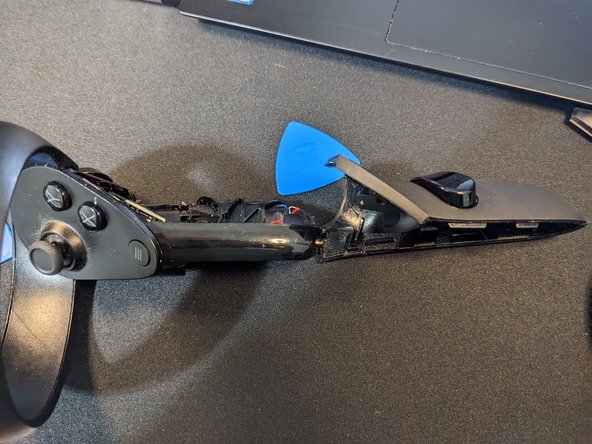
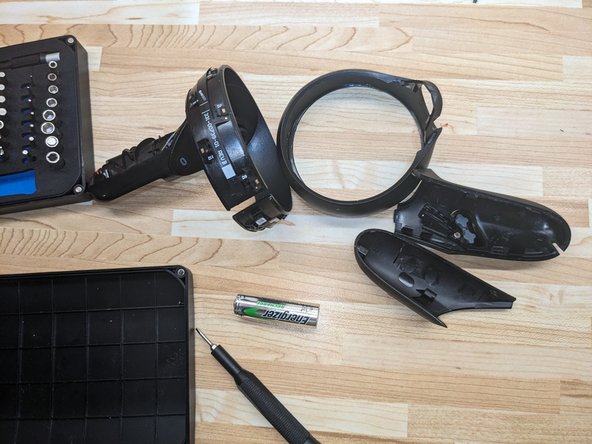
Eventually, you should get to a point where all of the tension releases, and you get to a point like this.
-
-
-
Remove the two screws now uncovered by removing the IR Ring Shield
-
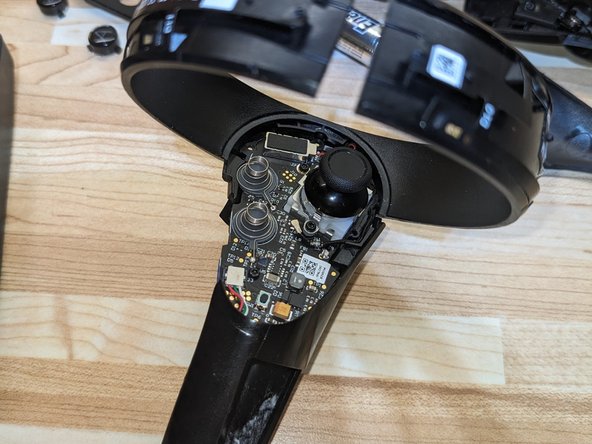
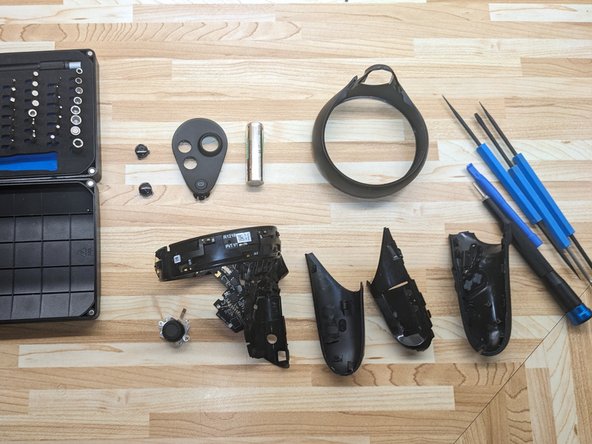
You can now remove the front cover on the buttons, finally revealing the board at last.
-
-
-
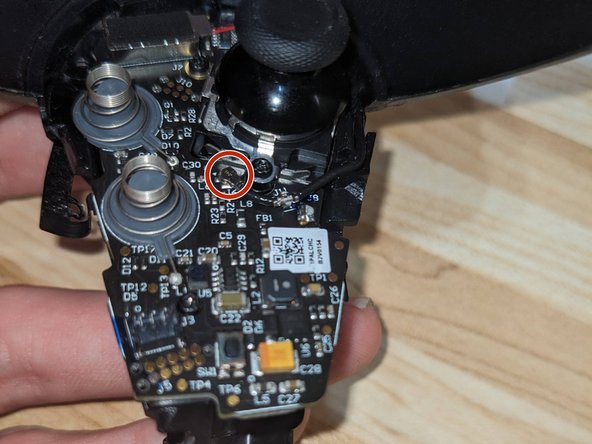
Unplug the beige battery connection cable from the motherboard near the bottom, as next, we need to remove the battery housing, in order to flip over the main board to unplug the joystick.
-
-
-
While making sure the metal bar behind where the mainboard sits is down, fold the mainboard back ontop of it
-
After confirming the trigger still functions, screw the mainboard back on, starting at the screws near the top.
-
Plug back in the black cable.
-
-
-
If tracking does not work
-
Check the black ribbon cable on the side of the controller, if it is misaligned as shown, push it back in and align it properly.
-
If the controller does not turn on
-
Ensure that you plugged back in the battery cable.
-
-
-
Start by folding the two halves inwards towards each other, to shrink them.
-
Hook the IR Ring shield onto it's spot just below the trigger, and then fold it down onto the two inner IR Rings, while still folding them together
-
You may have it where one of the halves didn't click into place, push, starting from near the main part of the controller, and slowly slide to the front, it may take a bit of force
-
Afterwards, you should have the IR Ring back in place.
-
If you made it to the end without suffering any damages, congratulations!
Just hope that your new joysticks just installed don't also have drift! (Sorry, but I also had the pain of this)
If you made it to the end without suffering any damages, congratulations!
Just hope that your new joysticks just installed don't also have drift! (Sorry, but I also had the pain of this)
Annuleren: ik heb deze handleiding niet afgemaakt.
Één andere persoon heeft deze handleiding voltooid.


