Deze versie kan foutieve bewerkingen bevatten. Schakel over naar de recentste gecontroleerde momentopname.
Wat je nodig hebt
-
Deze stap is niet vertaald. Help het te vertalen
-
Lay the popper on its side.
-
Remove the five 12mm Philips #2 screws around the perimeter of the base with the Phillips #2 screwdriver.
-
Remove the two 15mm Philips #2 screws in the center of the base with the Phillips #2 screwdriver.
-
-
Deze stap is niet vertaald. Help het te vertalen
-
Flip the base over to view the interior of the base panel.
-
Unscrew the two 10 mm Philips #2 screws from the base panel.
-
Remove the base and set it aside.
-
-
Deze stap is niet vertaald. Help het te vertalen
-
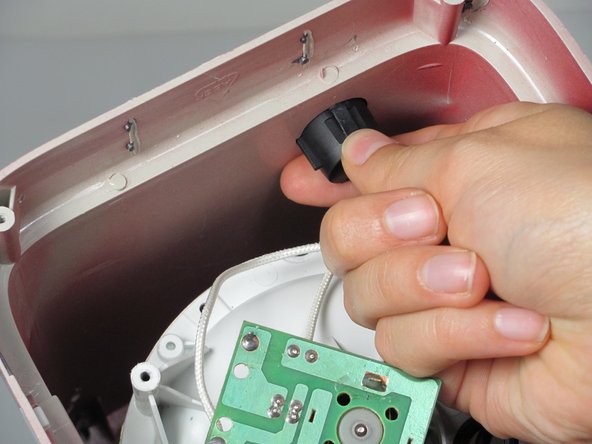
Locate the power switch connected to the side of the housing.
-
Pinch the sides of the power switch.
-
Push the power button up and out of the housing.
-
-
Deze stap is niet vertaald. Help het te vertalen
-
Remove the wires connected to the power switch that should be detached from the housing.
-
Gently pry the wires loose from the power switch with the plastic opening tool.
-
-
Deze stap is niet vertaald. Help het te vertalen
-
Remove the power switch from the housing unit.
-
You can now replace the power switch, if necessary.
-
-
Deze stap is niet vertaald. Help het te vertalen
-
Gently remove the heating component from the popper.
-
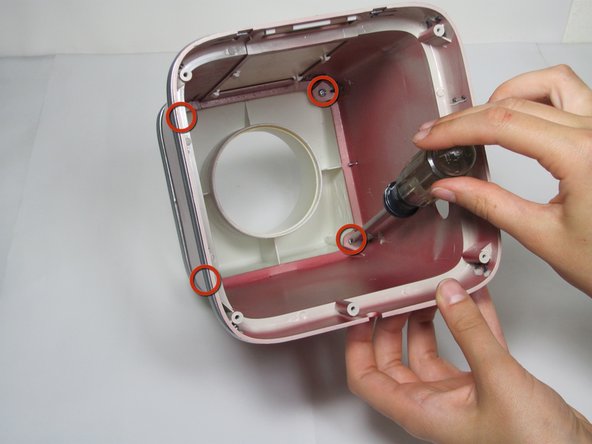
Unscrew the four screws (11mm Philips #2 screws) that connect the white top to the housing.
-
-
Deze stap is niet vertaald. Help het te vertalen
-
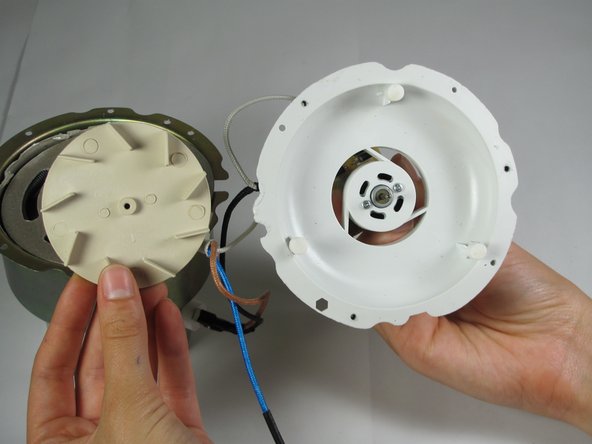
Unscrew the three 10 mm Philips #2 screws that hold the heating component together.
-
-
Deze stap is niet vertaald. Help het te vertalen
-
You can now replace the fan. If there is debris, clean it out.
-
Annuleren: ik heb deze handleiding niet afgemaakt.
Één andere persoon heeft deze handleiding voltooid.


