Ga door naar hoofdinhoud

Nook Tablet Back Cover Replacement

Wat je nodig hebt

  1. Nook Tablet Back Cover Replacement, Back Cover: stap 1, afbeelding 1 van 1
    • Flip the Nook over.

  2. Nook Tablet Back Cover Replacement: stap 2, afbeelding 1 van 2 Nook Tablet Back Cover Replacement: stap 2, afbeelding 2 van 2
    • Lift the flap that reads "Nook" to reveal the tape that is underneath. Remove the memory card if one is present.

    • Remove the tape covering the round holes to reveal two T5 Torx screws.

    • Remove the two T5 Torx screws securing the back cover.

  3. Nook Tablet Back Cover Replacement: stap 3, afbeelding 1 van 2 Nook Tablet Back Cover Replacement: stap 3, afbeelding 2 van 2
    • Insert the flat end of a spudger between the front panel and the rear assembly.

    • Though these photos show a screwdriver, use a spudger or plastic opening tool in order to prevent damage to the device.

    • Use a spudger to lift the the back panel from the rest of the Nook.

  4. Nook Tablet Back Cover Replacement: stap 4, afbeelding 1 van 2 Nook Tablet Back Cover Replacement: stap 4, afbeelding 2 van 2
    • Slide the spudger around the edges of the Nook to loosen the back panel.

  5. Nook Tablet Back Cover Replacement: stap 5, afbeelding 1 van 1
    • Pull the back panel off the Nook.

Conclusie

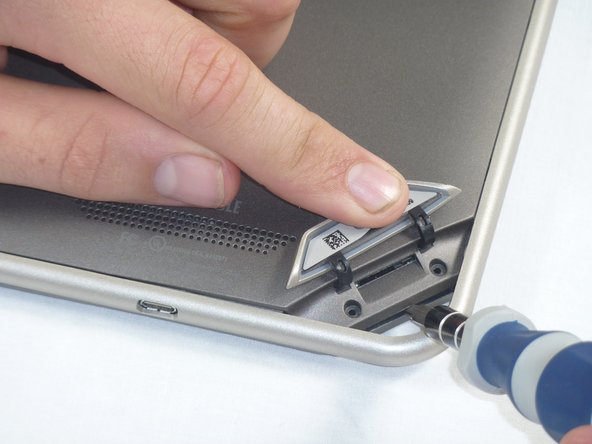
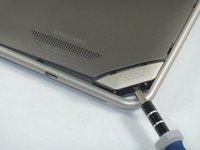
To reassemble your device, line up the piece that was removed with how it was on before and then just firmly press down till it snaps into place.

5 andere personen hebben deze handleiding voltooid.

Jacob Metzinger

Lid sinds: 09/25/12

89 Reputatie

2 handleidingen geschreven

Team

Cal Poly, Team 1-4, Propen Fall 2012 Lid van Cal Poly, Team 1-4, Propen Fall 2012

CPSU-PROPEN-F12S1G4

4 Leden

14 handleidingen geschreven

0 opmerkingen

Voeg opmerking toe

Weergavestatistieken:

Afgelopen 24 uren: 0

Afgelopen 7 dagen: 1

Afgelopen 30 dagen: 16

Altijd: 5,858