Ga door naar hoofdinhoud

Nokia Lumia 720 Display Assembly Replacement

Wat je nodig hebt

Video overzicht

  1. Nokia Lumia 720 Display Assembly Replacement, BATTERY COVER - PART 1: stap 1, afbeelding 1 van 3 Nokia Lumia 720 Display Assembly Replacement, BATTERY COVER - PART 1: stap 1, afbeelding 2 van 3 Nokia Lumia 720 Display Assembly Replacement, BATTERY COVER - PART 1: stap 1, afbeelding 3 van 3
    • Remove the SIM card tray and the memory card try.

    • Use a screwdriver Torx T2 and remove the screw under the SIM card tray.

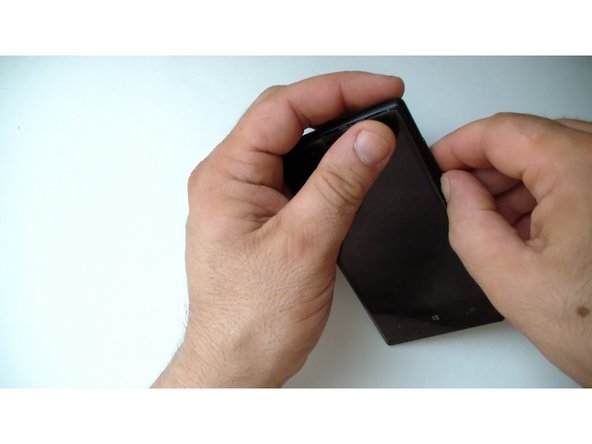
    • Use plastic tools and start the separating the back cover from the top side.

  2. Nokia Lumia 720 Display Assembly Replacement, BATTERY COVER - PART 2: stap 2, afbeelding 1 van 3 Nokia Lumia 720 Display Assembly Replacement, BATTERY COVER - PART 2: stap 2, afbeelding 2 van 3 Nokia Lumia 720 Display Assembly Replacement, BATTERY COVER - PART 2: stap 2, afbeelding 3 van 3
    • Be careful with the volume buttons.

  3. Nokia Lumia 720 Display Assembly Replacement, Loudspeaker & Antenna module: stap 3, afbeelding 1 van 3 Nokia Lumia 720 Display Assembly Replacement, Loudspeaker & Antenna module: stap 3, afbeelding 2 van 3 Nokia Lumia 720 Display Assembly Replacement, Loudspeaker & Antenna module: stap 3, afbeelding 3 van 3
    • Remove the 3x Torx T4 screws.

    • Buzzer / Loudspeacker

  4. Nokia Lumia 720 Display Assembly Replacement, BATTERY: stap 4, afbeelding 1 van 3 Nokia Lumia 720 Display Assembly Replacement, BATTERY: stap 4, afbeelding 2 van 3 Nokia Lumia 720 Display Assembly Replacement, BATTERY: stap 4, afbeelding 3 van 3
    • Disconnect the battery flex cable.

    • Unstick the metal foil from the logic board.

    • Use a plastic tool with a thin tip and unstuck the battery from the middle frame.

    • Battery - BP-4GWA, 2000mAh, 3.7V, 7.4Vh

  5. Nokia Lumia 720 Display Assembly Replacement, COAXIAL ANTENNA CABLE: stap 5, afbeelding 1 van 3 Nokia Lumia 720 Display Assembly Replacement, COAXIAL ANTENNA CABLE: stap 5, afbeelding 2 van 3 Nokia Lumia 720 Display Assembly Replacement, COAXIAL ANTENNA CABLE: stap 5, afbeelding 3 van 3
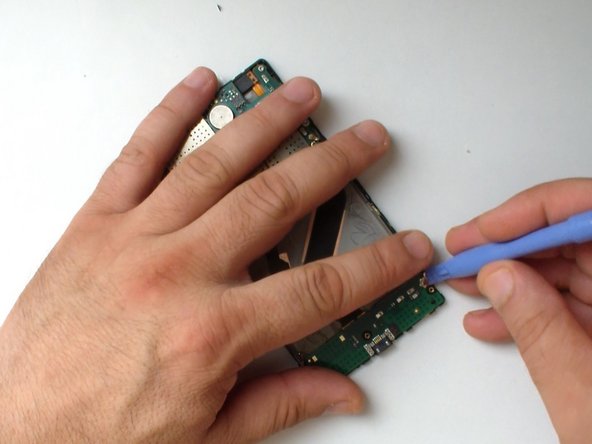
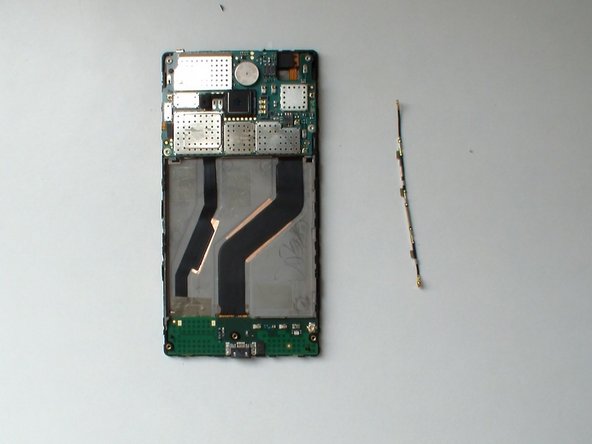
    • Disconnect the Antenna cable from the Logic board and from the Charging Dock board and remove it.

  6. Nokia Lumia 720 Display Assembly Replacement, Logic Board: stap 6, afbeelding 1 van 3 Nokia Lumia 720 Display Assembly Replacement, Logic Board: stap 6, afbeelding 2 van 3 Nokia Lumia 720 Display Assembly Replacement, Logic Board: stap 6, afbeelding 3 van 3
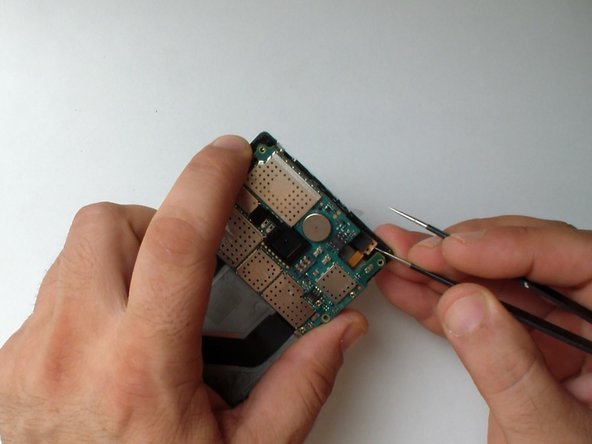
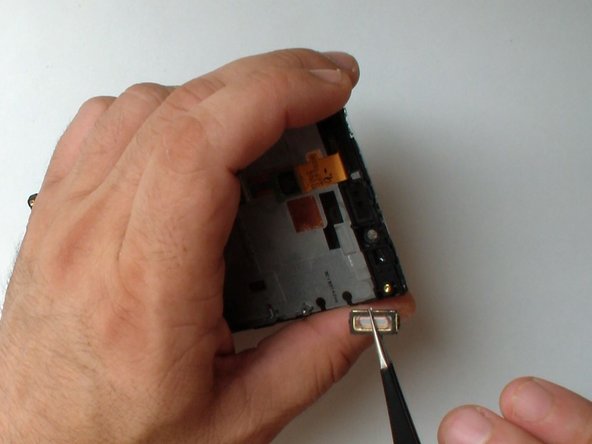
    • Disconnect the Volume, Power and camera buttons flex cable.

    • Remove the 4x Torx T4 screws.

    • Slightly lift the board

    • Slowly and gently unstuck the light sensor from the middle frame.

  7. Nokia Lumia 720 Display Assembly Replacement: stap 7, afbeelding 1 van 3 Nokia Lumia 720 Display Assembly Replacement: stap 7, afbeelding 2 van 3 Nokia Lumia 720 Display Assembly Replacement: stap 7, afbeelding 3 van 3
    • Disconnect the Display Assembly flex cable.

    • Disconnect the Charging Dock Board flex cable.

    • Remove the Main board.

  8. Nokia Lumia 720 Display Assembly Replacement, Charging Dock and Microphone Module: stap 8, afbeelding 1 van 3 Nokia Lumia 720 Display Assembly Replacement, Charging Dock and Microphone Module: stap 8, afbeelding 2 van 3 Nokia Lumia 720 Display Assembly Replacement, Charging Dock and Microphone Module: stap 8, afbeelding 3 van 3
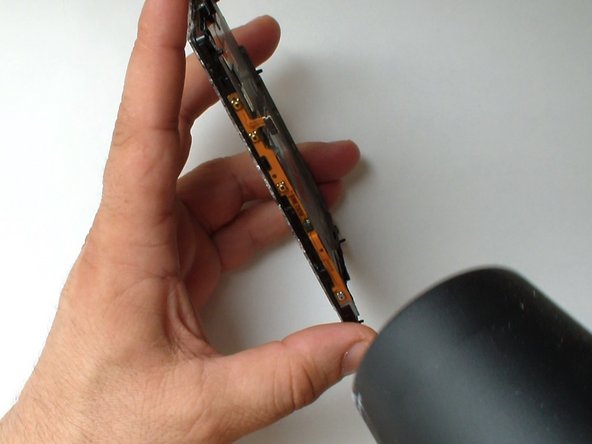
    • Use a hair dryer and warm the flex cable.

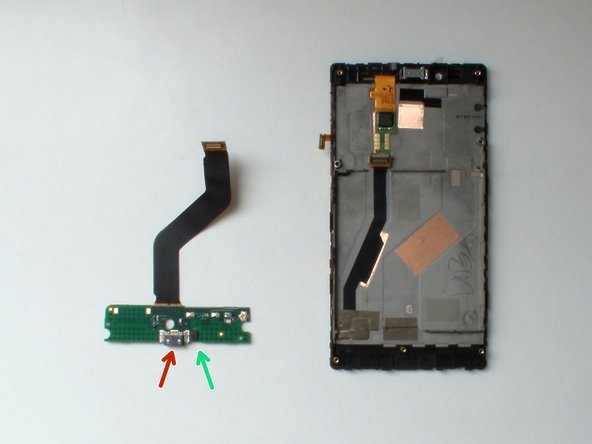
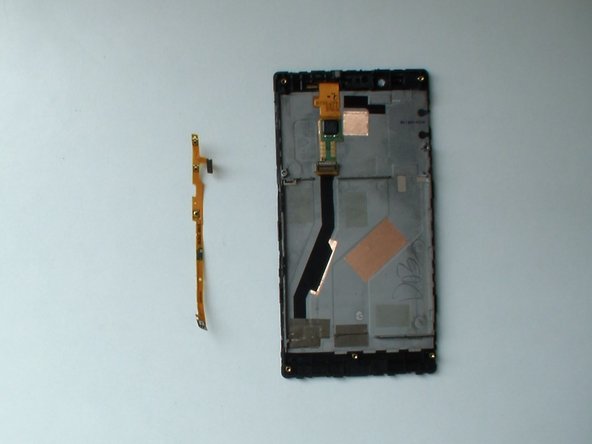
    • Careful unstuck the flex cable from the middle frame.

    • Micro USB connector

    • Microphone

  9. Nokia Lumia 720 Display Assembly Replacement, EARPIECE: stap 9, afbeelding 1 van 2 Nokia Lumia 720 Display Assembly Replacement, EARPIECE: stap 9, afbeelding 2 van 2
    • Use a tool with a sharp point and carefully unstuck the earpiece.

  10. Nokia Lumia 720 Display Assembly Replacement, Power, Volume and Camera buttons flex cable: stap 10, afbeelding 1 van 3 Nokia Lumia 720 Display Assembly Replacement, Power, Volume and Camera buttons flex cable: stap 10, afbeelding 2 van 3 Nokia Lumia 720 Display Assembly Replacement, Power, Volume and Camera buttons flex cable: stap 10, afbeelding 3 van 3
    • When you start with the removing the ribbon cable be careful with the buttons and with the small black cups on it.

    • Warm the flex cable and detach it.

  11. Nokia Lumia 720 Display Assembly Replacement, Display Assembly: stap 11, afbeelding 1 van 3 Nokia Lumia 720 Display Assembly Replacement, Display Assembly: stap 11, afbeelding 2 van 3 Nokia Lumia 720 Display Assembly Replacement, Display Assembly: stap 11, afbeelding 3 van 3
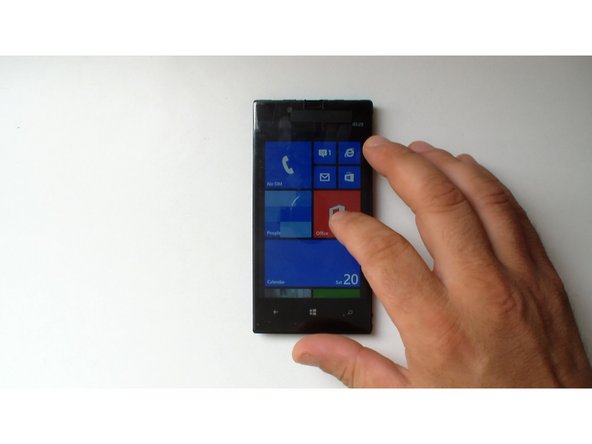
    • Now you can start with the reassembling, but before you place the back cover, test the new display assembly.

    • When you put the lid be careful with the volume buttons.

  12. Nokia Lumia 720 Display Assembly Replacement: stap 12, afbeelding 1 van 1
    • That's all.

    • .

    • .

    • .

    • .

    • .

    • Did you do it successfully?

Conclusie

To reassemble your device, follow these instructions in reverse order.

5 andere personen hebben deze handleiding voltooid.

ZFix

Lid sinds: 12/09/13

191.308 Reputatie

330 handleidingen geschreven

Team

Master Techs Lid van Master Techs

Community

322 Leden

2.535 handleidingen geschreven

0 opmerkingen

Voeg opmerking toe

Weergavestatistieken:

Afgelopen 24 uren: 0

Afgelopen 7 dagen: 2

Afgelopen 30 dagen: 8

Altijd: 5,802