Deze versie kan foutieve bewerkingen bevatten. Schakel over naar de recentste gecontroleerde momentopname.
Wat je nodig hebt
-
Deze stap is niet vertaald. Help het te vertalen
-
Locate the small button on the top of the phone.
-
Depress the button.
-
With your other hand, pull the front cover away from the phone.
-
-
Deze stap is niet vertaald. Help het te vertalen
-
Remove all six 5.3 mm long T6 screws.
-
Remove the circuit board/faceplate sub-assembly from the back of the phone.
-
-
Deze stap is niet vertaald. Help het te vertalen
-
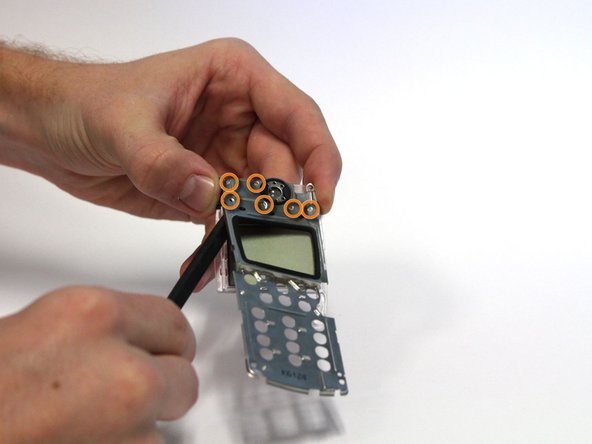
Using your fingers, pull the small plastic tab away from the circuit board/faceplate sub-assembly.
-
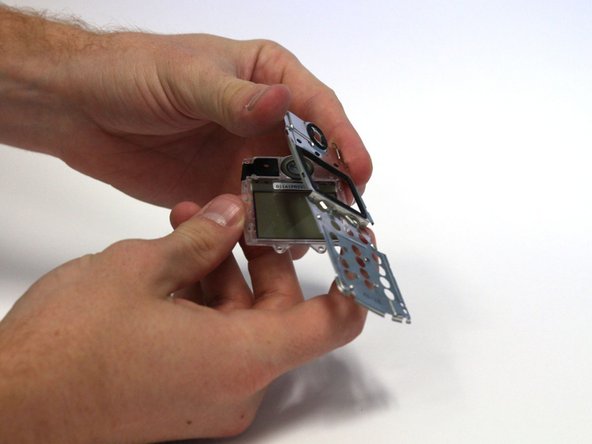
Rotate the faceplate away from the circuit board.
-
Gently remove the faceplate from the circuit board, taking care to not break the small plastic tab on the other side of the sub-assembly.
-
-
-
Deze stap is niet vertaald. Help het te vertalen
-
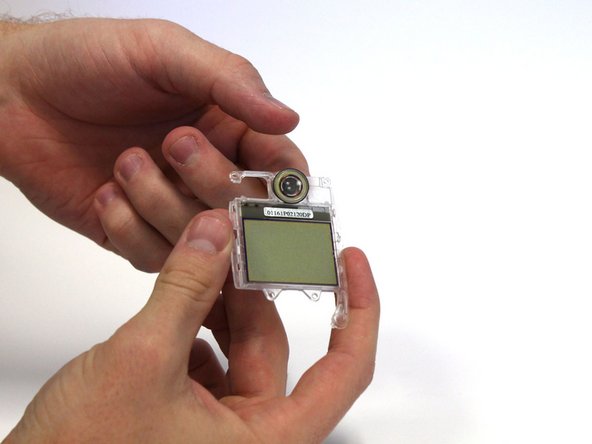
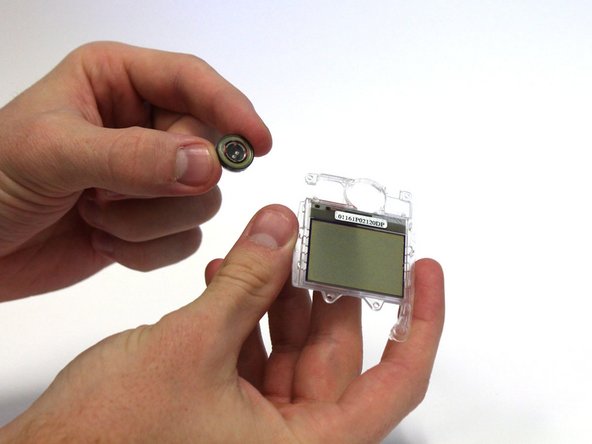
Hold the faceplate with the adhesive film facing upwards.
-
Use the spudger to pry the adhesive film away. This can be done by working the tool back and forth underneath the film.
-
-
Deze stap is niet vertaald. Help het te vertalen
-
Continue to loosen the film with the spudger.
-
Once the film has been mostly loosened, you can peel away the film.
-
-
Deze stap is niet vertaald. Help het te vertalen
-
Using your fingers or a probe, loosen the four small tabs located on the side of the faceplate sub-assembly by gently bending up the metal cover. (Two are shown in the picture while the other two are on the other side of the screen.)
-
Using the spudger, loosen the metal cover by prying it away from the six small plastic tabs. This can be done by gently working the spudger underneath the cover and pressing up on the cover around the tabs.
-
Remove the metal cover.
-
-
Deze stap is niet vertaald. Help het te vertalen
-
Hold the remaining component tray face up.
-
Push the speaker from behind to remove it from the tray.
-


Annuleren: ik heb deze handleiding niet afgemaakt.
Één andere persoon heeft deze handleiding voltooid.
Team

Clemson, Team 15-3, Benson Fall 2012 Lid van Clemson, Team 15-3, Benson Fall 2012
CLEM-BENSON-F12S15G3
3 Leden
21 handleidingen geschreven