Inleiding
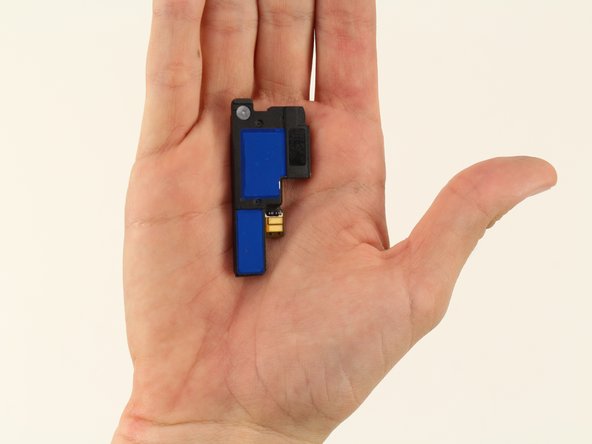
Follow this guide to replace your Nokia 6 loudspeaker.
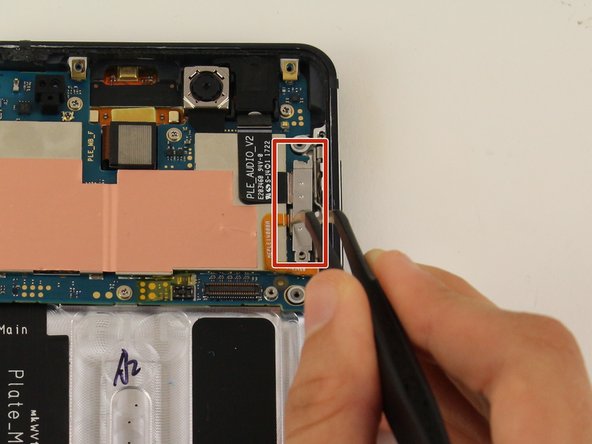
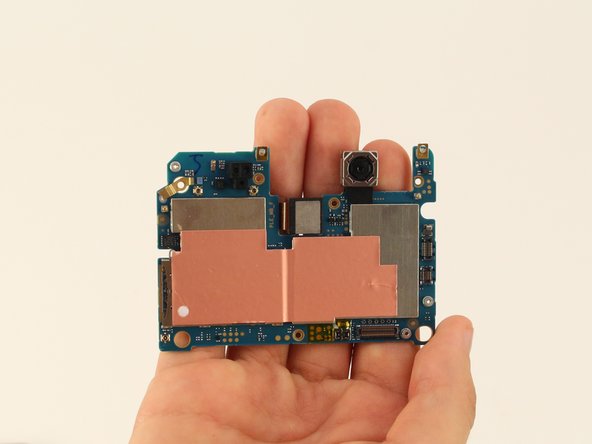
In this guide, you do not have to take apart the front and rear facing cameras from the motherboard. Simply removing the motherboard will expose the parts needed for the next steps.
Wat je nodig hebt
-
-
Insert the SIM card ejection tool into the hole on the left side of the phone.
-
Remove the SIM card and microSD card.
-
-
-
-
Remove 18 screws.
-
There is one 1 mm x 1.4 mm screw that needs to be removed by a Phillips #000 screwdriver.
-
One of the screws is 1.2 mm x 4.2 mm and will be removed by a Phillips #00.
-
The remaining 16 screws can be removed by the Phillips #00 screwdriver and are 1.2 mm x 2.2 mm.
-
-
-
-
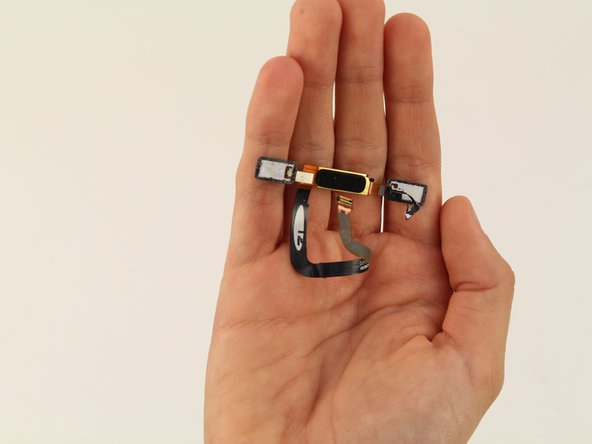
With tweezers, lift the wire by the microUSB port and the microphone unit.
-


To reassemble your device, follow these instructions in reverse order.
To reassemble your device, follow these instructions in reverse order.
Annuleren: ik heb deze handleiding niet afgemaakt.
Één andere persoon heeft deze handleiding voltooid.

Team

Cal Poly, Team S9-G15, Maness Spring 2019 Lid van Cal Poly, Team S9-G15, Maness Spring 2019
CPSU-MANESS-S19S9G15
4 Leden
14 handleidingen geschreven
Één opmerking
Great article and just one question. “To reassemble your device, follow these instructions in reverse order.” That’s ok until the screen needs to be glued back so advice on doing that would be appreciated.