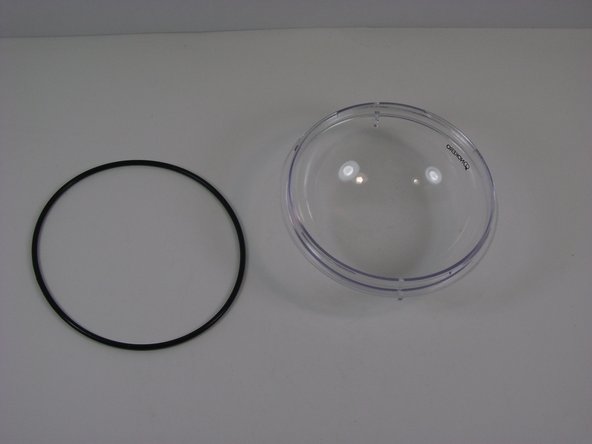
Ga door naar hoofdinhoud

Nokero N222-Huron O-Ring Replacement

Wat je nodig hebt

  1. Nokero N222-Huron O-Ring Replacement, Clear Cover: stap 1, afbeelding 1 van 1
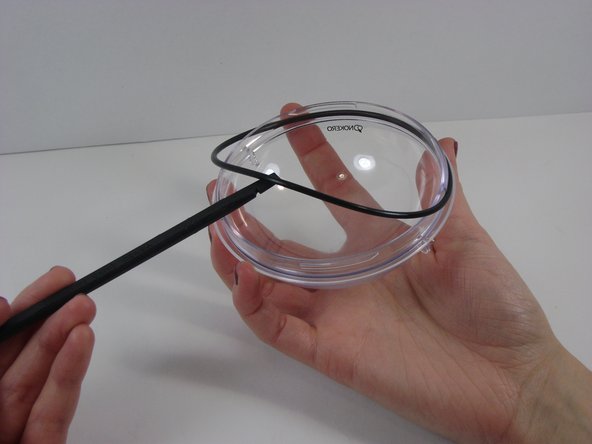
    • Grasp the clear cover and the white housing and twist the cover counter-clockwise.

    • The lid may hold fast, but it will come off with some firm twisting.

  2. Nokero N222-Huron O-Ring Replacement: stap 2, afbeelding 1 van 1
    • Lift the lid from the device

    • It may be helpful to use a spudger to pry under the lid if there is difficulty in getting a good grip on the smooth plastic.

  3. Nokero N222-Huron O-Ring Replacement, O-Ring: stap 3, afbeelding 1 van 3 Nokero N222-Huron O-Ring Replacement, O-Ring: stap 3, afbeelding 2 van 3 Nokero N222-Huron O-Ring Replacement, O-Ring: stap 3, afbeelding 3 van 3
    • Using a plastic spudger, lift the o-ring from the lid

  4. Nokero N222-Huron O-Ring Replacement: stap 4, afbeelding 1 van 1
    • Gently stretch the new O-ring and place it in position on the clear cover. Make sure it is flush with the flange and not interfering with the locking threads

Conclusie

To reassemble your device, follow these instructions in reverse order.

Vinny Capone

Lid sinds: 10/18/13

549 Reputatie

5 handleidingen geschreven

Team

UMass Dartmouth, Team 2-4, Gulbrandsen Fall 2013 Lid van UMass Dartmouth, Team 2-4, Gulbrandsen Fall 2013

UMASSD-GULBRANDSEN-F13S2G4

3 Leden

5 handleidingen geschreven

0 opmerkingen

Voeg opmerking toe

Weergavestatistieken:

Afgelopen 24 uren: 0

Afgelopen 7 dagen: 0

Afgelopen 30 dagen: 0

Altijd: 180