Deze versie kan foutieve bewerkingen bevatten. Schakel over naar de recentste gecontroleerde momentopname.
Wat je nodig hebt
-
Deze stap is niet vertaald. Help het te vertalen
-
Look towards the topside of the tablet, where the power button is located.
-
Insert a plastic opening tool in the crack between the two parts of the case.
-
Move it gently back and forth to open the case.
-
-
Deze stap is niet vertaald. Help het te vertalen
-
With the plastic opening tool in the opening between the two sides of the case, slide the tool along the tablet's border to separate the two sides completely.
-
-
-
Deze stap is niet vertaald. Help het te vertalen
-
Insert the flat end of the spudger tool in the crack beneath the battery.
-
Move the spudger tool carefully side to side to remove the glue that is holding the battery in place.
-
-
Deze stap is niet vertaald. Help het te vertalen
-
After the battery is unglued, locate the cables that connect it to the motherboard.
-
-
Deze stap is niet vertaald. Help het te vertalen
-
Desolder the cables with a soldering iron and use a desoldering braid to remove the solder.
-
-
Deze stap is niet vertaald. Help het te vertalen
-
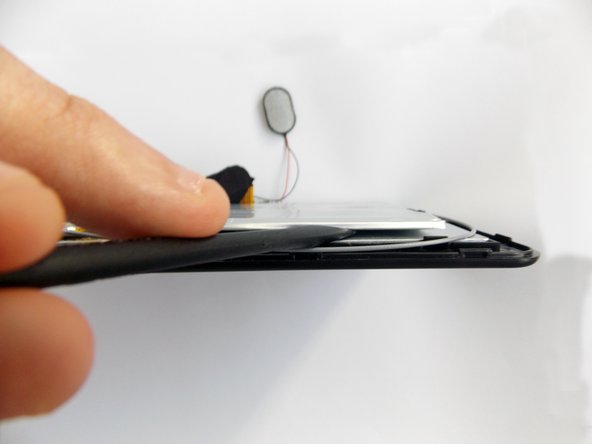
After you remove the tape, remove the speaker from its socket. You can place the speaker on one side of the tablet to have more freedom.
-
Look for the place where the speaker's cables meet with the motherboard.
-
-
Deze stap is niet vertaald. Help het te vertalen
-
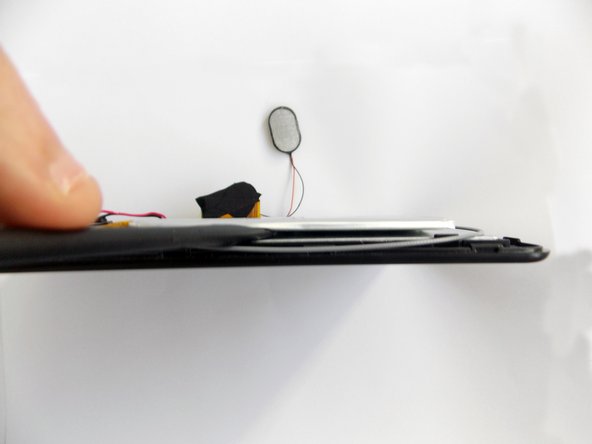
Use a soldering iron to desolder the cables and extract the solder using a desoldering braid.
-


Team

USF Tampa, Team 5-5, Brown Winter 2015 Lid van USF Tampa, Team 5-5, Brown Winter 2015
USFT-BROWN-W15S5G5
3 Leden
10 handleidingen geschreven
2 opmerkingen
How can I restore the memory on these tablets - were having problems with this tablet please help us
This is my favourite online game mahjong games online i have some time play.