Inleiding
If you need to repair any buttons on your Nintendo NES Advantage Model NES-026 game controller, you will need this guide to start the button repair process.
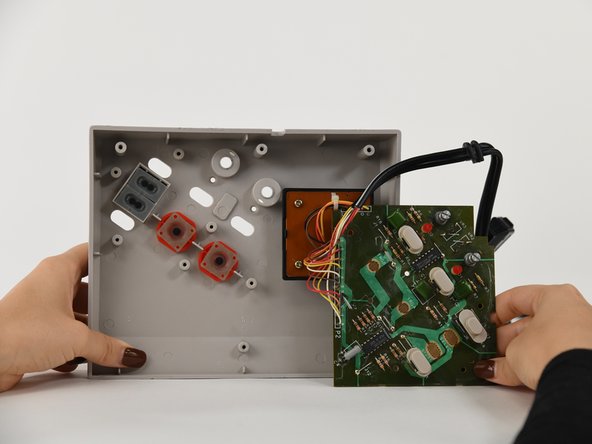
This guide is about removing the circuit board and includes the first steps in removing and fixing its buttons. You will need to follow this guide before you begin working on the button removal and repair guides.
Wat je nodig hebt
-
-
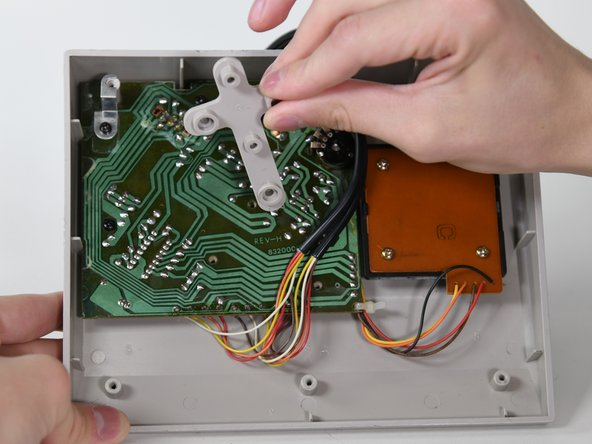
Remove the three 14 mm screws from the gray cross with a Phillips #0 screwdriver.
-
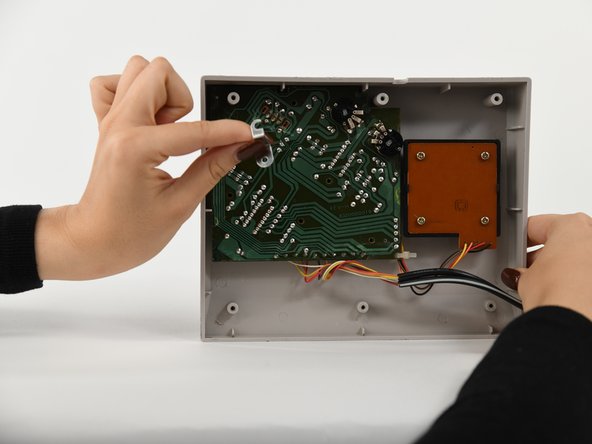
Lift the gray component away from the device.
-
-


To reassemble your device, follow these instructions in reverse order.
To reassemble your device, follow these instructions in reverse order.
Team

University of Colorado Denver, Team 1-2, Campeau Fall 2022 Lid van University of Colorado Denver, Team 1-2, Campeau Fall 2022
UCDENVER-CAMPEAU-F22S1G2
5 Leden
7 handleidingen geschreven