Inleiding
This guide will walk you through the steps necessary to replace the power switch cover on your Game Boy Advance SP. The power switch of the Game Boy Advance SP is small and attaches to the motherboard itself. For this reason, the device features a much larger cover to help the user turn their device on and off. Follow this guide if your power switch cover is damaged or needs to be swapped out.
Wat je nodig hebt
-
-
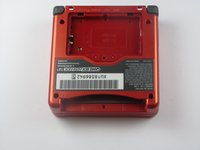
Use a standard Phillips #00 screwdriver to loosen the 4 mm screw that keeps the battery cover attached to the device.
-
-
-
-
Remove four 6.5 mm screws from the corners of the back cover using a tri-point Y00 screwdriver.
-
Remove two 4.6mm screws from the top-center and bottom-center of the device using a tri-point Y00 screwdriver.
-
-
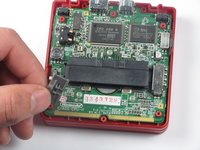
Gereedschap gebruikt in deze stap:Tweezers$4.99
-
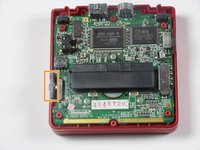
Lift the power switch cover away from the left side of the device using your fingers or tweezers.
-


To reassemble your device, follow these instructions in reverse order.
To reassemble your device, follow these instructions in reverse order.
Annuleren: ik heb deze handleiding niet afgemaakt.
17 andere personen hebben deze handleiding voltooid.
Team

Cal Poly, Team 17-22, Forte Winter 2013 Lid van Cal Poly, Team 17-22, Forte Winter 2013
CPSU-FORTE-W13S17G22
4 Leden
41 handleidingen geschreven
2 opmerkingen
Maybe the guide was for replacing the power switch cover?