Inleiding
This is a guide that teaches how to replace a Nintendo DS motherboard also known as a circuit board.
The Nintendo DS is a video game console released by Nintendo proposing two screens working in tandem with wireless connectivity, and an integrated microphone.
The main circuit board holds and makes all communication between components of the device possible. Therefore, whenever the communication between the functioning components takes longer than expected or there is no communication, replacing the motherboard is a necessity.
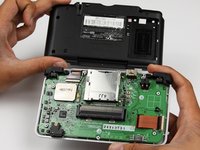
The removal of the main motherboard of the DS is essential to access the screens and to replace other imperatives.
The replacement could be done in 10 simple steps.
Wat je nodig hebt
-
-
Remove the cartridge from the console.
-
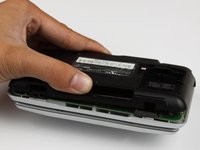
Use a Phillips #00 Screwdriver to remove the screw securing the battery door to the rear case.
-
Remove the battery door.
-
-
-
-
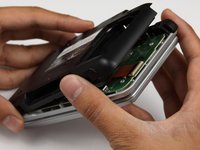
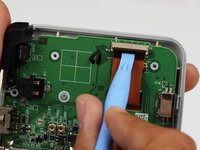
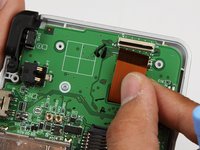
Using a Phillips #00 screwdriver, remove the four screws on the circuit board.
-


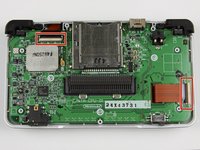


To reassemble your device, follow these instructions in reverse order.
To reassemble your device, follow these instructions in reverse order.
Annuleren: ik heb deze handleiding niet afgemaakt.
21 andere personen hebben deze handleiding voltooid.
Team

Cal Poly, Team 18-3, Maness Fall 2009 Lid van Cal Poly, Team 18-3, Maness Fall 2009
CPSU-MANESS-F09S18G3
4 Leden
30 handleidingen geschreven