Ga door naar hoofdinhoud

Nintendo 3DS SD Board Replacement

Alleen vereisten
Deze handleiding is alleen bedoeld als vereiste voor andere handleidingen. Het staat niet op zichzelf.

Wat je nodig hebt

  1. Nintendo 3DS SD Board Replacement, SD Board: stap 1, afbeelding 1 van 1
    • Remove the two 4.5 mm Phillips screws securing the SD board to the motherboard.

  2. Nintendo 3DS SD Board Replacement: stap 2, afbeelding 1 van 2 Nintendo 3DS SD Board Replacement: stap 2, afbeelding 2 van 2
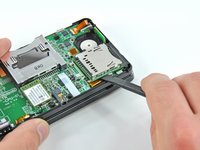
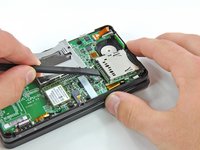
    • Use the flat end of a spudger to pry the SD board ribbon cable connector off its socket on the motherboard.

  3. Nintendo 3DS SD Board Replacement: stap 3, afbeelding 1 van 3 Nintendo 3DS SD Board Replacement: stap 3, afbeelding 2 van 3 Nintendo 3DS SD Board Replacement: stap 3, afbeelding 3 van 3
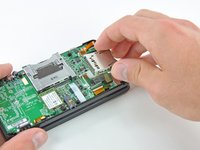
    • Insert the flat end of a spudger between the SD board and the motherboard.

    • Pry up slowly to loosen the SD board from the RF shield underneath it. If you pry too quickly, you may tear the shield or break its solder points.

    • Run the spudger along the sides of the SD board to free it from the adhesive holding it in place.

    • Once completely freed, lift the SD board straight off the motherboard.

Conclusie

To reassemble your device, follow these instructions in reverse order.

David Hodson

Lid sinds: 04/13/10

150.493 Reputatie

127 handleidingen geschreven

0 opmerkingen

Voeg opmerking toe

Weergavestatistieken:

Afgelopen 24 uren: 0

Afgelopen 7 dagen: 0

Afgelopen 30 dagen: 0

Altijd: 232