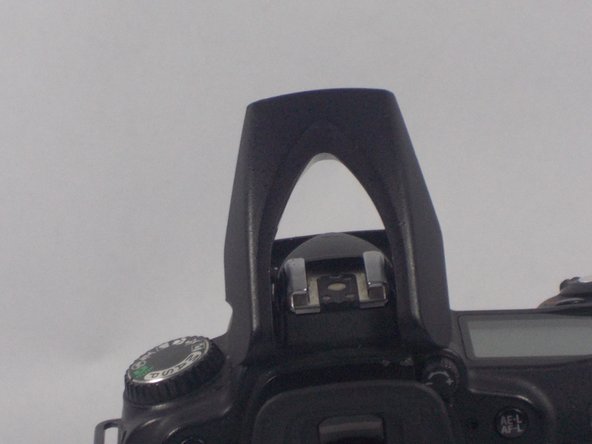
Ga door naar hoofdinhoud

Nikon D90 Flash Hinge Spring Replacement

Wat je nodig hebt

  1. Nikon D90 Flash Hinge Spring Replacement, Open the Flash: stap 1, afbeelding 1 van 3 Nikon D90 Flash Hinge Spring Replacement, Open the Flash: stap 1, afbeelding 2 van 3 Nikon D90 Flash Hinge Spring Replacement, Open the Flash: stap 1, afbeelding 3 van 3
    • Use a plastic opening tool to lift up the flash.

  2. Nikon D90 Flash Hinge Spring Replacement, Flash Casing Screws: stap 2, afbeelding 1 van 2 Nikon D90 Flash Hinge Spring Replacement, Flash Casing Screws: stap 2, afbeelding 2 van 2
    • Using a PH00 screwdriver, remove the two 5.3 mm Phillips screws from the flash casing.

    • Be careful not to strip the screw heads.

  3. Nikon D90 Flash Hinge Spring Replacement, Removing the Top Flash Casing: stap 3, afbeelding 1 van 3 Nikon D90 Flash Hinge Spring Replacement, Removing the Top Flash Casing: stap 3, afbeelding 2 van 3 Nikon D90 Flash Hinge Spring Replacement, Removing the Top Flash Casing: stap 3, afbeelding 3 van 3
    • Use a plastic opening tool and carefully pry open the top casing of the flash.

    • Then, lift off the top casing of the flash.

  4. Nikon D90 Flash Hinge Spring Replacement, Loosening the Spring Screw: stap 4, afbeelding 1 van 2 Nikon D90 Flash Hinge Spring Replacement, Loosening the Spring Screw: stap 4, afbeelding 2 van 2
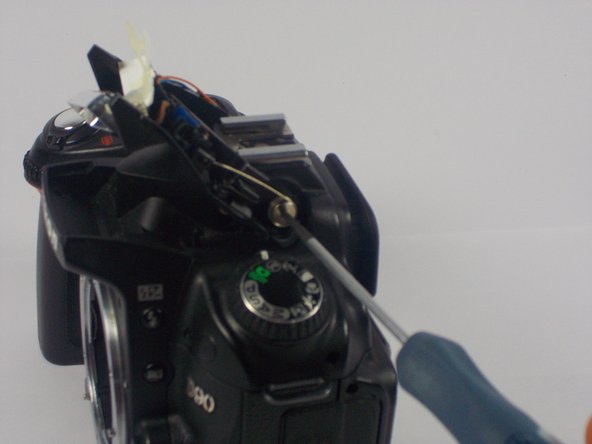
    • Using a PH00 screwdriver, loosen the 3.3 mm Phillips screw from the spring.

  5. Nikon D90 Flash Hinge Spring Replacement, Releasing the Spring: stap 5, afbeelding 1 van 2 Nikon D90 Flash Hinge Spring Replacement, Releasing the Spring: stap 5, afbeelding 2 van 2
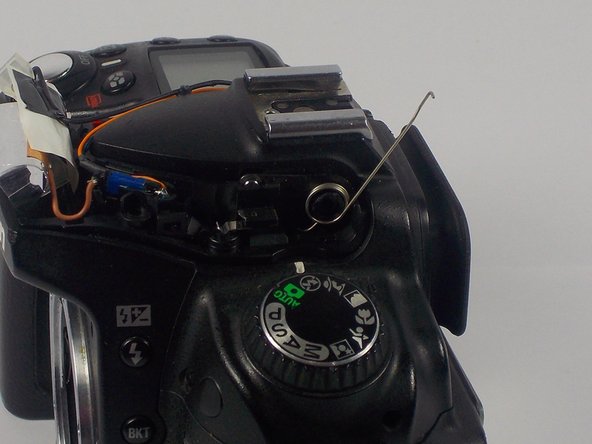
    • Use a plastic opening tool and carefully pry up the spring arm.

    • Doing this with release the pressure of the spring.

  6. Nikon D90 Flash Hinge Spring Replacement, Removing the Spring: stap 6, afbeelding 1 van 2 Nikon D90 Flash Hinge Spring Replacement, Removing the Spring: stap 6, afbeelding 2 van 2
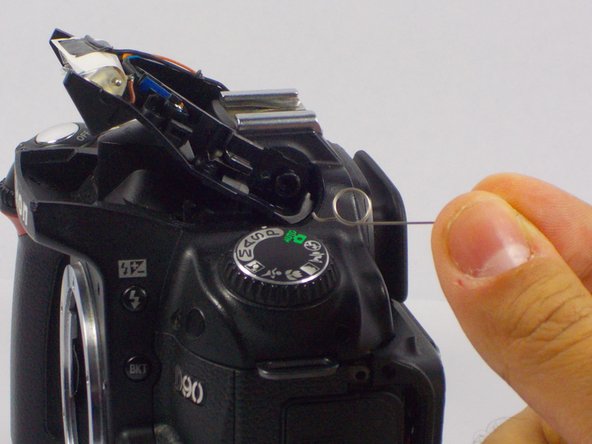
    • Finish removing the screw holding the spring in place.

    • The spring can now be removed and replaced.

Conclusie

To reassemble your device, follow these instructions in reverse order.

Één andere persoon heeft deze handleiding voltooid.

Matthew Grota

Lid sinds: 10/16/14

586 Reputatie

3 handleidingen geschreven

Team

UMass Dartmouth, Team 1-7, Duarte Fall 2014 Lid van UMass Dartmouth, Team 1-7, Duarte Fall 2014

UMASSD-DUARTE-F14S1G7

3 Leden

6 handleidingen geschreven

Één opmerking

These are great tutorials,

I was looking for one on how to fix the pop up flash not locking down,

It was bought second hand and dropped on the logo,

The front panel needed to be replaced,

Now for the Flash that is constantly up.

Any links? jjryzler@gmail.com

Ryad Arlan - Antwoord

Voeg opmerking toe

Weergavestatistieken:

Afgelopen 24 uren: 0

Afgelopen 7 dagen: 1

Afgelopen 30 dagen: 8

Altijd: 4,079