Deze versie kan foutieve bewerkingen bevatten. Schakel over naar de recentste gecontroleerde momentopname.
Wat je nodig hebt
-
Deze stap is niet vertaald. Help het te vertalen
-
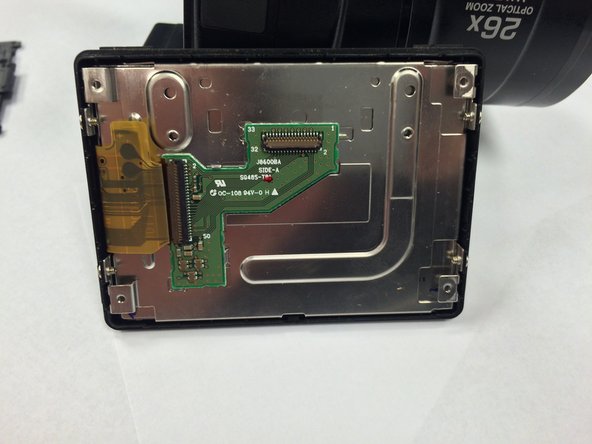
Flip the camera upside down so that the side with the serial number is face up.
-
Pull back the display panel. Orient the panel so that you are able to view the back of it.
-
-
Deze stap is niet vertaald. Help het te vertalen
-
Remove the two screws closest to the piece connecting the panel to the camera with a Phillips #1 screwdriver.
-
-
Deze stap is niet vertaald. Help het te vertalen
-
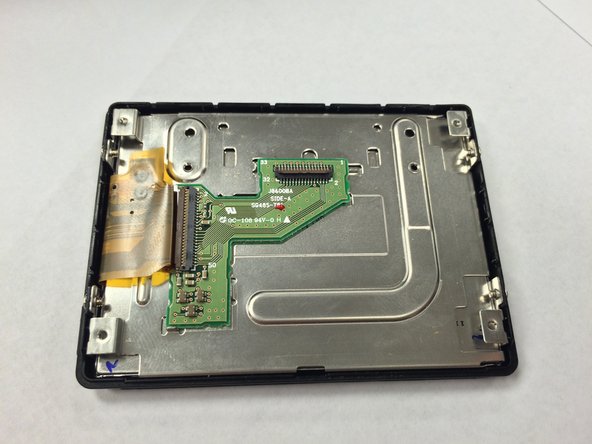
Remove the cover that was unscrewed in the last step.
-
-
Deze stap is niet vertaald. Help het te vertalen
-
Remove the remaining four screws on the outermost corners of the panel using a Phillips #1 screwdriver.
-
-
-
Deze stap is niet vertaald. Help het te vertalen
-
Use a plastic opening tool to pry open the back panel of the display screen.
-
-
Deze stap is niet vertaald. Help het te vertalen
-
Carefully unhook the ribbon that attaches the panel to the camera.
-
Remove the top black panel cover.
-
-
Deze stap is niet vertaald. Help het te vertalen
-
Remove the two screws on the panel that are closest to the ribbon cable using a Phillips #1 screwdriver.
-
-
Deze stap is niet vertaald. Help het te vertalen
-
Remove the other two screws on the opposite side of the panel using a Phillips #1 screwdriver.
-
-
Deze stap is niet vertaald. Help het te vertalen
-
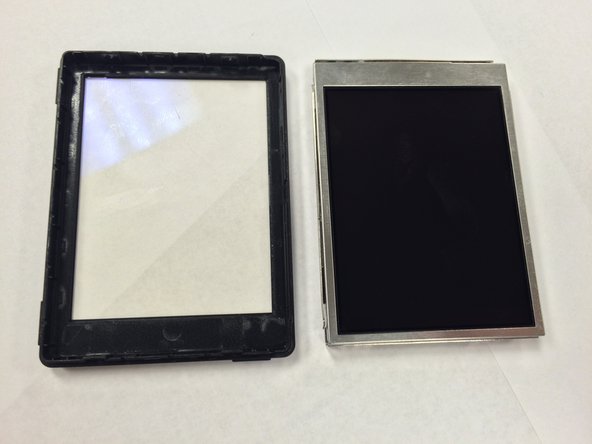
Separate the metal portion of the screen from the plastic portion.
-
-
Deze stap is niet vertaald. Help het te vertalen
-
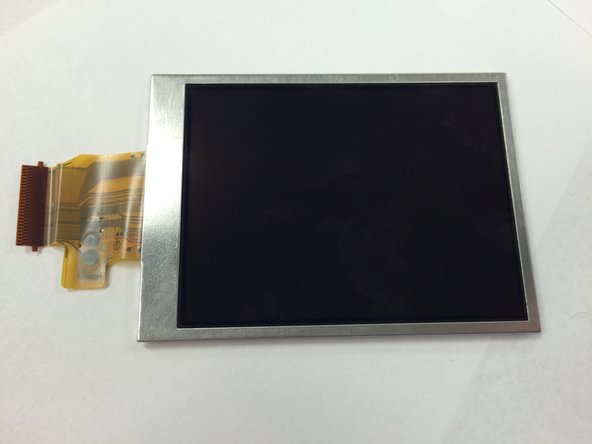
Carefully remove the ribbon connector cable from the metal portion of the display.
-
Remove the display from the rest of the device.
-


Annuleren: ik heb deze handleiding niet afgemaakt.
5 andere personen hebben deze handleiding voltooid.
Team

USF Tampa, Team 1-1, Tanski Winter 2015 Lid van USF Tampa, Team 1-1, Tanski Winter 2015
USFT-TANSKI-W15S1G1
3 Leden
8 handleidingen geschreven
3 opmerkingen
This guide help me to change my screen on Nikon P100 with out to much trouble, however I found step 7 unnecessary.