Inleiding
Use this guide to replace the two speakers on your Nexus 9.
Wat je nodig hebt
-
-
With your fingers, carefully pry off the back plastic casing. Starting at the corners is usually the easiest.
-
-
-
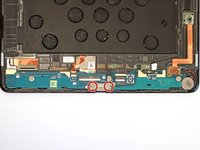
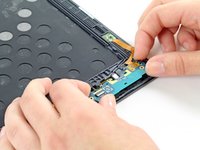
Carefully peel up the copper shielding with your fingers.
-
Before fully removing the copper shielding, make sure that the blue antenna cable is out of the way of the copper tab.
-
-
-
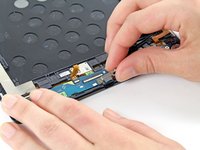
Using the spudger tool, carefully remove the bottom of the battery from it's location below the logic boards.
-
The battery is attached to the motherboard with some adhesive, so you may need an iOpener to loosen up the adhesive. Check out the iOpener guide for info on how to do it.
-
Do not pull the battery from the tablet yet, as it is still connected to the motherboard.
-
-
-
-
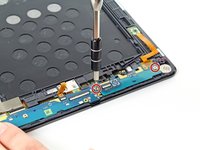
Carefully peel up the copper shielding with your fingers.
-
Before fully removing the copper shielding, make sure that the blue antenna cable is out of the way of the copper tab.
-
-
-
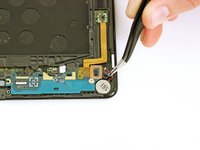
Use a spudger or your fingers to remove the first speaker. The speaker may be heavily glued in and require heat to lift. Be careful as you can pull the speaker apart.
-


To reassemble your device, follow these instructions in reverse order.
To reassemble your device, follow these instructions in reverse order.
Annuleren: ik heb deze handleiding niet afgemaakt.
Één andere persoon heeft deze handleiding voltooid.
Team

Cal Poly, Team 19-11, Maness Winter 2015 Lid van Cal Poly, Team 19-11, Maness Winter 2015
CPSU-MANESS-W15S19G11
5 Leden
7 handleidingen geschreven