Ga door naar hoofdinhoud

Nest Cam Side Snap Locks Replacement

Wat je nodig hebt

  1. Nest Cam Side Snap Locks Replacement, Side Snap Locks: stap 1, afbeelding 1 van 1
    • Remove the four 6 mm screws from the back panel with the J000 Phillips head screwdriver.

    • We suggest designated areas to keep track of all screws.

  2. Nest Cam Side Snap Locks Replacement: stap 2, afbeelding 1 van 3 Nest Cam Side Snap Locks Replacement: stap 2, afbeelding 2 van 3 Nest Cam Side Snap Locks Replacement: stap 2, afbeelding 3 van 3
    • Open the back panel completely to expose the inside of the Nest Cam.

    • Using the tweezers, disconnect the red and black mic cable from the motherboard.

  3. Nest Cam Side Snap Locks Replacement: stap 3, afbeelding 1 van 3 Nest Cam Side Snap Locks Replacement: stap 3, afbeelding 2 van 3 Nest Cam Side Snap Locks Replacement: stap 3, afbeelding 3 van 3
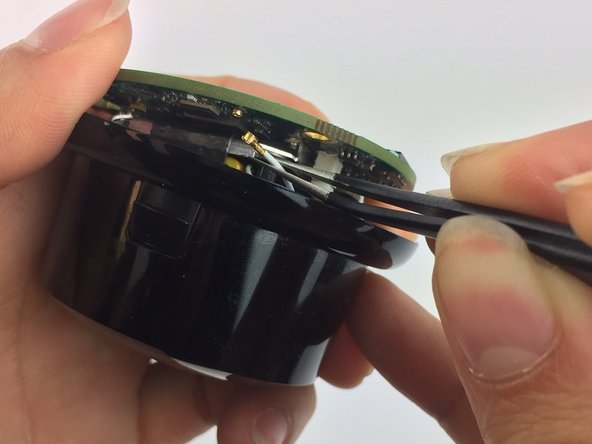
    • Disconnect the black Wi-Fi cable from the top of the motherboard with tweezers.

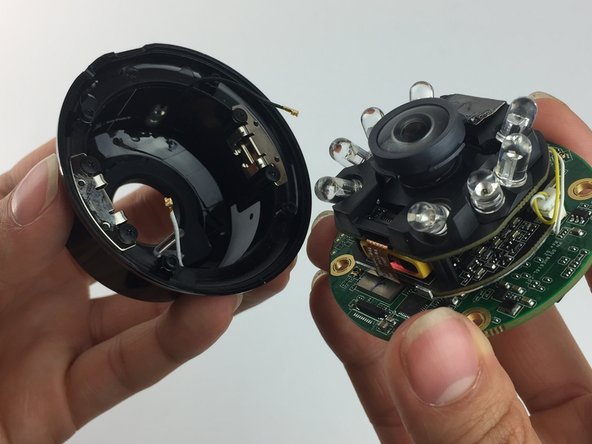
    • Use a plastic spudger to lift the motherboard and camera up enough to expose and disconnect the white cable with the tweezers.

    • Remove motherboard and camera completely from the housing.

  4. Nest Cam Side Snap Locks Replacement: stap 4, afbeelding 1 van 2 Nest Cam Side Snap Locks Replacement: stap 4, afbeelding 2 van 2
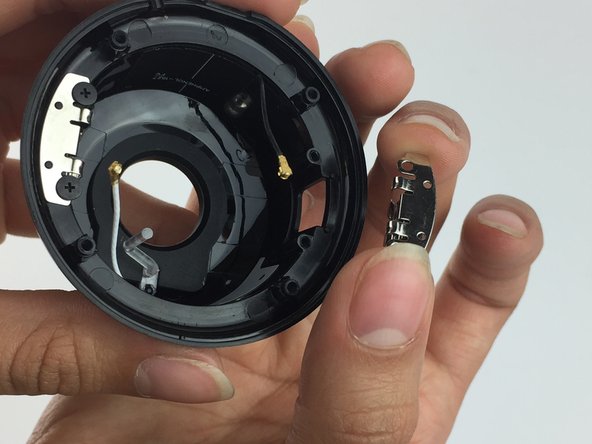
    • Remove the four 3 mm Phillips #J000 screws from the side snap locks. Remove the old side snap locks and place the new side snap locks.

    • Make sure everything lines up for the screws.

Conclusie

To reassemble your device, follow these instructions in reverse order.

Lisa Langley

Lid sinds: 02/24/16

207 Reputatie

1 Handleiding geschreven

Team

USF Tampa, Team 1-1, Leahy Spring 2016 Lid van USF Tampa, Team 1-1, Leahy Spring 2016

USFT-LEAHY-S16S1G1

7 Leden

10 handleidingen geschreven

0 opmerkingen

Voeg opmerking toe

Weergavestatistieken:

Afgelopen 24 uren: 0

Afgelopen 7 dagen: 6

Afgelopen 30 dagen: 16

Altijd: 1,992