Inleiding
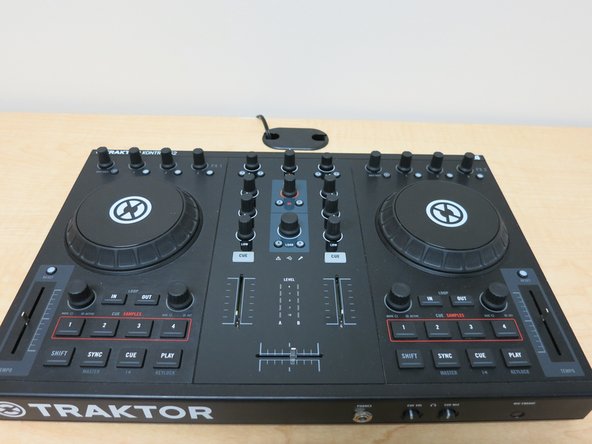
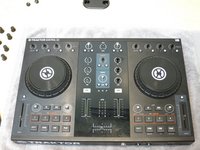
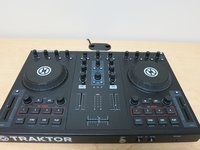
The Kontrol S2 by Native Instruments is an intermediate level DJ controller for live performing by DJs and music producers. It was released in 2011 as a step down from the Kontrol S4, to act as a gateway for beginner and intermediate DJs to practice their craft. The S2 features a 2 channel mixer with 2 decks, complete with 9 effect knobs, 5 browsing knobs, 9 equalizer knobs, 2 channel faders, 1 cross fader, and 2 tempo faders.
This fix would be required if a jog wheel needed to be replaced or a disassembly of a Kontrol S2 was required for a different repair. While there are no hazards, it is important to treat the device with care when handling or repairing the device. This guide aims to allow normal users to perform a repair themselves instead of sending the unit to a repair specialist or the manufacturer.
The replacement part should be a "Replacement Jog Wheel for NI Kontrol S2 MK1".
Wat je nodig hebt
-
-
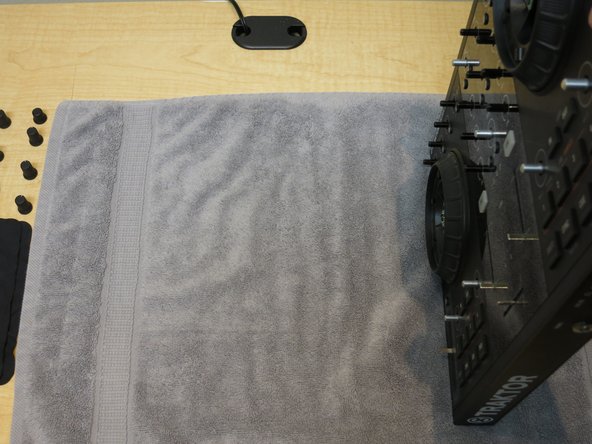
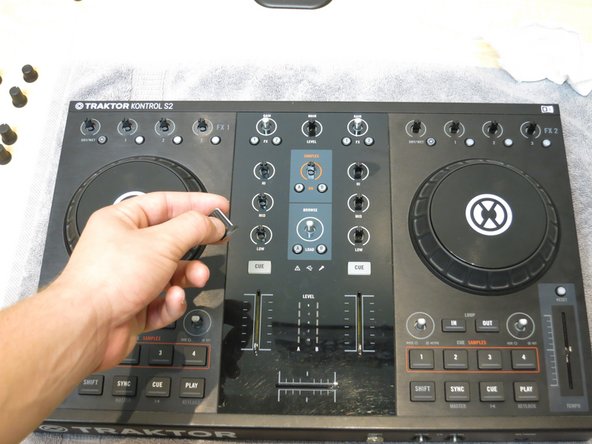
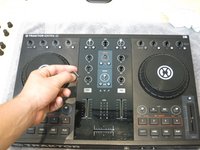
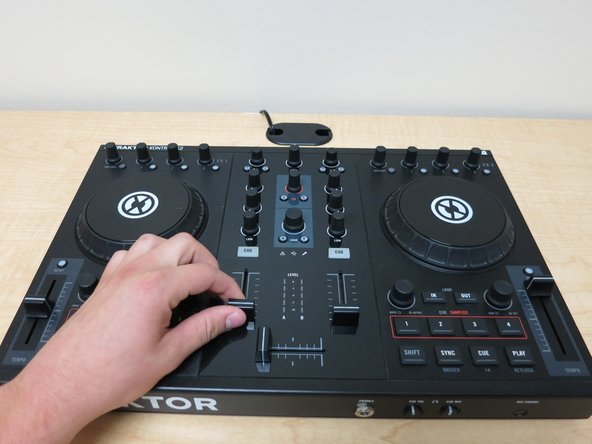
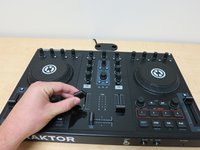
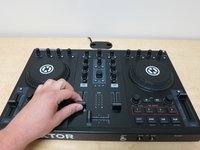
To start the disassembly, grab the channel fader slider and pull up. It will separate from the fader slide with ease.
-
Repeat previous instruction for the 5 other faders. Perform in this order: other channel fader, cross fader (the bottom fader in the middle), and the tempo faders (2 of them) on the left and right sides of the instrument.
-
-
-
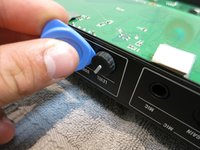
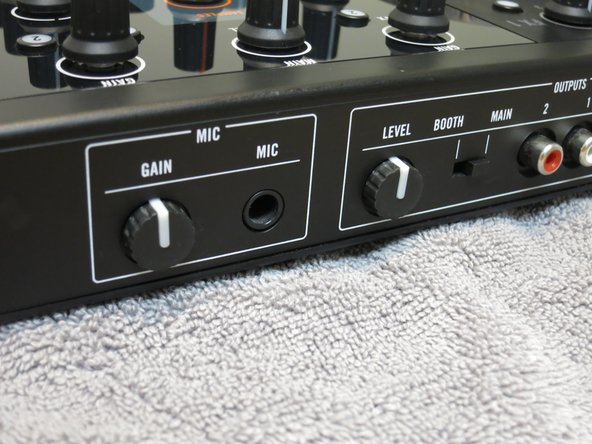
To remove the knobs on the controller use a flat-head screwdriver and a cloth. There are 3 different kinds of knobs (effect, browsing, and level adjustment knobs).
-
Place the cloth in the small gap between the knob and the surface of the controller.
-
Insert the flat-head screwdriver under the knob using the cloth as a protector for the surface of the controller.
-
Acting as a lever, use the screwdriver to pry the knob up and away from the controller.
-
Set the knob aside or into a bag for safe keeping.
-
Repeat with the remaining knobs on the controller.
-
-
-
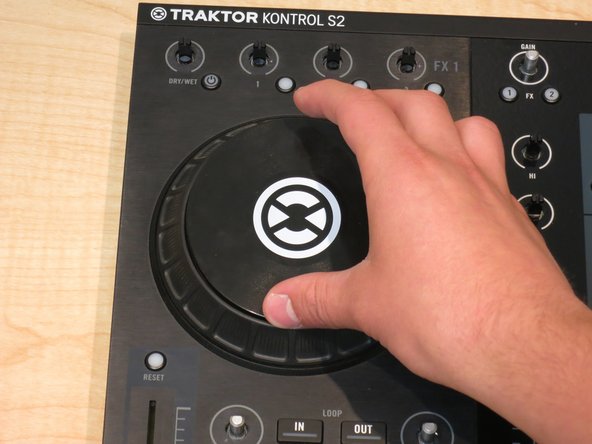
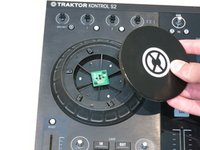
To remove the jog wheel cover, use your non-dominant hand to hold the jog wheel in place. With your dominant hand, press the top of the jog wheel and turn clockwise. The top should come off the jog wheel with ease.
-
Place jog wheel cover off to the side or in a bag.
-
Repeat with the remaining jog wheel.
-
-
-
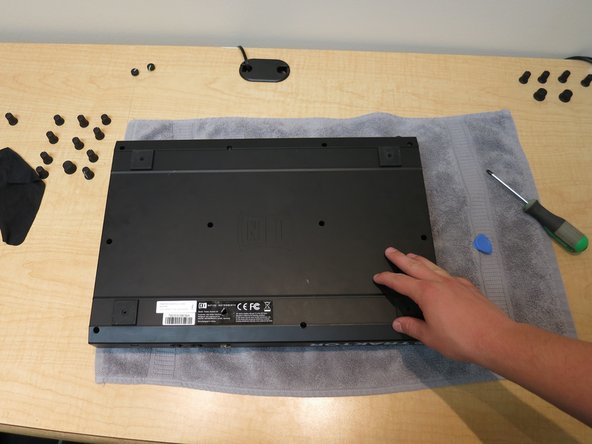
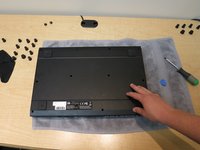
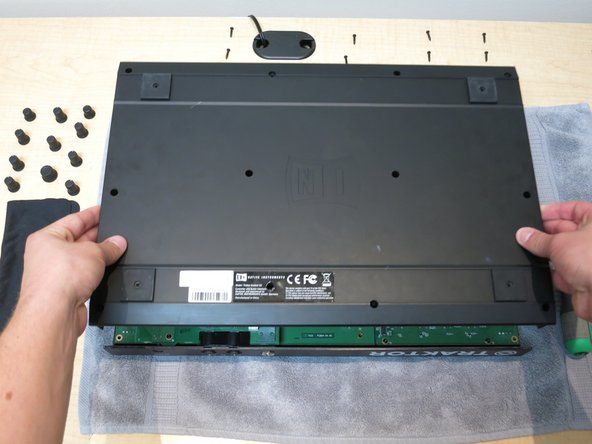
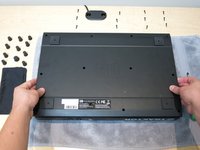
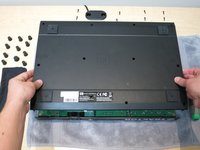
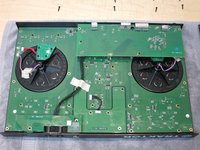
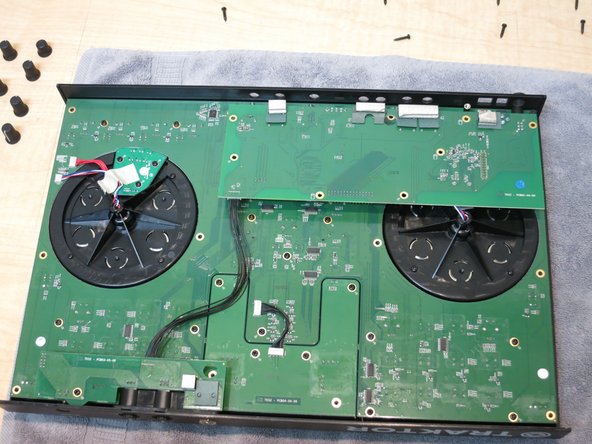
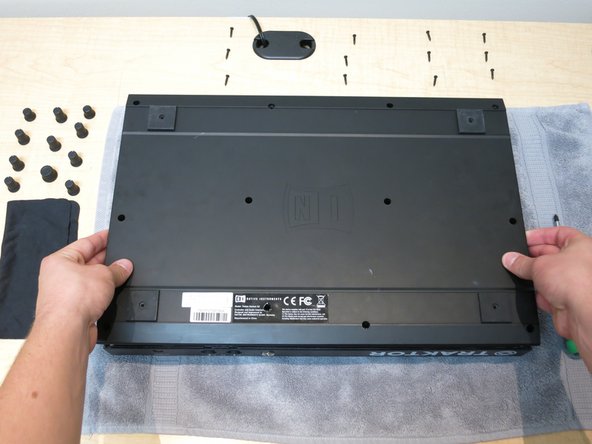
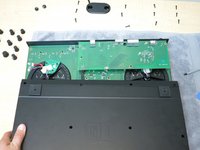
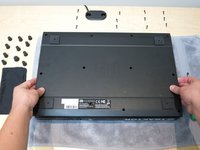
To access the internal components, remove the back of the controller.
-
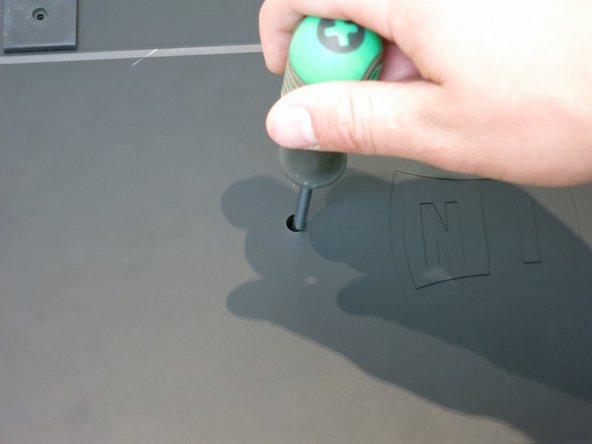
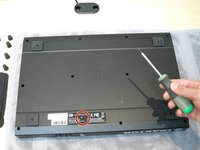
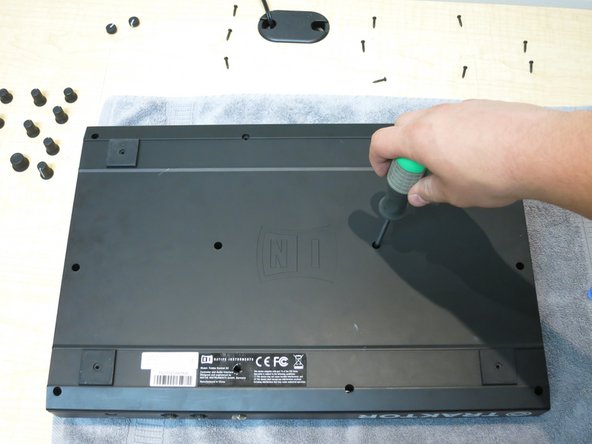
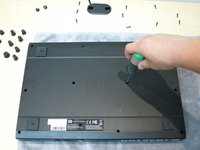
Using a philips-head screwdriver, unscrew the 12 screws that secure the back of the controller.
-
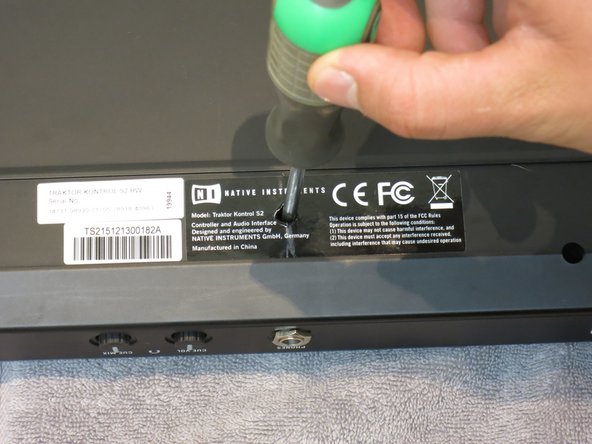
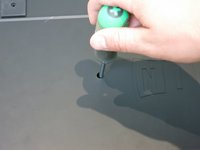
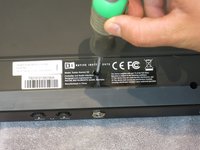
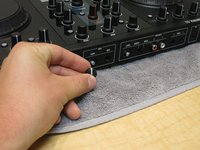
One out of the twelve screws is covered by a label. The easiest way to remove this particular screw is by removing the label first.
-
-
-
-
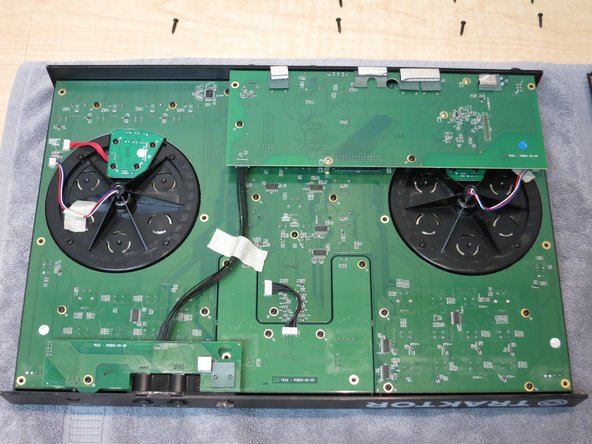
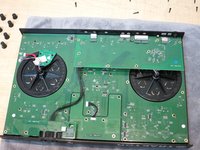
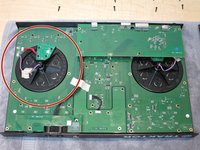
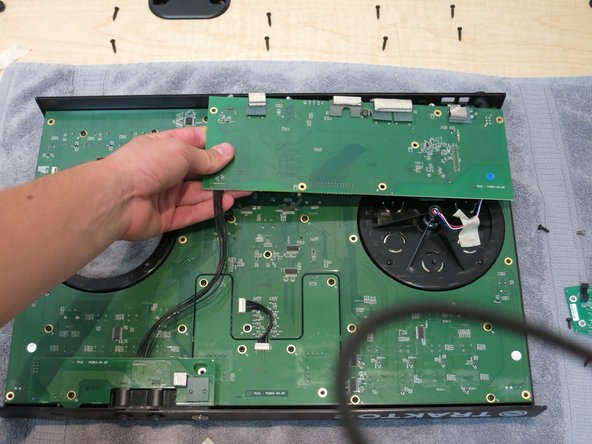
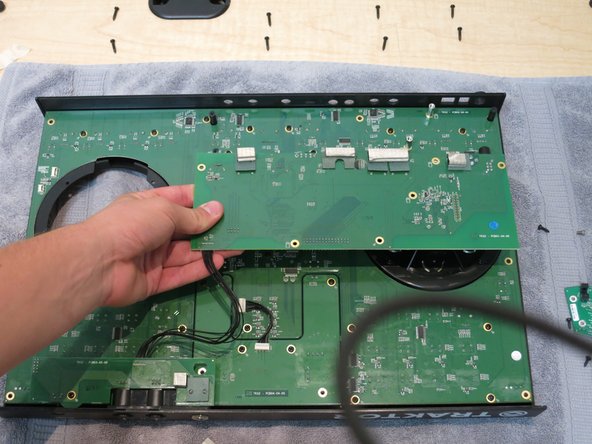
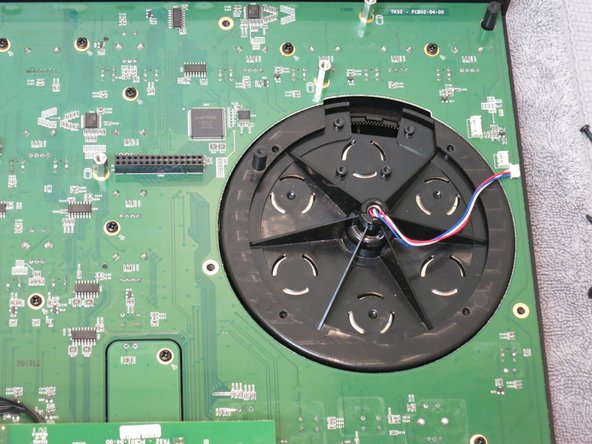
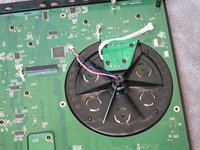
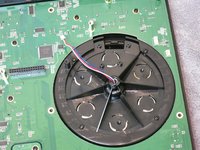
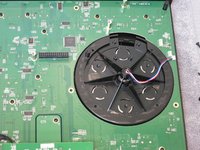
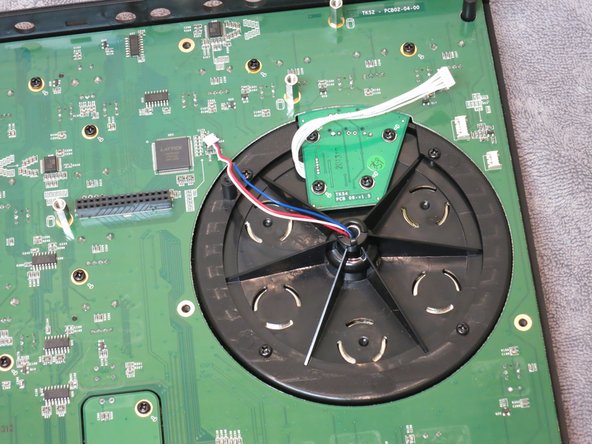
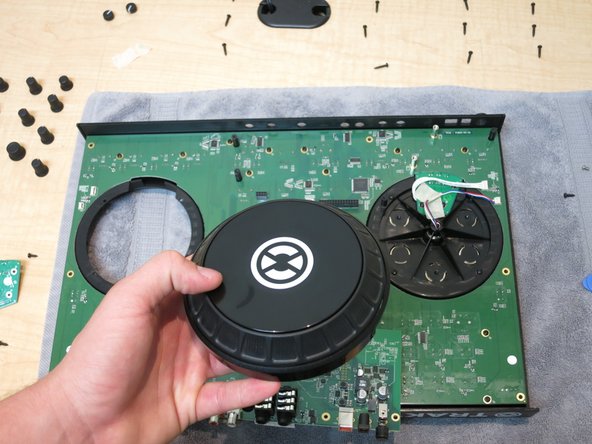
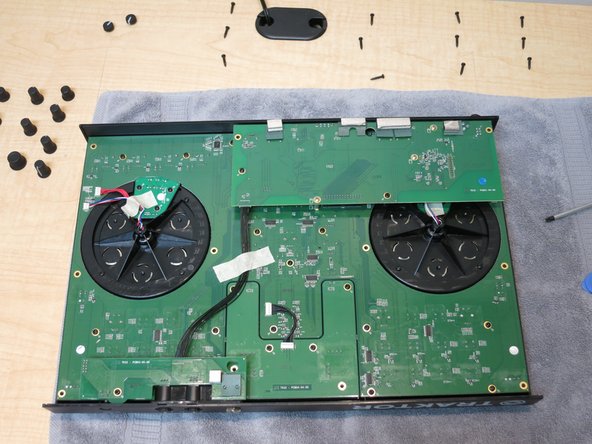
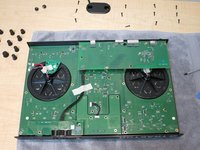
The right jog wheel (on the left side in the current view) will be disassembled next, and removed from the unit.
-
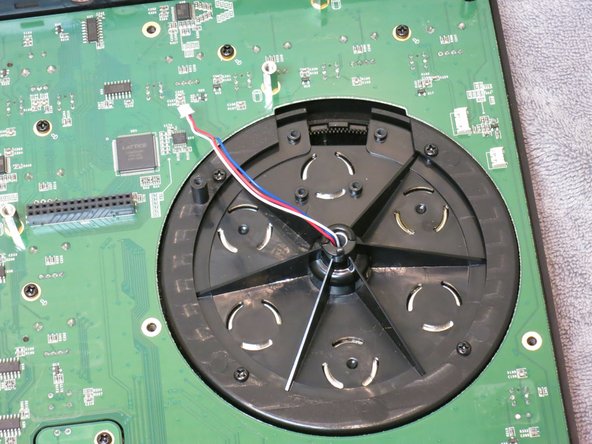
First, the two wires connecting to the jog wheel unit and the jog wheel sensor will need to be disconnected before removing the jog wheel.
-
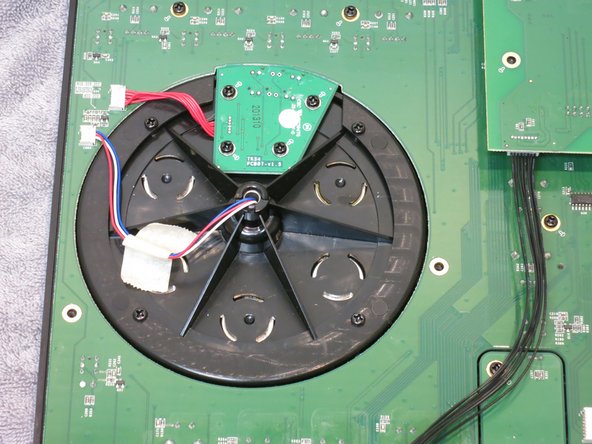
Remove the masking tape holding down the red/white/blue cord bundle to the jog wheel unit.
-
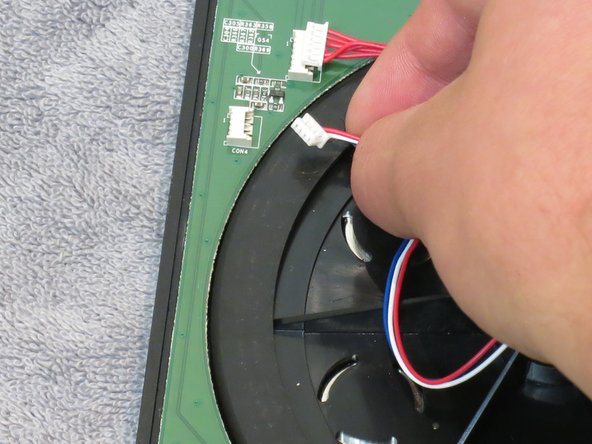
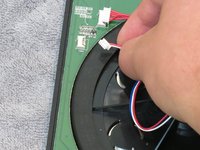
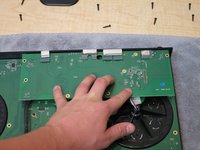
Using your fingernail, carefully separate the red/white/blue cord from the motherboard connection site.
-
Repeat the same step with the red cord bundle.
-
-
-
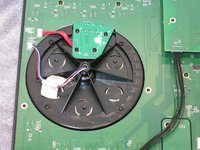
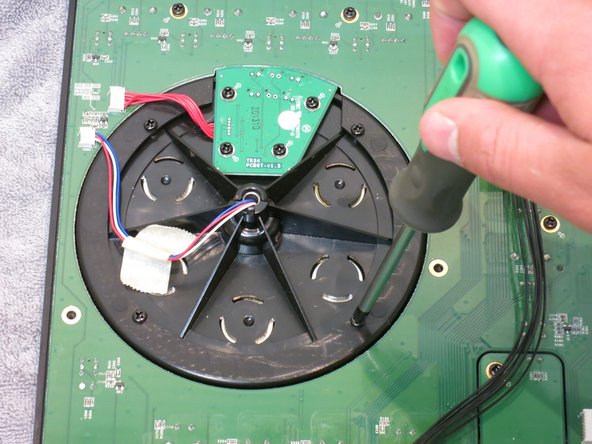
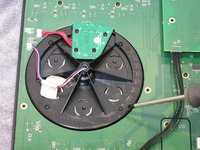
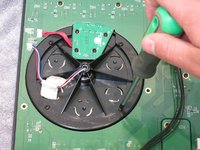
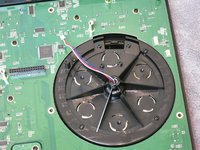
Using the philips-head screwdriver, unscrew the four black screws that are on the jog wheel unit. They will be on the outer edges of the circle.
-
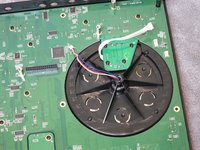
Next, unscrew the 4 screws that secure the jog wheel sensor to the controller.
-
Set all screws and the electronic sensor in a safe place/aside
-
-
-
To install a replacement jog wheel, the first step is to connect the left jog wheel (viewed as right on the controller) into the empty slot.
-
Next, align the screw holes on the jog wheel unit with the holes of the jog wheel frame.
-
Now that the holes are aligned, you are going to need 4 black screws. Using a philips head screwdriver, screw the 4 black screws into the jog wheel unit.
-
After that is done, place the polygon-shaped reader back on to the unit, and screw in the other 4 black screws using the philips-head screwdriver.
-
Then gently plug in the red, white, and blue wire bundle, along with the red bundle into their respective spot on the motherboard.
-
Repeat for right (viewed as left on the controller) jog wheel.
-
-
-
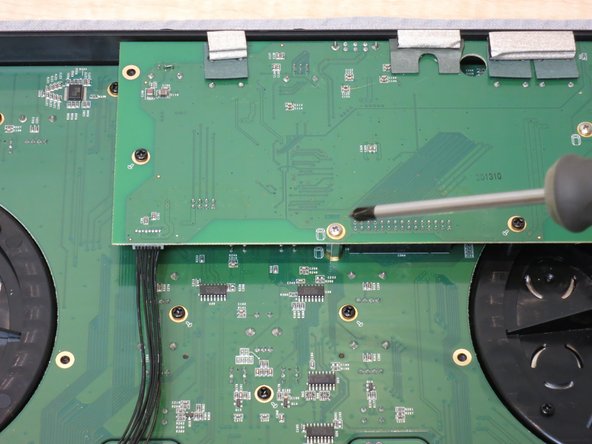
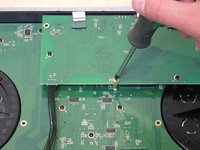
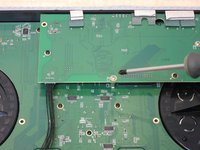
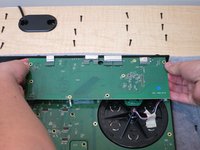
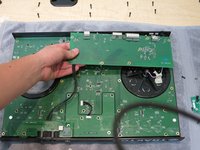
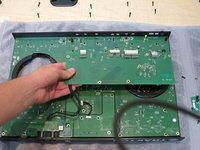
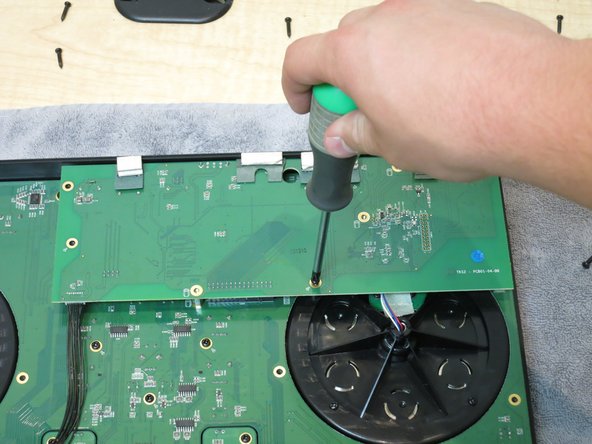
Next, fold the sound card back over. Now align the prongs of the sound card with the black slots of the motherboard.
-
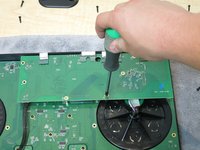
Taking the 3 silver screws and 2 black screws, use the philips-head screwdriver to reconnect the sound card back on to the motherboard.
-
Reapply masking tape to wire bundles, and secure the wires to the motherboard.
-
For additional support, go to: www.native-instruments.com
For additional support, go to: www.native-instruments.com
Annuleren: ik heb deze handleiding niet afgemaakt.
2 andere personen hebben deze handleiding voltooid.
2Gids Commentaar
Hello Ryan
Where can I find the jog to buy?
Do you know a virtual store where you sell the parts of the controllers?
thank you so much


