Ga door naar hoofdinhoud

NZXT H510i ATX Mid Tower Power Supply Replacement

Wat je nodig hebt

  1. NZXT H510i ATX Mid Tower Power Supply Replacement, Power Supply: stap 1, afbeelding 1 van 2 NZXT H510i ATX Mid Tower Power Supply Replacement, Power Supply: stap 1, afbeelding 2 van 2
    • Shut down the computer.

  2. NZXT H510i ATX Mid Tower Power Supply Replacement: stap 2, afbeelding 1 van 2 NZXT H510i ATX Mid Tower Power Supply Replacement: stap 2, afbeelding 2 van 2
    • Turn off the computer using the switch on the power supply. Unplug the power cable from the power supply.

    • This step is very important. Otherwise the computer will still be powered and it could damage its components or get you an electrical shock.

  3. NZXT H510i ATX Mid Tower Power Supply Replacement: stap 3, afbeelding 1 van 1
    Gereedschap gebruikt in deze stap:
    Anti-Static Wrist Strap
    $7.95
    Koop
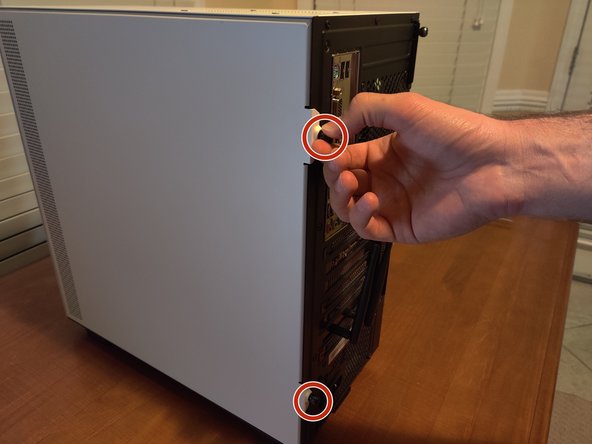
    • Drain the capacitors by pressing the power switch.

    • Wait several minutes after doing this to ensure that the capacitors are drained of all residual power.

    • Put on the anti-static wrist strap.

    • Caution: This step is crucial in order to avoid personal injury and damage to the computer from electrical discharge.

  4. NZXT H510i ATX Mid Tower Power Supply Replacement: stap 4, afbeelding 1 van 1
    • Remove the side panel by unscrewing the captive thumb screws keeping it in place. There will be one towards the top of the panel and another towards the bottom.

  5. NZXT H510i ATX Mid Tower Power Supply Replacement: stap 5, afbeelding 1 van 1
    • Identify the old power supply that will be replaced. As shown, it should be towards the bottom of the case, and towards the back of the computer.

    • Take a picture of how the cables are arranged so that this can be replicated later.

  6. NZXT H510i ATX Mid Tower Power Supply Replacement: stap 6, afbeelding 1 van 3 NZXT H510i ATX Mid Tower Power Supply Replacement: stap 6, afbeelding 2 van 3 NZXT H510i ATX Mid Tower Power Supply Replacement: stap 6, afbeelding 3 van 3
    • Unplug the various power cables. These include the Mainbords big 24 pin cable, the processor's power cable, the graphics card power cable, the SATA cables for the fan control, and the motherboard's power cable

  7. NZXT H510i ATX Mid Tower Power Supply Replacement: stap 7, afbeelding 1 van 3 NZXT H510i ATX Mid Tower Power Supply Replacement: stap 7, afbeelding 2 van 3 NZXT H510i ATX Mid Tower Power Supply Replacement: stap 7, afbeelding 3 van 3
    • Using a Phillips #0 screwdriver, remove the four 6-32 x 6mm screws attached to the power supply.

    • Remove the old power supply from the case.

Conclusie

To reassemble your device, follow these instructions in reverse order.

6 andere personen hebben deze handleiding voltooid.

Graeme McCord

Lid sinds: 10/08/20

307 Reputatie

1 Handleiding geschreven

0 opmerkingen

Voeg opmerking toe

Weergavestatistieken:

Afgelopen 24 uren: 2

Afgelopen 7 dagen: 11

Afgelopen 30 dagen: 55

Altijd: 3,987