Inleiding
This guide is a simple replacement for the LED Controller on the NETGEAR WPN824 Router.
There is nothing special to disassembling the NETGEAR WPN824 Router, but be careful when handling the router’s
motherboard, cables, and led controller. Damage to these components may cause permanent issues with your device.
Wat je nodig hebt
-
-
Turn the device upside down. Remove the 4 rubber screw covers at each corner.
-
Pinch the screw covers and pull them up slowly. You may have to twist and turn them around to get them detached.
-
-
-
Remove the six 3mm T15 Torx screws. Four screws on the corner of the router and two in the middle
-
Use your T15 Torx Screwdriver on each screw and set them aside. These are the only screws you need to remove throughout the repair.
-
-
-
-
Once the screws have been removed you can remove the cover to reveal the motherboard.
-
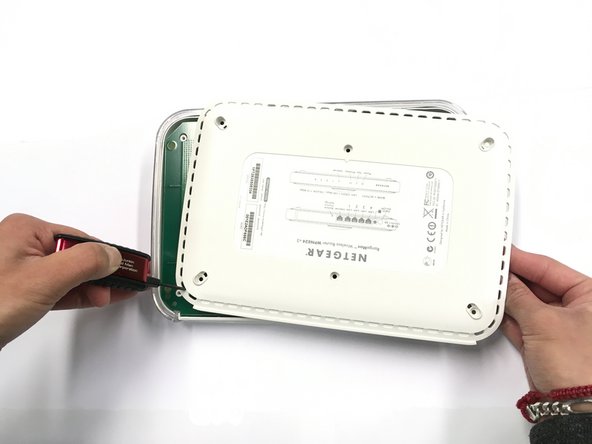
You can use the ESD-safe pry tool on one of the small side openings to pry it open.
-
-
-
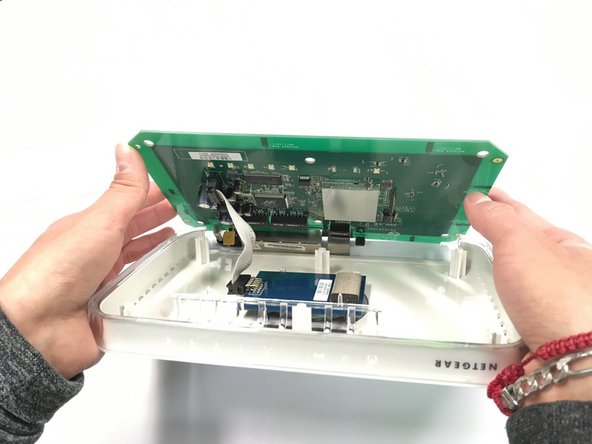
Now that you have the case off you can slowly lift the motherboard from the top case piece.
-
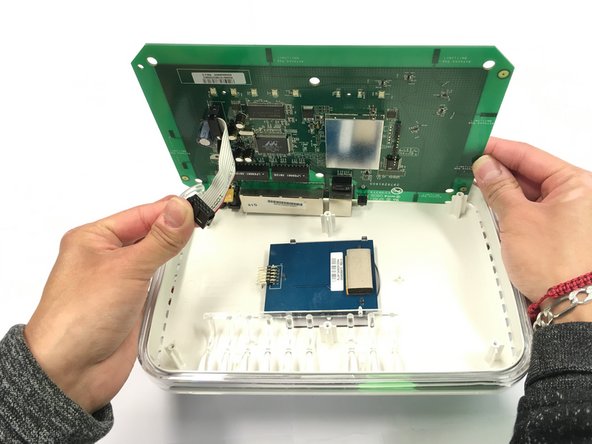
Detach the cable connecting the LED controller to the motherboard. Place the motherboard aside. You will now have access to the LED Controller.
-
-
-
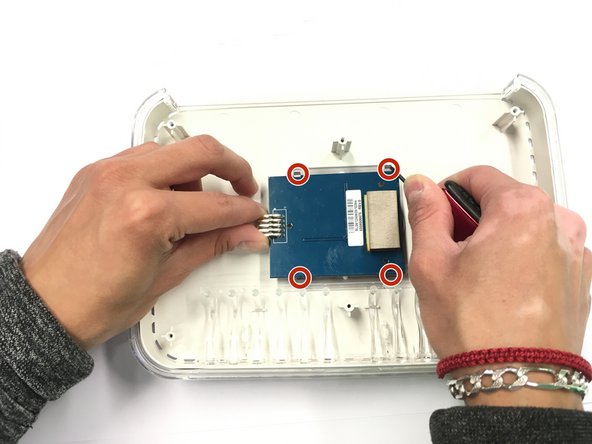
The LED Controller will be pinned down by some plastic clips. Use the ESD-safe pry tool to detach the LED controller.
-
-
-
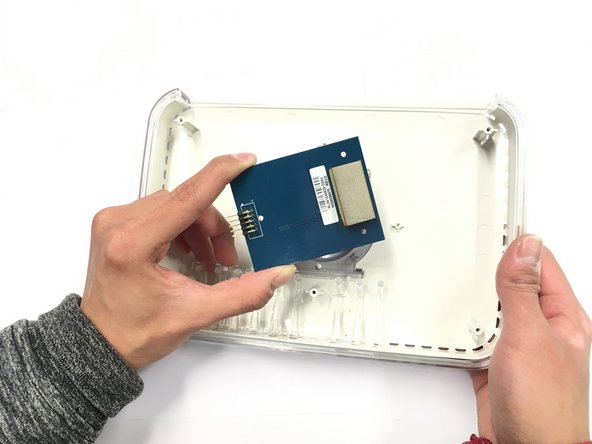
Now that you have detached the controller you can slowly lift it out of the plastic holds.
-
Congratulations! You have successfully removed the LED controller!
-


To reassemble your device, follow these instructions in reverse order.
To reassemble your device, follow these instructions in reverse order.
Annuleren: ik heb deze handleiding niet afgemaakt.
3 andere personen hebben deze handleiding voltooid.

Team

University of Advancing Technology, Team S1-G2, Beam Summer 2019 P2 Lid van University of Advancing Technology, Team S1-G2, Beam Summer 2019 P2
Community
2 Leden
1 handleiding geschreven
Één opmerking
tl;dr
1. Take out led controller.
2. Examine what I have done.