Inleiding
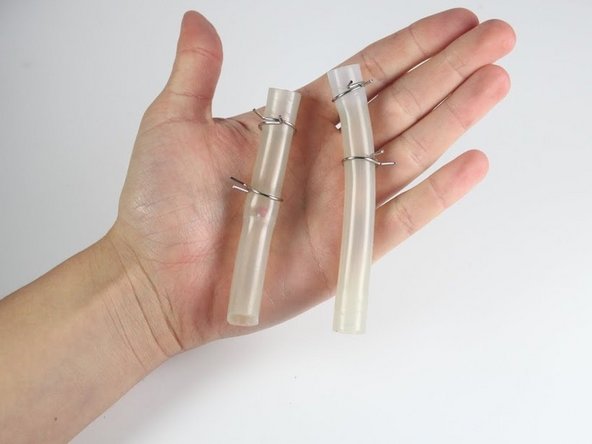
Then you will remove the base of the coffee maker, a couple small wires and with a little tug the tubing will pop right out.
Wat je nodig hebt
-
-
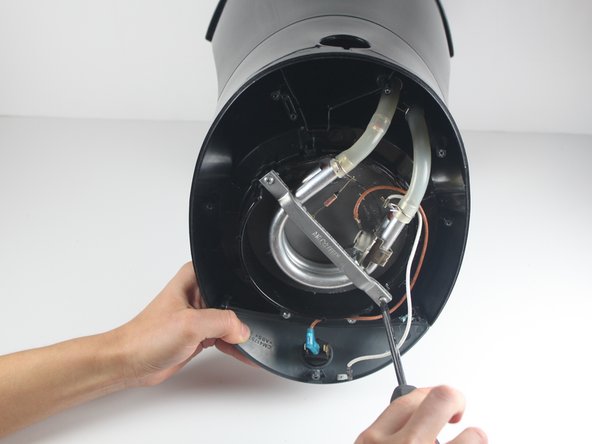
Flip the Mr. Coffee DW13 over so that the lid is facing away from you and the base is facing toward you.
-
-
-
-
Identify and remove the two 13mm screws securing the silver support bracket using a phillips head screw driver.
-


To reassemble your device, follow these instructions in reverse order.
To reassemble your device, follow these instructions in reverse order.
Annuleren: ik heb deze handleiding niet afgemaakt.
3 andere personen hebben deze handleiding voltooid.
Team

Cal Poly, Team 10-31, Maness Winter 2014 Lid van Cal Poly, Team 10-31, Maness Winter 2014
CPSU-MANESS-W14S10G31
4 Leden
6 handleidingen geschreven
8 opmerkingen
Great photos. I've done this on another mr coffee model twice. Once for lime buildup, once for a coffee ground clogging it. Make sure you are gentle with the soft tubing. I split the hose at one end. The clamps now barely covers the split, but I'm looking for a replacement tube and ball valve.
I did not have to detach the heating coil from the plate in order to remove the tubing.
I found that the check valve was clogged with debris on my unit. Blowing it out cleared the clog. My unit's check valve is built into the tube that goes from the reservoir to the coil, so I only had to remove that tube to solve my issue.
Where does the tube with the check valve attach?
latimert36@windstream.net
Water inlet tube from the tank on my model Mr. Coffee BVMC-SJX33GT.