Inleiding
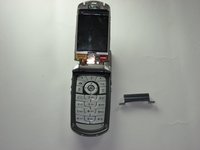
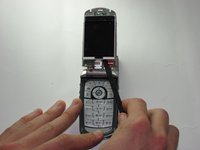
This guide will show you how to replace the camera module.
Wat je nodig hebt
-
-
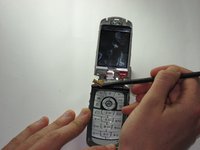
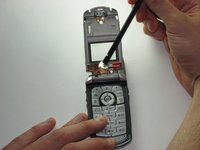
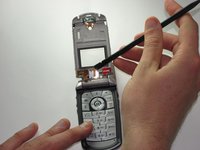
Insert the spudger between the gray and black plates of the screen casing.
-
Using a twist and pry motion work your way around the phone slowly prying the two plates apart.
-
Note: this part of the phone is glued and will require re-gluing to return the phone to its original state.
 Vraag FixBot
-
-
-
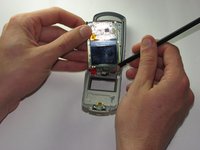
If you look at the side of the now exposed screen there should be a metal casing held onto the phone by two tabs.
-
Insert the spudger underneath one of the corners of the metal and bend it out enough to slip it over the tabs.
-
This metal is reasonably resistant to bending and will likely require a good deal of force to get it off the phone.
-
-
-
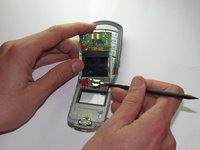
Orient the phone so that the main screen is facing upward.
-
Locate the hinge casing, a dark gray piece that covers the hinge.
-
Insert the spudger under one of the top corners of this piece and using a twist and pry motion remove from the phone.
-
-
-
-
Use the spudger to pry upward and remove the plug that connects the screen to the main body of the phone.
-
-
-
Insert the spudger under the screen and pry the screen forward.
-
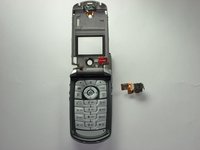
Remove the plug on the back of the screen that connects it to the camera.
-
-
-
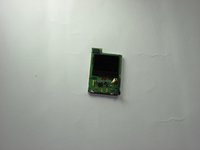
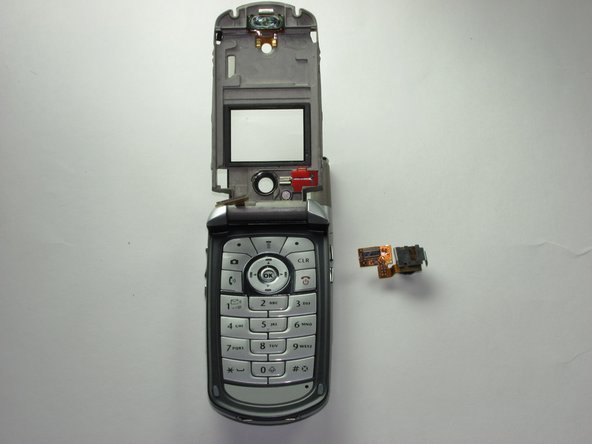
Use the spudger to remove the camera module.
-
Note: The camera has an adhesive holding it in place, so a slight force is necessary to remove it.
-


To reassemble your device, follow these instructions in reverse order.
Team

Cal Poly, Team 8-49, Regan Winter 2010 Lid van Cal Poly, Team 8-49, Regan Winter 2010
CPSU-REGAN-W10S8G49
5 Leden
32 handleidingen geschreven