Deze versie kan foutieve bewerkingen bevatten. Schakel over naar de recentste gecontroleerde momentopname.
Wat je nodig hebt
-
Deze stap is niet vertaald. Help het te vertalen
-
Use the eject pin to open a gap and place a guitar pick into the gap.
-
-
-
Deze stap is niet vertaald. Help het te vertalen
-
Slide the guitar pick to cut the adhesive sticker and peel off the soft back cover.
-
-
Deze stap is niet vertaald. Help het te vertalen
-
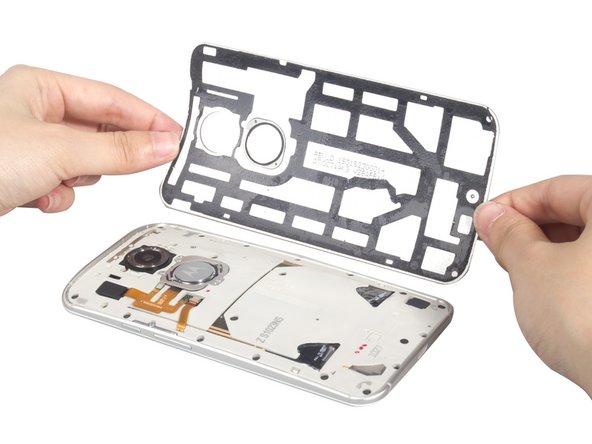
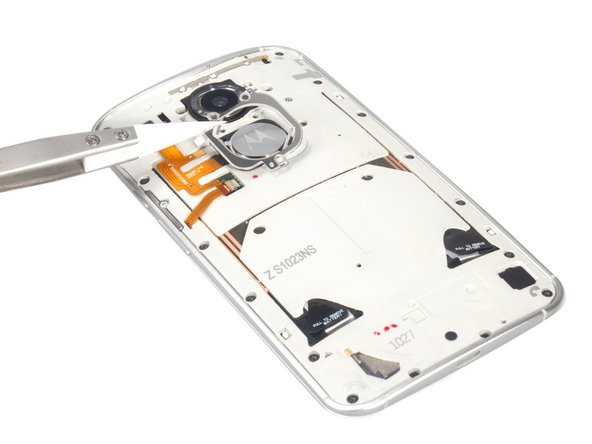
Twist off three screws, pry up the securing bracket and remove the logo finally.
-


Annuleren: ik heb deze handleiding niet afgemaakt.
4 andere personen hebben deze handleiding voltooid.
2 opmerkingen
So apparently, this phone was supposed to have a fingerprint scanner. To anyone who has done this repair, I'm sure you're as confused as me as to why there is a flex cable leading to the "M" logo with nothing attached. My though is that's where the scanner was going to go, and it just never happened, which also explains why the iconic Motorola M dimple is a separate part, compared to the old Moto X and the Gs and Es, which was part of the back plastic cover.
Where can you get the replacement part? I'm finding it difficult.