Ga door naar hoofdinhoud

Motorola Defy Display Assembly Replacement

Wat je nodig hebt

  1. Motorola Defy Display Assembly Replacement, Display Assembly: stap 1, afbeelding 1 van 2 Motorola Defy Display Assembly Replacement, Display Assembly: stap 1, afbeelding 2 van 2
    • Remove the battery cover and the battery itself.

  2. Motorola Defy Display Assembly Replacement: stap 2, afbeelding 1 van 2 Motorola Defy Display Assembly Replacement: stap 2, afbeelding 2 van 2
    • Using a Torx T5 screwdriver, remove both screws near the camera.

  3. Motorola Defy Display Assembly Replacement: stap 3, afbeelding 1 van 1
    • Using the Torx T5 screwdriver, remove all 7 screws around the mobile: 3 on each side + 1 on the botton.

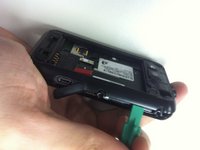
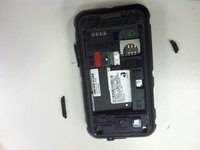
  4. Motorola Defy Display Assembly Replacement: stap 4, afbeelding 1 van 3 Motorola Defy Display Assembly Replacement: stap 4, afbeelding 2 van 3 Motorola Defy Display Assembly Replacement: stap 4, afbeelding 3 van 3
    • Using a plastic opener tool, open the device removing the back cover.

    • Remove the power button and volume button.

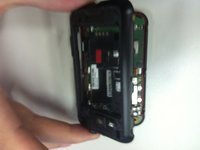
  5. Motorola Defy Display Assembly Replacement: stap 5, afbeelding 1 van 3 Motorola Defy Display Assembly Replacement: stap 5, afbeelding 2 van 3 Motorola Defy Display Assembly Replacement: stap 5, afbeelding 3 van 3
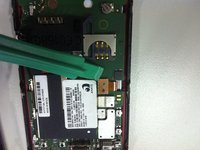
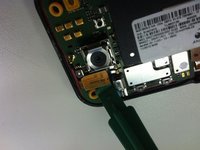
    • After opening the device, carefully, using the plastic opening tool, peel off the lcd and digitalizer conectors from the mainboard.

  6. Motorola Defy Display Assembly Replacement: stap 6, afbeelding 1 van 1
    • Remove the two yellow rubber protectors near the screws. The rectangular yellow rubber protector might fall off too so put it aside.

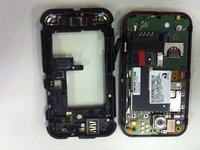
  7. Motorola Defy Display Assembly Replacement: stap 7, afbeelding 1 van 1
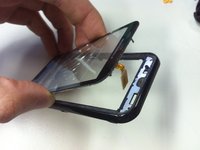
    • Separate the Frame + Digitizer, the LCD and the mainboard.

  8. Motorola Defy Display Assembly Replacement: stap 8, afbeelding 1 van 3 Motorola Defy Display Assembly Replacement: stap 8, afbeelding 2 van 3 Motorola Defy Display Assembly Replacement: stap 8, afbeelding 3 van 3
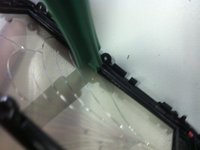
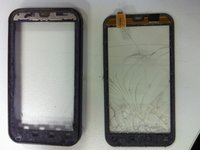
    • Now, using a plastic opening tool, carefully insert it between the frame and the glass and force it slowly to remove the adhesive. You may also heat it to help.

    • Now, Remove the rest of adhesive from the frame to better apply the new digitizer on it.

    • Follow this backwards to reassemble the mobile.

Conclusie

To reassemble your device, follow these instructions in reverse order.

11 andere personen hebben deze handleiding voltooid.

0Gids Commentaar

Voeg opmerking toe

Weergavestatistieken:

Afgelopen 24 uren: 0

Afgelopen 7 dagen: 1

Afgelopen 30 dagen: 5

Altijd: 5,745