Ga door naar hoofdinhoud

Deze handleiding heeft recentere wijzigingen. Schakel over naar de nieuwste niet-geverifieerde versie.

Modal MD-WORCSS6 LED Replacement

Wat je nodig hebt

  1. Modal MD-WORCSS6 LED Replacement, Modal MD-WORCSS6 Teardown Guide: stap 1, afbeelding 1 van 2 Modal MD-WORCSS6 LED Replacement, Modal MD-WORCSS6 Teardown Guide: stap 1, afbeelding 2 van 2
    • Put on Electrostatic Discharge (ESD) bracelet. Hold the device with the transparent plastic casing on the top.

    • Using the jimmy tool, carefully pry off the black plastic ring.

    • Remove the spring assembly from inside the transparent plastic tube.

  2. Modal MD-WORCSS6 LED Replacement: stap 2, afbeelding 1 van 2 Modal MD-WORCSS6 LED Replacement: stap 2, afbeelding 2 van 2
    • Using a Phillips #1 screwdriver, unscrew each of the four 12.7 mm screws inside and at the bottom of the plastic tube.

    • Take the plastic tube off of the metal casing.

  3. Modal MD-WORCSS6 LED Replacement: stap 3, afbeelding 1 van 2 Modal MD-WORCSS6 LED Replacement: stap 3, afbeelding 2 van 2
    • Place the jimmy tool blade between the button assembly and the metal casing. Gently pry off the button assembly; it should pop out.

    • With the button assembly removed, slide off the metal casing.

  4. Modal MD-WORCSS6 LED Replacement: stap 4, afbeelding 1 van 3 Modal MD-WORCSS6 LED Replacement: stap 4, afbeelding 2 van 3 Modal MD-WORCSS6 LED Replacement: stap 4, afbeelding 3 van 3
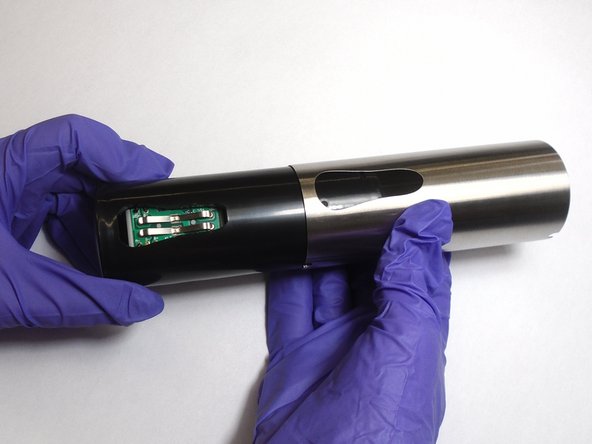
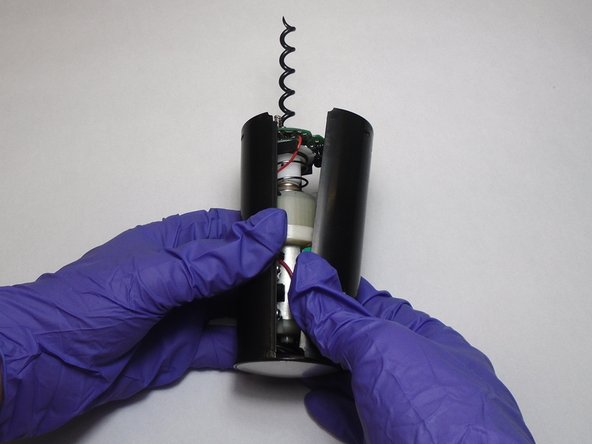
    • Unscrew the two 6.4 mm screws in the black plastic body using the Phillips #1 screwdriver.

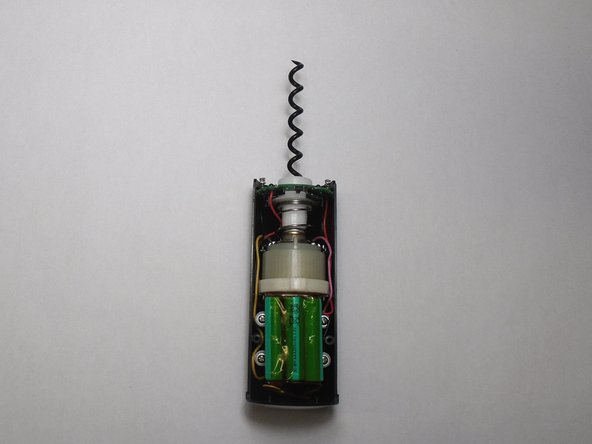
    • Separate the two halves of the plastic body. Keep the half containing the motor facing up.

  5. Modal MD-WORCSS6 LED Replacement: stap 5, afbeelding 1 van 3 Modal MD-WORCSS6 LED Replacement: stap 5, afbeelding 2 van 3 Modal MD-WORCSS6 LED Replacement: stap 5, afbeelding 3 van 3
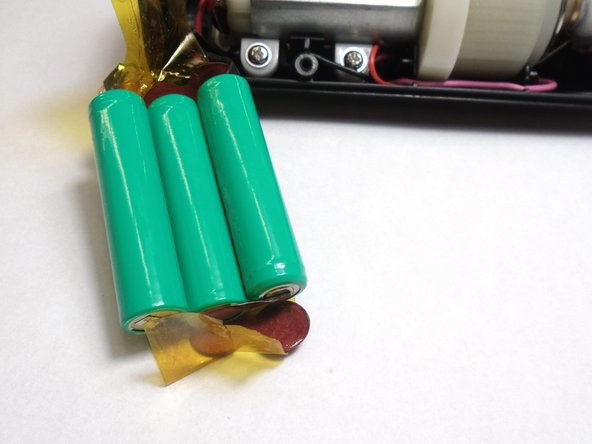
    • Carefully peel the tape off far enough to remove the 3 batteries.

  6. Modal MD-WORCSS6 LED Replacement, LED: stap 6, afbeelding 1 van 3 Modal MD-WORCSS6 LED Replacement, LED: stap 6, afbeelding 2 van 3 Modal MD-WORCSS6 LED Replacement, LED: stap 6, afbeelding 3 van 3
    • Slide the circuit board out of its slot.

    • Remove the LEDs by clipping off their connections with a pair of tweezers.

    • Attach the new LEDs by soldering the ends of the LEDS to their corresponding connections on the circuit board.

    • Check out our How to Solder and Desolder Connections guide for best practices and soldering tips.

Conclusie

To reassemble your device, follow these instructions in reverse order.

Één andere persoon heeft deze handleiding voltooid.

0 opmerkingen

Voeg opmerking toe

Weergavestatistieken:

Afgelopen 24 uren: 0

Afgelopen 7 dagen: 0

Afgelopen 30 dagen: 0

Altijd: 71