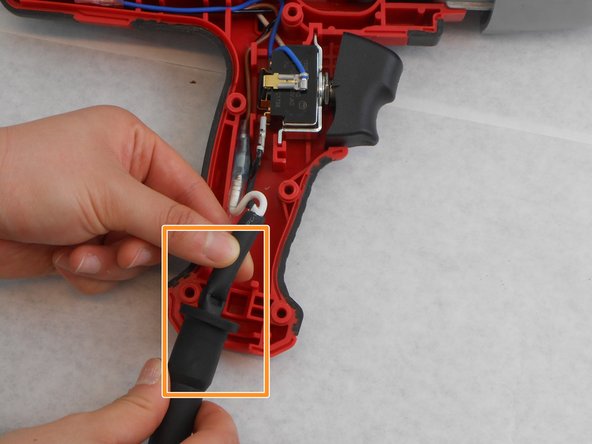
Ga door naar hoofdinhoud

Milwaukee Impact Wrench 9070-20 Power Cord Replacement

Wat je nodig hebt

  1. Milwaukee Impact Wrench 9070-20 Power Cord Replacement, Power Cord: stap 1, afbeelding 1 van 3 Milwaukee Impact Wrench 9070-20 Power Cord Replacement, Power Cord: stap 1, afbeelding 2 van 3 Milwaukee Impact Wrench 9070-20 Power Cord Replacement, Power Cord: stap 1, afbeelding 3 van 3
    • Ensure that the device is unplugged from any power source to avoid electrical shock.

    • Flip the device and remove four 18mm screws using the T20 Torx screwdriver.

    • Remove the four 14mm screws using the same screwdriver.

  2. Milwaukee Impact Wrench 9070-20 Power Cord Replacement: stap 2, afbeelding 1 van 3 Milwaukee Impact Wrench 9070-20 Power Cord Replacement: stap 2, afbeelding 2 van 3 Milwaukee Impact Wrench 9070-20 Power Cord Replacement: stap 2, afbeelding 3 van 3
    • Hold the device so the gray part faces directly towards you.

    • Remove the four screws on the sides using the T20 Torx screwdriver.

    • After removing all screws, use a small plastic pry bar to slide the gearbox assembly forward slightly.

  3. Milwaukee Impact Wrench 9070-20 Power Cord Replacement: stap 3, afbeelding 1 van 2 Milwaukee Impact Wrench 9070-20 Power Cord Replacement: stap 3, afbeelding 2 van 2
    • Gently remove the upper clam shell from the device.

    • Lift a black colored power cord from its mount at the bottom of the device, so it can move freely.

  4. Milwaukee Impact Wrench 9070-20 Power Cord Replacement: stap 4, afbeelding 1 van 2 Milwaukee Impact Wrench 9070-20 Power Cord Replacement: stap 4, afbeelding 2 van 2
    • Disconnect the brown field winding wire from the white ac power cord wire.

  5. Milwaukee Impact Wrench 9070-20 Power Cord Replacement: stap 5, afbeelding 1 van 2 Milwaukee Impact Wrench 9070-20 Power Cord Replacement: stap 5, afbeelding 2 van 2
    • Disconnect the black ac power wire from the connector on the bottom of the forward / reverse switch.

    • Remove the AC power cord and replace it with a new one.

Conclusie

To reassemble your device, follow these instructions in reverse order.

0 opmerkingen

Voeg opmerking toe

Weergavestatistieken:

Afgelopen 24 uren: 0

Afgelopen 7 dagen: 0

Afgelopen 30 dagen: 3

Altijd: 328