Inleiding
Here's how to remove the display for the Surface Pro 4. This is the first step to replacement and to many other repairs on this device.
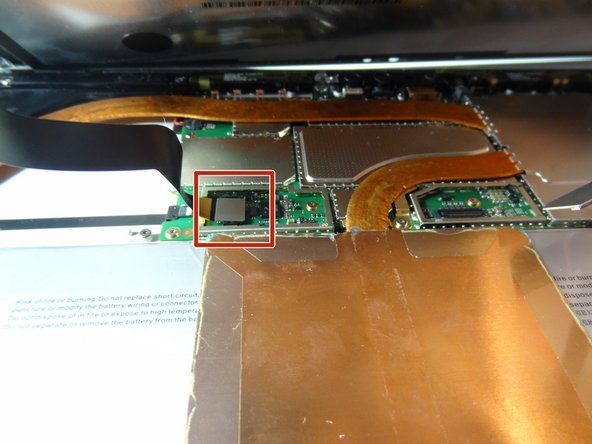
The Surface Pro 4 has two versions with displays from different manufacturers and different connectors. Version 1.0 has a Samsung display and a 25 pin connector while version 2.0 has an LG display and a 32 pin connector. The two types are not cross compatible.
It is unclear if there is a way to determine which display you have without disassembling your device. Look closely at the connector on your old display before purchasing a replacement.
Wat je nodig hebt
-
-
If your display is cracked, cover it with strips of packing tape to contain any glass shards and prevent injury.
-
-
-
To remove the display, first soften the adhesive by applying heat. You can use a heat pad, heat gun, or iOpener. In a pinch, a hair dryer can also work.
-
Steadily and evenly heat the perimeter of the display until it's too hot to touch, and try to maintain that temperature for several minutes—but don't overheat it, or you may damage the display.
-
-
-
Use a suction cup or an iSclack to pull up on the glass and create a slight gap between the glass and the metal frame.
-
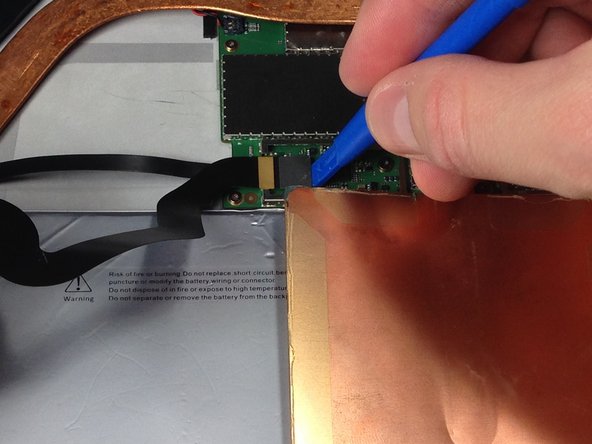
Insert an opening pick into the gap.
-
There are tabs on the upper right side and upper left side where it is easier to get a tool under the display.
-
Slide an opening pick around the sides and bottom of the display to cut the adhesive. Apply more heat as needed.
-
Separate the top edge last. There are antennas on both sides, so be careful not to damage them. If needed, you can use a bit of isopropyl alcohol to help weaken the adhesive.
-
-


To reassemble your device, follow these instructions in reverse order.
To reassemble your device, follow these instructions in reverse order.
Annuleren: ik heb deze handleiding niet afgemaakt.
106 andere personen hebben deze handleiding voltooid.
Team

Metro State, Team 1-3, Carpenter Spring 2016 Lid van Metro State, Team 1-3, Carpenter Spring 2016
MSU-CARPENTER-S16S1G3
2 Leden
12 handleidingen geschreven
60 opmerkingen
Thank you for your guide.
I've removed the cracked screen from my Surface Pro 4 and hope to replace it with a new screen I bought on eBay. Unfortunately, the new screen doesn't seem to have the NTrig board attached to it.
Is it possible to remove that little board from the old screen? If so, how?
I'm also interested on this. as I can't find a screen seller that includes the NTrig board. Did you manage to do it, Alex?
Yes you can heat up the board and remove it and move it over to the new screen. However my problem is that now I have a vertical dead spot about 2 inches wide from the "J" key to the "L" key up and down the screen. I can't find any damage to the cables or boards... I have replaced the screen twice now and nothing.
Same problem as the guy above, moved the n-trig board over, touch is unresponsive in certain spots, anyone find a solution to this?
I'll be moving the board over as well, I am told to make sure the cables are completely connected, Check and Re-Check. This seemed to have fixed most problems with the touch being unresponsive in some area's.