Ga door naar hoofdinhoud

Merch Source Projector Entertainment II Light Bulb Replacement

Wat je nodig hebt

  1. Merch Source Projector Entertainment II Light Bulb Replacement, Outer Casing: stap 1, afbeelding 1 van 2 Merch Source Projector Entertainment II Light Bulb Replacement, Outer Casing: stap 1, afbeelding 2 van 2
    • Flip the projector onto its back and unscrew the nine 15mm screws using the Phillips #0 screw driver.

  2. Merch Source Projector Entertainment II Light Bulb Replacement: stap 2, afbeelding 1 van 1
    • Flip the projector right side up and unscrew the two 12mm screws on the light bulb panel located at the rear of the projector with a Phillips #0 screw head.

    • The bottom right panel screw does not come completely out the panel door.

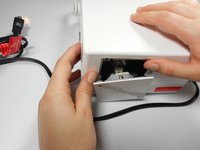
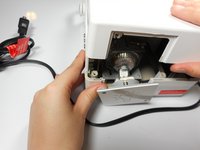
  3. Merch Source Projector Entertainment II Light Bulb Replacement: stap 3, afbeelding 1 van 2 Merch Source Projector Entertainment II Light Bulb Replacement: stap 3, afbeelding 2 van 2
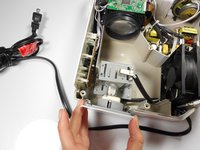
    • Using your hands, gently pry the top and bottom of the projector casing apart.

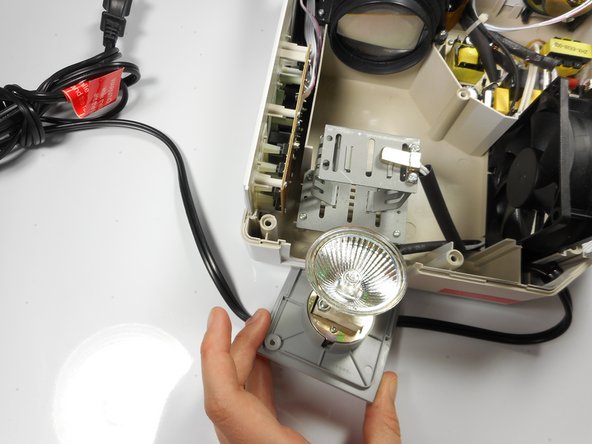
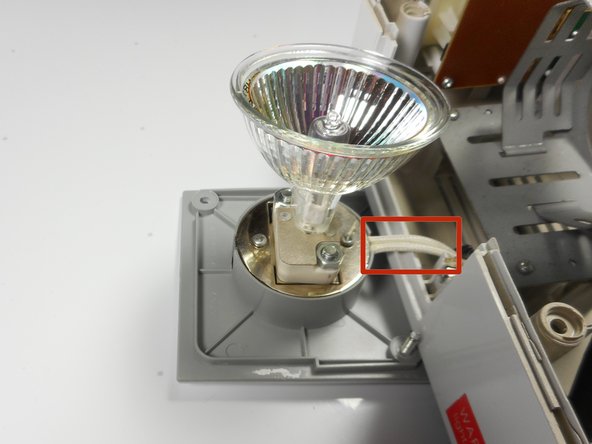
  4. Merch Source Projector Entertainment II Light Bulb Replacement, Remove light bulb assembly from housing unit: stap 4, afbeelding 1 van 3 Merch Source Projector Entertainment II Light Bulb Replacement, Remove light bulb assembly from housing unit: stap 4, afbeelding 2 van 3 Merch Source Projector Entertainment II Light Bulb Replacement, Remove light bulb assembly from housing unit: stap 4, afbeelding 3 van 3
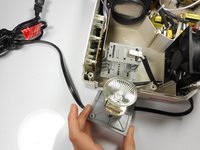
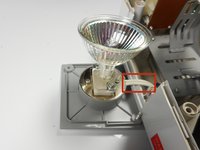
    • Remove the light bulb from its housing unit.

    • Do not damage the 2 white cables leading into the light bulb panel.

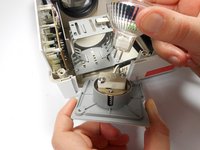
  5. Merch Source Projector Entertainment II Light Bulb Replacement, Replace light bulb: stap 5, afbeelding 1 van 2 Merch Source Projector Entertainment II Light Bulb Replacement, Replace light bulb: stap 5, afbeelding 2 van 2
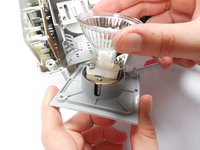
    • Remove the light bulb from the door panel by gently wiggling it back and forth. Do not twist the light bulb.

    • The light blub is held into the socket with prongs, and should easily pull straight out.

Conclusie

To reassemble your device, follow these instructions in reverse order.

Één andere persoon heeft deze handleiding voltooid.

Stephanie

Lid sinds: 01/08/15

276 Reputatie

3 handleidingen geschreven

Team

Cal Poly, Team 18-3, Maness Winter 2015 Lid van Cal Poly, Team 18-3, Maness Winter 2015

CPSU-MANESS-W15S18G3

3 Leden

4 handleidingen geschreven

Één opmerking

Mi nuevo proyector no prende la luz ni el ventilador al conectarlo al tomacorriente y encenderlo.

JAVIER MUNOZ - Antwoord

Voeg opmerking toe

Weergavestatistieken:

Afgelopen 24 uren: 0

Afgelopen 7 dagen: 2

Afgelopen 30 dagen: 10

Altijd: 1,823