Deze versie kan foutieve bewerkingen bevatten. Schakel over naar de recentste gecontroleerde momentopname.
Wat je nodig hebt
-
Deze stap is niet vertaald. Help het te vertalen
-
Remove the four rubber caps from the back by using the Phillips #00 screwdriver.
-
-
Deze stap is niet vertaald. Help het te vertalen
-
Remove the four screws holding the cover in place by using the Phillips #00 screwdriver.
-
-
-
Deze stap is niet vertaald. Help het te vertalen
-
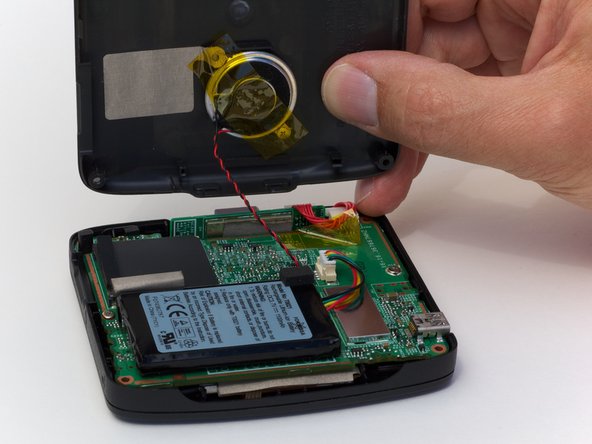
Remove the back cover from the device by separating the back cover along its seam.
-
-
Deze stap is niet vertaald. Help het te vertalen
-
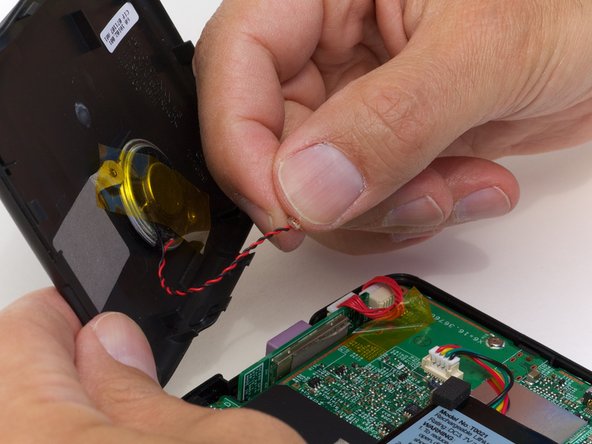
Pull the speaker cord, horizontally, by its base, away from the motherboard.
-
-
Deze stap is niet vertaald. Help het te vertalen
-
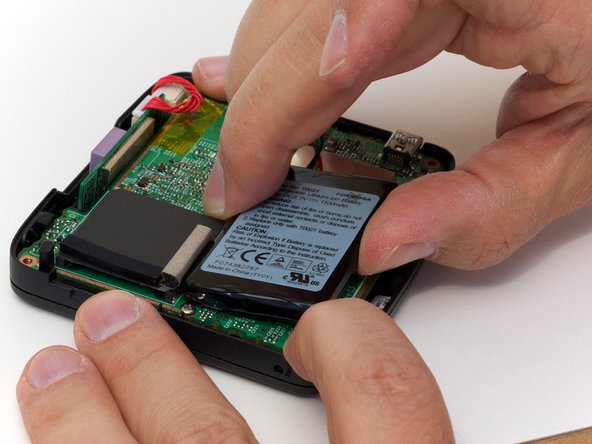
Disconnect the battery connector from the circuit board.
-
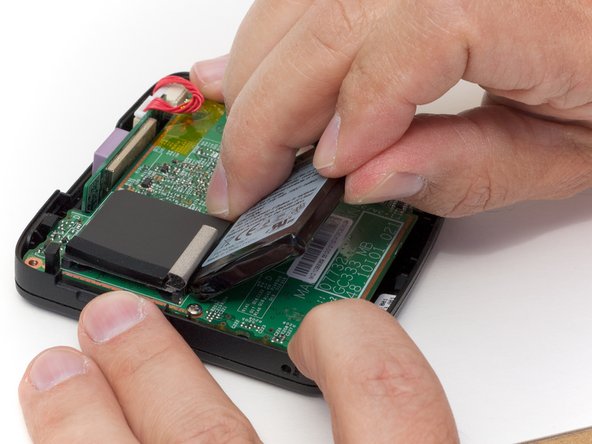
Pry the battery off the circuit board. The adhesive attaching it shouldn't require any other tools.
-


Annuleren: ik heb deze handleiding niet afgemaakt.
4 andere personen hebben deze handleiding voltooid.
