Ga door naar hoofdinhoud

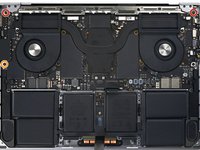
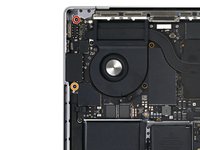
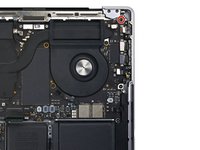
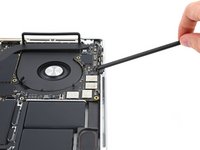
MacBook Pro 14" 2021 Logic Board Replacement

Alleen vereisten
Deze handleiding is alleen bedoeld als vereiste voor andere handleidingen. Het staat niet op zichzelf.

Wat je nodig hebt

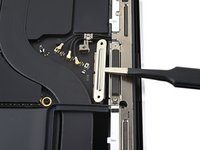
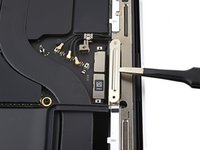
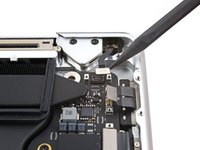
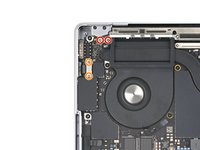
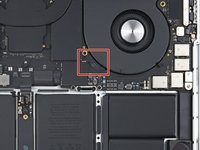
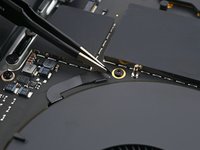
  1. MacBook Pro 14" 2021 Logic Board Replacement, Unfasten the antenna bar's connector bracket: stap 1, afbeelding 1 van 2 MacBook Pro 14" 2021 Logic Board Replacement, Unfasten the antenna bar's connector bracket: stap 1, afbeelding 2 van 2
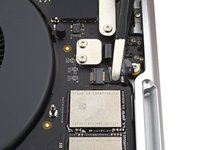
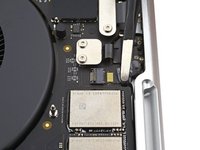
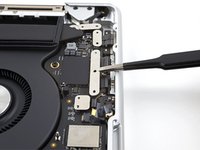
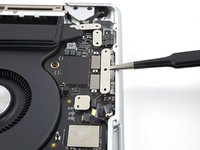
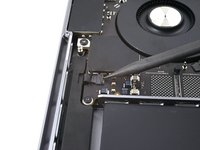
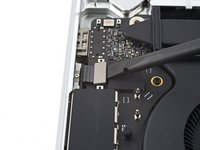
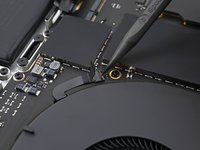
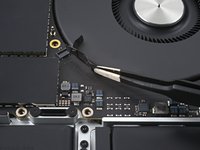
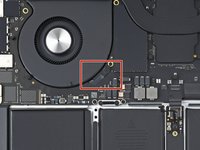
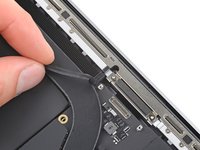
    • Use a T3 Torx screwdriver to remove the three 2.1 mm screws securing the antenna board bracket and coaxial cable cover to the frame.

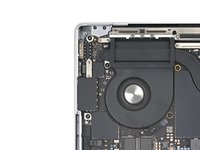
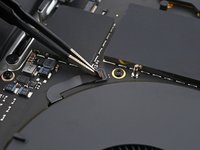
  2. MacBook Pro 14" 2021 Logic Board Replacement: stap 2, afbeelding 1 van 2 MacBook Pro 14" 2021 Logic Board Replacement: stap 2, afbeelding 2 van 2
    Gereedschap gebruikt in deze stap:
    Tweezers
    $4.99
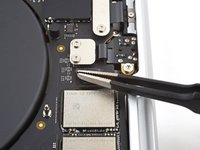
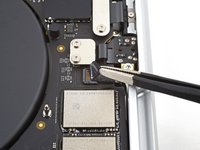
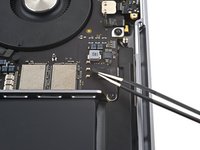
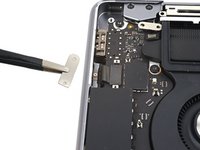
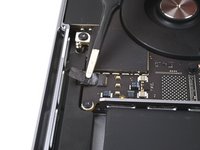
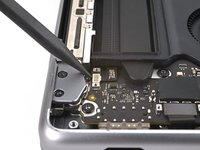
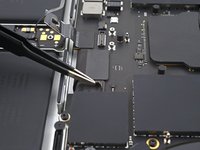
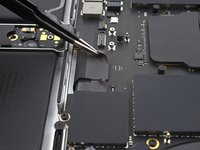
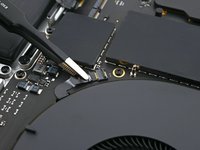
    • Use tweezers, or your fingers, to remove the cover on top of the antenna bar's coaxial cables.

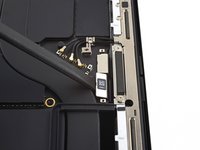
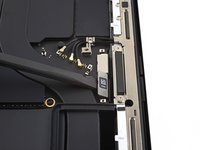
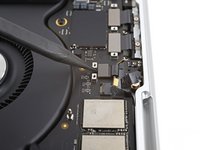
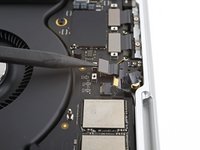
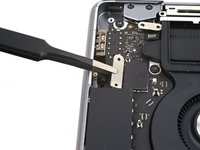
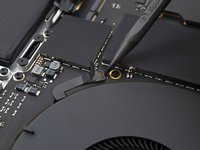
  3. MacBook Pro 14" 2021 Logic Board Replacement, Disconnect the antenna bar: stap 3, afbeelding 1 van 2 MacBook Pro 14" 2021 Logic Board Replacement, Disconnect the antenna bar: stap 3, afbeelding 2 van 2
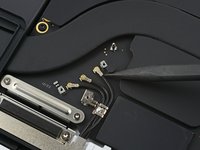
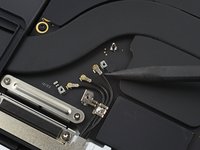
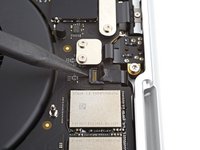
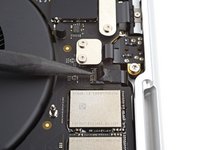
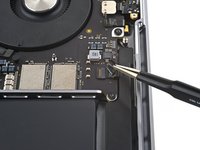
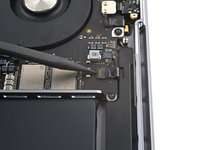
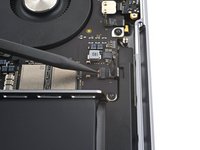
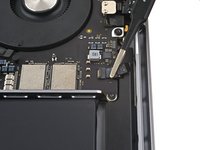
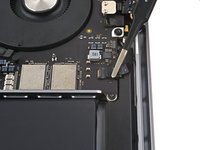
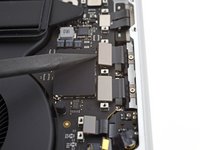
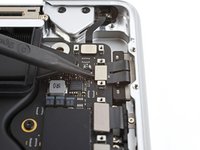
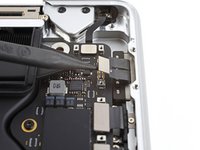
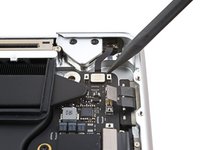
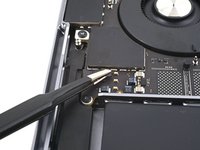
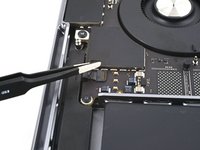
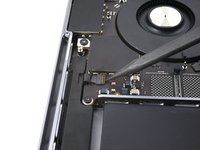
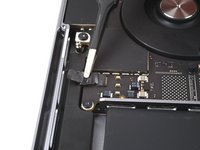
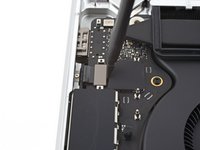
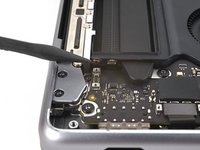
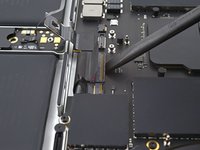
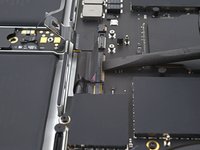
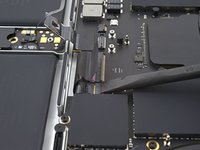
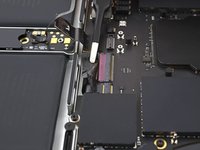
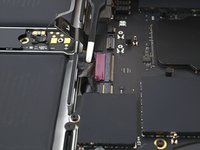
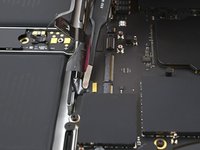
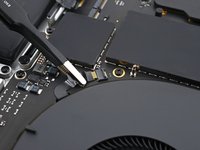
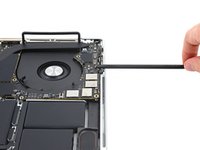
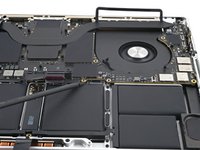
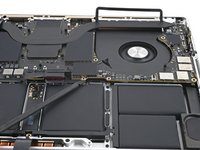
    • Use the tip of a spudger to pry up and disconnect the antenna bar's coaxial cable.

    • Repeat for the two other cables.

    • During reassembly, these can be tricky to reconnect. Hold each connector in place over its socket and press down with the flat end of a spudger. The connector should snap into place.

  4. MacBook Pro 14" 2021 Logic Board Replacement, Unfasten the screen cable covers: stap 4, afbeelding 1 van 2 MacBook Pro 14" 2021 Logic Board Replacement, Unfasten the screen cable covers: stap 4, afbeelding 2 van 2
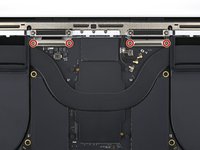
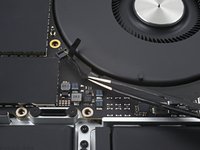
    • Use a T3 Torx driver to remove the four 2.1 mm screws securing the screen cable covers.

  5. MacBook Pro 14" 2021 Logic Board Replacement, Remove the screen cable covers: stap 5, afbeelding 1 van 2 MacBook Pro 14" 2021 Logic Board Replacement, Remove the screen cable covers: stap 5, afbeelding 2 van 2
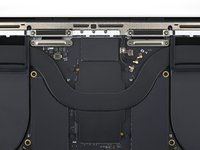
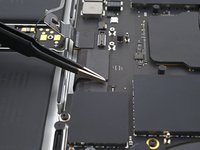
    • Use tweezers, or your fingers, to remove the two screen cable covers from the logic board.

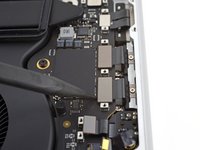
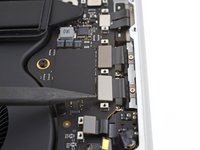
  6. MacBook Pro 14" 2021 Logic Board Replacement, Disconnect the screen cables: stap 6, afbeelding 1 van 3 MacBook Pro 14" 2021 Logic Board Replacement, Disconnect the screen cables: stap 6, afbeelding 2 van 3 MacBook Pro 14" 2021 Logic Board Replacement, Disconnect the screen cables: stap 6, afbeelding 3 van 3
    • Use the flat end of a spudger to pry up and disconnect the right-most screen cable press connectors secured to the logic board.

  7. MacBook Pro 14" 2021 Logic Board Replacement: stap 7, afbeelding 1 van 2 MacBook Pro 14" 2021 Logic Board Replacement: stap 7, afbeelding 2 van 2
    • Repeat the previous disconnection process for the remaining press connector at the top left of the logic board.

    • Don't pry against the surface-mounted components near the press connector.

  8. MacBook Pro 14" 2021 Logic Board Replacement: stap 8, afbeelding 1 van 3 MacBook Pro 14" 2021 Logic Board Replacement: stap 8, afbeelding 2 van 3 MacBook Pro 14" 2021 Logic Board Replacement: stap 8, afbeelding 3 van 3
    • Peel back any tape covering the microphone cable connector.

  9. MacBook Pro 14" 2021 Logic Board Replacement: stap 9, afbeelding 1 van 2 MacBook Pro 14" 2021 Logic Board Replacement: stap 9, afbeelding 2 van 2
    • Use a spudger to gently pry up the locking flap on the ZIF connector for the microphone cable.

  10. MacBook Pro 14" 2021 Logic Board Replacement: stap 10, afbeelding 1 van 2 MacBook Pro 14" 2021 Logic Board Replacement: stap 10, afbeelding 2 van 2
    • Disconnect the microphone cable by sliding it out from its socket on the logic board.

  11. MacBook Pro 14" 2021 Logic Board Replacement, Unfasten the right-side cable covers: stap 11, afbeelding 1 van 2 MacBook Pro 14" 2021 Logic Board Replacement, Unfasten the right-side cable covers: stap 11, afbeelding 2 van 2
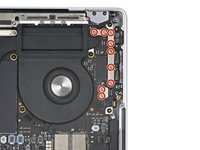
    • Use a T3 Torx driver to remove the nine 2.1 mm screws securing the right cable covers to the frame:

  12. MacBook Pro 14" 2021 Logic Board Replacement, Remove the right cable covers: stap 12, afbeelding 1 van 2 MacBook Pro 14" 2021 Logic Board Replacement, Remove the right cable covers: stap 12, afbeelding 2 van 2
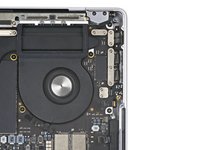
    • Use tweezers, or your fingers, to remove the five right cable covers.

  13. MacBook Pro 14" 2021 Logic Board Replacement: stap 13, afbeelding 1 van 2 MacBook Pro 14" 2021 Logic Board Replacement: stap 13, afbeelding 2 van 2
    • Peel back any tape covering the right speaker cable.

  14. MacBook Pro 14" 2021 Logic Board Replacement: stap 14, afbeelding 1 van 2 MacBook Pro 14" 2021 Logic Board Replacement: stap 14, afbeelding 2 van 2
    • Use a spudger to gently pry up the locking flap on the ZIF connector for the right speaker cable.

  15. MacBook Pro 14" 2021 Logic Board Replacement: stap 15, afbeelding 1 van 2 MacBook Pro 14" 2021 Logic Board Replacement: stap 15, afbeelding 2 van 2
    • Disconnect the right speaker cable by sliding it out from its socket on the logic board.

  16. MacBook Pro 14" 2021 Logic Board Replacement, Disconnect the headphone jack: stap 16, afbeelding 1 van 2 MacBook Pro 14" 2021 Logic Board Replacement, Disconnect the headphone jack: stap 16, afbeelding 2 van 2
    • Use a spudger to pry up and disconnect the headphone jack's press connector.

  17. MacBook Pro 14" 2021 Logic Board Replacement, Disconnect the right USB-C ports: stap 17, afbeelding 1 van 3 MacBook Pro 14" 2021 Logic Board Replacement, Disconnect the right USB-C ports: stap 17, afbeelding 2 van 3 MacBook Pro 14" 2021 Logic Board Replacement, Disconnect the right USB-C ports: stap 17, afbeelding 3 van 3
    • Use a spudger to pry up and disconnect the right USB-C ports' press connectors.

  18. MacBook Pro 14" 2021 Logic Board Replacement, Disconnect the MagSafe port: stap 18, afbeelding 1 van 2 MacBook Pro 14" 2021 Logic Board Replacement, Disconnect the MagSafe port: stap 18, afbeelding 2 van 2
    • Use a spudger to pry up and disconnect the MagSafe port's press connector.

  19. MacBook Pro 14" 2021 Logic Board Replacement, Disconnect the lid angle sensor cable: stap 19, afbeelding 1 van 2 MacBook Pro 14" 2021 Logic Board Replacement, Disconnect the lid angle sensor cable: stap 19, afbeelding 2 van 2
    • Use a spudger to pry up and disconnect the lid angle sensor's press connector.

  20. MacBook Pro 14" 2021 Logic Board Replacement, Unfasten the left cable covers: stap 20, afbeelding 1 van 2 MacBook Pro 14" 2021 Logic Board Replacement, Unfasten the left cable covers: stap 20, afbeelding 2 van 2
    • Use a T3 Torx driver to remove the four screws securing the left cable covers to the frame:

    • Two 2 mm screws

    • Two 2.1 mm screw

  21. MacBook Pro 14" 2021 Logic Board Replacement, Remove the left cable covers: stap 21, afbeelding 1 van 2 MacBook Pro 14" 2021 Logic Board Replacement, Remove the left cable covers: stap 21, afbeelding 2 van 2
    • Use tweezers, or your fingers, to remove the two left cable covers.

  22. MacBook Pro 14" 2021 Logic Board Replacement, Disconnect the left speaker: stap 22, afbeelding 1 van 2 MacBook Pro 14" 2021 Logic Board Replacement, Disconnect the left speaker: stap 22, afbeelding 2 van 2
    • Peel back any tape covering the left speaker cable.

  23. MacBook Pro 14" 2021 Logic Board Replacement: stap 23, afbeelding 1 van 2 MacBook Pro 14" 2021 Logic Board Replacement: stap 23, afbeelding 2 van 2
    • Use a spudger to gently pry up the locking flap on the ZIF connector for the left speaker cable.

  24. MacBook Pro 14" 2021 Logic Board Replacement: stap 24, afbeelding 1 van 2 MacBook Pro 14" 2021 Logic Board Replacement: stap 24, afbeelding 2 van 2
    • Disconnect the left speaker cable by sliding it out from its socket on the logic board.

  25. MacBook Pro 14" 2021 Logic Board Replacement, Disconnect the left USB-C port: stap 25, afbeelding 1 van 2 MacBook Pro 14" 2021 Logic Board Replacement, Disconnect the left USB-C port: stap 25, afbeelding 2 van 2
    • Use a spudger to pry up and disconnect the left USB-C port's press connector.

  26. MacBook Pro 14" 2021 Logic Board Replacement, Disconnect the Touch ID sensor: stap 26, afbeelding 1 van 2 MacBook Pro 14" 2021 Logic Board Replacement, Disconnect the Touch ID sensor: stap 26, afbeelding 2 van 2
    • Use a spudger to pry up and disconnect the Touch ID sensor's press connector near the top left of the device.

    • The Touch ID sensor cable is adhered to the frame. If the adhesive doesn't separate when you disconnect the press connector, slide an opening pick under the cable to separate it.

  27. MacBook Pro 14" 2021 Logic Board Replacement, Disconnect the keyboard: stap 27, afbeelding 1 van 3 MacBook Pro 14" 2021 Logic Board Replacement, Disconnect the keyboard: stap 27, afbeelding 2 van 3 MacBook Pro 14" 2021 Logic Board Replacement, Disconnect the keyboard: stap 27, afbeelding 3 van 3
  28. MacBook Pro 14" 2021 Logic Board Replacement: stap 28, afbeelding 1 van 3 MacBook Pro 14" 2021 Logic Board Replacement: stap 28, afbeelding 2 van 3 MacBook Pro 14" 2021 Logic Board Replacement: stap 28, afbeelding 3 van 3
    • Use a spudger to gently pry up the locking flap on the ZIF connectors for the keyboard cables.

  29. MacBook Pro 14" 2021 Logic Board Replacement: stap 29, afbeelding 1 van 3 MacBook Pro 14" 2021 Logic Board Replacement: stap 29, afbeelding 2 van 3 MacBook Pro 14" 2021 Logic Board Replacement: stap 29, afbeelding 3 van 3
    • Disconnect the keyboard and keyboard backlight cables by sliding them out from their sockets on the logic board.

  30. MacBook Pro 14" 2021 Logic Board Replacement, Disconnect the fans: stap 30, afbeelding 1 van 3 MacBook Pro 14" 2021 Logic Board Replacement, Disconnect the fans: stap 30, afbeelding 2 van 3 MacBook Pro 14" 2021 Logic Board Replacement, Disconnect the fans: stap 30, afbeelding 3 van 3
    • Peel back any tape covering the right fan cable connector.

  31. MacBook Pro 14" 2021 Logic Board Replacement: stap 31, afbeelding 1 van 2 MacBook Pro 14" 2021 Logic Board Replacement: stap 31, afbeelding 2 van 2
    • Use a spudger to gently pry up the locking flap on the ZIF connector for the right fan cable.

  32. MacBook Pro 14" 2021 Logic Board Replacement: stap 32, afbeelding 1 van 2 MacBook Pro 14" 2021 Logic Board Replacement: stap 32, afbeelding 2 van 2
    • Disconnect the right fan cable by sliding it out from its socket on the logic board.

  33. MacBook Pro 14" 2021 Logic Board Replacement, Reposition the right fan cable: stap 33, afbeelding 1 van 2 MacBook Pro 14" 2021 Logic Board Replacement, Reposition the right fan cable: stap 33, afbeelding 2 van 2
    • The right fan cable is lightly adhered to the logic board.

    • Pull the fan cable away from the logic board with tweezers to separate the adhesive.

    • The fan cables are incredibly delicate and prone to tearing; use caution when bending them with tools.

  34. MacBook Pro 14" 2021 Logic Board Replacement: stap 34, afbeelding 1 van 2 MacBook Pro 14" 2021 Logic Board Replacement: stap 34, afbeelding 2 van 2
    • Repeat the previous disconnection and reposition procedure for the left fan.

  35. MacBook Pro 14" 2021 Logic Board Replacement: stap 35, afbeelding 1 van 2 MacBook Pro 14" 2021 Logic Board Replacement: stap 35, afbeelding 2 van 2
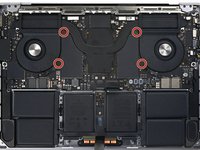
    • Remove the four black screw covers from the logic board.

  36. MacBook Pro 14" 2021 Logic Board Replacement, Unfasten the logic board: stap 36, afbeelding 1 van 3 MacBook Pro 14" 2021 Logic Board Replacement, Unfasten the logic board: stap 36, afbeelding 2 van 3 MacBook Pro 14" 2021 Logic Board Replacement, Unfasten the logic board: stap 36, afbeelding 3 van 3
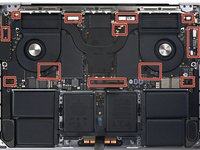
    • Use a T5 Torx driver to remove the 11 screws securing the logic board:

    • Four 3.6 mm screws

    • Two 4.5 mm screws

    • Two 5.2 mm screws

    • Two 3.8 mm screws

    • One 3.9 mm screw

  37. MacBook Pro 14" 2021 Logic Board Replacement: stap 37, afbeelding 1 van 3 MacBook Pro 14" 2021 Logic Board Replacement: stap 37, afbeelding 2 van 3 MacBook Pro 14" 2021 Logic Board Replacement: stap 37, afbeelding 3 van 3
    • Use a T6 Torx driver to remove the three screws securing the logic board:

    • Two 4.7 mm screws

    • One 5.7 mm screw

  38. MacBook Pro 14" 2021 Logic Board Replacement, Release the logic board's clips: stap 38, afbeelding 1 van 2 MacBook Pro 14" 2021 Logic Board Replacement, Release the logic board's clips: stap 38, afbeelding 2 van 2
    • Insert a spudger between the right side of the logic board and the frame.

    • Pry up with the spudger to release the logic board from its clips.

  39. MacBook Pro 14" 2021 Logic Board Replacement: stap 39, afbeelding 1 van 2 MacBook Pro 14" 2021 Logic Board Replacement: stap 39, afbeelding 2 van 2
    • Insert a spudger between the bottom of the logic board and the frame.

    • Pry up with the spudger to release the logic board from its clips.

  40. MacBook Pro 14" 2021 Logic Board Replacement, Remove the logic board: stap 40, afbeelding 1 van 3 MacBook Pro 14" 2021 Logic Board Replacement, Remove the logic board: stap 40, afbeelding 2 van 3 MacBook Pro 14" 2021 Logic Board Replacement, Remove the logic board: stap 40, afbeelding 3 van 3
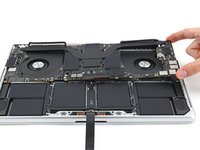
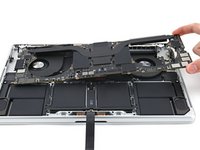
    • Gently lift up the logic board by its right side to release it from its alignment pegs.

    • If it feels like it's not coming out, check that all the cables are disconnected.

    • Pull the logic board away from the left side of the device to separate the HDMI and SDXC ports from their slots in the frame.

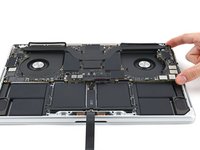
    • Remove the logic board.

  41. MacBook Pro 14" 2021 Logic Board Replacement, Reassembly information: stap 41, afbeelding 1 van 3 MacBook Pro 14" 2021 Logic Board Replacement, Reassembly information: stap 41, afbeelding 2 van 3 MacBook Pro 14" 2021 Logic Board Replacement, Reassembly information: stap 41, afbeelding 3 van 3
    • During reassembly, perform the following:

    • Make sure all 18 connectors are above the logic board before securing it back into the frame.

    • If you're having trouble positioning the connectors, use tape to keep them out of the way.

    • Hold the rubber spacers out of the way so the fins can drop into their recesses.

    • When reinstalling the logic board, insert the left side first to reposition the HMDI and SDXC ports.

    • Use your fingers to slightly compress the HDMI port to fit it into its recess. Otherwise, the logic board won't sit correctly.

Conclusie

To reassemble your device, follow these instructions in reverse order.

2 andere personen hebben deze handleiding voltooid.

Alex Diaz-Kokaisl

Lid sinds: 01/16/22

163.131 Reputatie

769 handleidingen geschreven

Team

iFixit Lid van iFixit

Staff

118 Leden

19.529 handleidingen geschreven

0 opmerkingen

Voeg opmerking toe

Weergavestatistieken:

Afgelopen 24 uren: 0

Afgelopen 7 dagen: 8

Afgelopen 30 dagen: 24

Altijd: 75