Dit is een machinevertaling, die nog niet door iemand is nagekeken. Spreek je deze taal? Controleer het hier.

MacBook Air 11" Mid 2012 schermmodule vervangen

Voor het laatst geüpdatet op 18 aug 2026
Bekeken: 37K
Statistieken weergeven:
- Afgelopen 24 uur:
- 3
- Afgelopen 7 dagen:
- 32
- Afgelopen 30 dagen:
- 148
- Altijd:
- 36.987
Commentaar: 40
34 opmerkingen over de stappen, 6 opmerkingen op de handleiding.
Bekijk de opmerkingen bij de handleidingVoltooid: 47 48
47 mensen hebben deze handleiding als "voltooid" gemarkeerd. Ben jij de volgende?
48 personen hebben deze handleiding als "voltooid" gemarkeerd. Een daarvan ben jij—lekker bezig!
Favorieten: 18 19
18 mensen hebben deze handleiding als favoriet gemarkeerd en volgen deze. Ben jij de volgende?
19 personen hebben deze handleiding als favoriet gemarkeerd (en blijven daarmee op de hoogte van meldingen)—een daarvan ben jij!
Uitgelichte handleiding
De iFixit-werknemers vonden deze handleiding uitzonderlijk cool.
Inleiding
Ga naar stap 1 ↓Gebruik deze handleiding om een gebarsten of defect scherm te vervangen.
Wat je nodig hebt


-
-
Gereedschap gebruikt in deze stap:P5 Pentalobe Screwdriver Retina MacBook Pro and Air$5.99
-
Verwijder de volgende tien schroeven:
-
Twee 8 mm lange 5-punts Pentalobe-schroeven.
-
Acht 2.5 mm lange 5-punts Pentalobe-schroeven.
 Vraag FixBot
-
-
-
Duw je vingers tussen het scherm en de onderste behuizing en trek de behuizing omhoog om deze van de rest van de MacBook Air te verwijderen.
-
-
-
-
-
Gebruik de platte kant van een spudger om beide korte kanten van de accu-(kabel)aansluiting omhoog te wippen om deze uit het stopcontact op het logic board te ontkoppelen.
-
Buig de accukabel een klein beetje weg van het logic board, zodat de (kabel)aansluiting niet per ongeluk contact maakt met het stopcontact.
-
-
-
-
-
Verwijder de enkele 2,9 mm Torx-schroef (T5) waarmee de SSD aan het logic board is bevestigd.
-
-
-
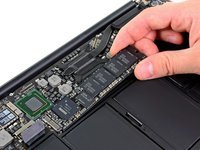
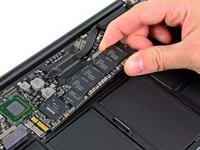
Gebruik een spudger om het vrije uiteinde van de SSD net ver genoeg op te tillen zodat je het met je andere hand kunt vastpakken.
-
Trek de schijf recht uit het stopcontact en verwijder deze van het logic board.
-
-
-
-
-
Gebruik de platte kant van een spudger om de I/O bord-kabel uit het stopcontact op het I/O bord te wrikken.
-
-
-
Trek de I/O bord-kabel los van de lijm waarmee deze aan de ventilator is bevestigd.
-
-
-
Gebruik de platte kant van een spudger om de (kabel)aansluiting van het I/O bord omhoog uit het stopcontact op het logic board te tillen.
-
Verwijder de kabel van het I/O bord.
-
-
-
-
-
Gebruik de punt van een spudger om voorzichtig de vasthoudflap op het stopcontact van de ventilatorkabel omhoog te klappen.
-
-
-
Verwijder de volgende drie schroeven waarmee de ventilator aan de behuizing is bevestigd:
-
Twee 5,2 mm T5 Torx-schroeven
-
Eén 3,6 mm T5 Torx-schroef
-
-
-
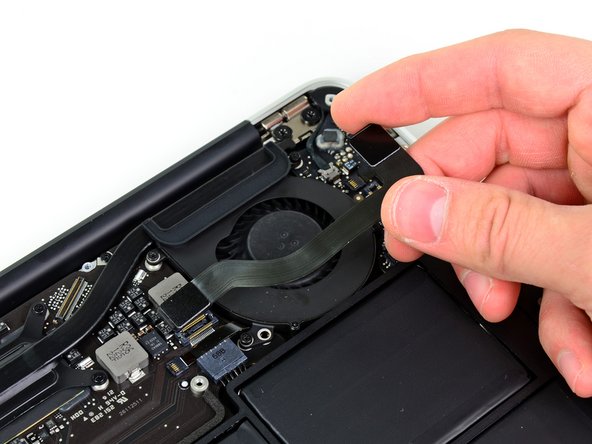
Til de ventilator uit de behuizing en trek de lintkabel van de ventilator voorzichtig uit het stopcontact terwijl je deze uit de Air verwijdert.
-
-
-
-
-
Verwijder de volgende vijf schroeven waarmee de accu aan de behuizing is bevestigd:
-
Twee 5,2 mm T5 Torx-schroeven
-
Eén 6 mm T5 Torx-schroef
-
Twee 2,6 mm T5 Torx-schroeven
-
-
-
-
Til de accu op vanaf de rand die het dichtst bij het logic board ligt en verwijder deze uit de behuizing.
-
-
-
-
-
Gebruik de platte kant van een spudger om het lijm-lusje los te maken waarmee de stroomkabel van het I/O bord aan de behuizing is bevestigd.
-
Koppel het I/O bord los door de stroomkabel uit het stopcontact op het logic board te trekken.
-
-
-
Gebruik de punt van een spudger om de vasthoudflap op het stopcontact van de lintkabel voor de achtergrondverlichting van het toetsenbord omhoog te klappen.
-
Trek de lintkabel voor de achtergrondverlichting van het toetsenbord uit het stopcontact.
-
-
-
Gebruik de punt van een spudger of je vingernagel om de vasthoudflap op het stopcontact van de lintkabel van het trackpad omhoog te klappen.
-
Trek de lintkabel van het trackpad recht uit het stopcontact in de richting van de voorrand van de Air.
-
-
-
Gebruik de punt van een spudger om de kabel van de rechterluidspreker uit de uitsparing in het moederbord te halen.
-
-
-
Gebruik de platte kant van een spudger om de aansluiting van de rechterluidsprekerkabel omhoog en uit het stopcontact op het logic board te wrikken.
-
-
-
Duw voorzichtig de punt van een spudger onder het zwarte plastic flapje dat aan het vergrendelklepje van de displaydatakabel vastzit, zodat het klepje omhoog springt en loskomt uit het stopcontact.
-
Verwijder de kleine rubberen afdichting uit de hoek van de bovenste behuizing bij de displaydatakabel.
-
-
-
Terwijl je de vergrendeling van het stopcontact weg houdt, trek je de beeldschermdatakabel voorzichtig uit het stopcontact.
-
-
-
Gebruik de platte kant van een spudger om beide antennekabelaansluitingen omhoog en uit hun stopcontacten op de AirPort/Bluetooth-kaart te wrikken.
-
-
-
Verwijder de drie 3,6 mm T5 Torx-schroeven waarmee het logic board aan de behuizing vastzit.
-
-
-
Til de logic board-assemblage voorzichtig uit de behuizing, waarbij je moet letten op het kwetsbare koellichaam en eventuele kabels die verstrikt kunnen raken.
-
-
-
-
-
Verwijder de kleine rubberen afdichting uit de hoek van de bovenste behuizing die het dichtst bij het I/O bord zit.
-
-
-
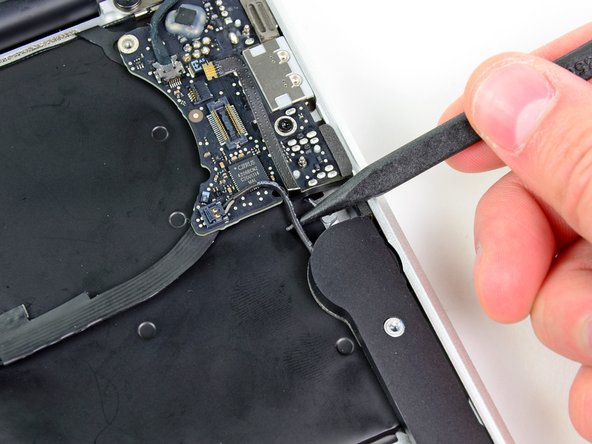
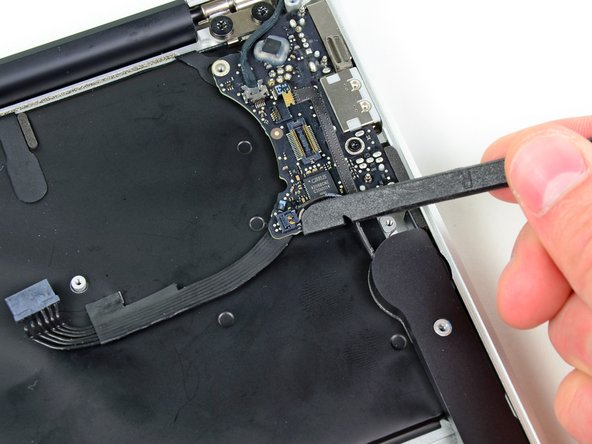
Gebruik de punt van een spudger om voorzichtig de vasthoudflap op het stopcontact van de microfoon-lintkabel omhoog te klappen.
-
Trek de microfoon-lintkabel recht uit het stopcontact.
-
-
-
Haal de linkerspeakerkabel uit de inkeping in het I/O bord.
-
Gebruik de platte kant van een spudger om de (kabel)aansluiting van de linkerspeaker uit het stopcontact op het I/O bord te wippen.
-
-
-
Trek de camerakabel evenwijdig aan het oppervlak van het I/O bord richting de achterrand van de Air om deze los te koppelen uit het stopcontact.
-
-
-
Verwijder de enkele 3,6 mm Torx-schroef (T5) waarmee het I/O bord aan de behuizing vastzit.
-
-
-
Til het I/O bord voorzichtig op vanaf de rand die het dichtst bij het logic board ligt en verwijder het uit de behuizing.
-
-
-
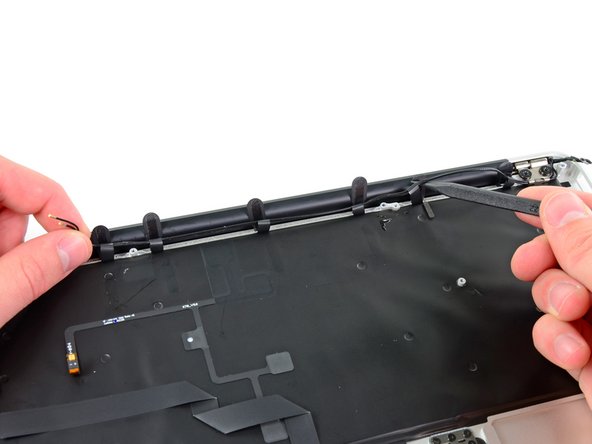
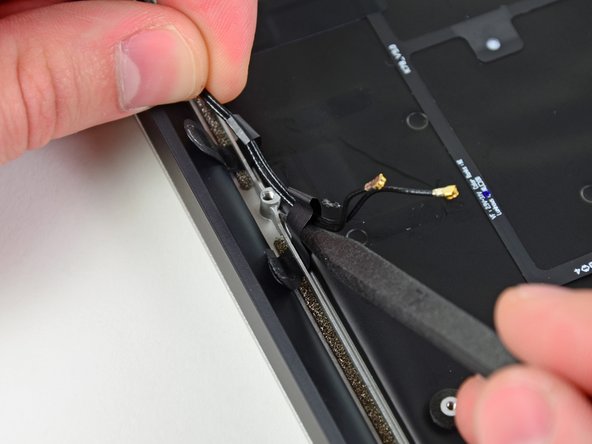
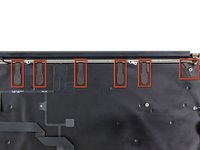
Pel de zes kabellussen los waarmee de antennekabels aan de behuizing zijn bevestigd.
-
Trek de kabellussen één voor één voorzichtig een klein stukje uit het kanaal in de behuizing.
-
Gebruik je spudger om de plastic lussen te openen terwijl je de antennekabels erdoorheen haalt.
-
Herhaal dit voor alle bevestigingslussen.
-
-
-
Verwijder de binnenste 4,9 mm T8 Torx-schroef waarmee elk beeldschermscharnier aan de behuizing is bevestigd (twee schroeven in totaal).
-
-
-
Open het display totdat het loodrecht op de behuizing staat en plaats het op een tafel zoals afgebeeld.
-
Houd de Air stabiel vast en verwijder de resterende 4,9 mm T8 Torx-schroef uit de onderste displaybeugel.
-
-
-
Verwijder de laatste 4,9 mm Torx-schroef waarmee het scherm aan de behuizing is bevestigd.
-
-
-
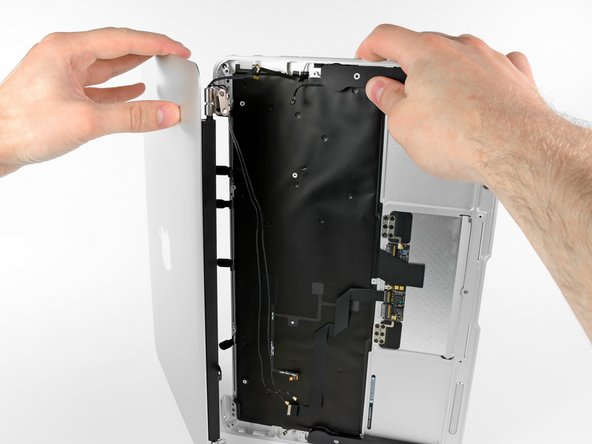
Duw de behuizing iets in de richting van de schermmodule en draai deze vervolgens weg van de voorkant van de schermmodule.
-
Zodra de twee scharnieren van het scherm de behuizing hebben vrijgemaakt, verwijdert u het scherm en legt u dit opzij.
-
-








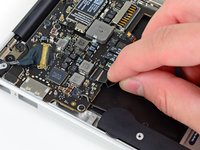


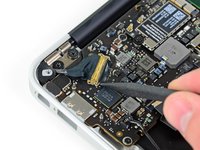
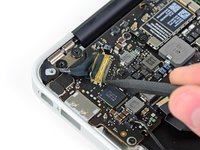
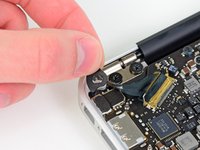


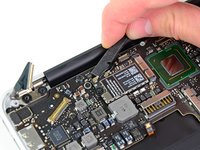
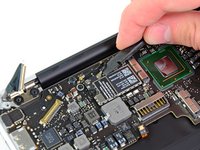


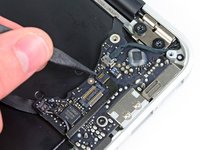
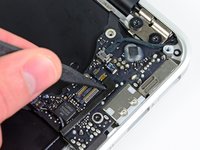


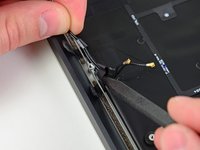
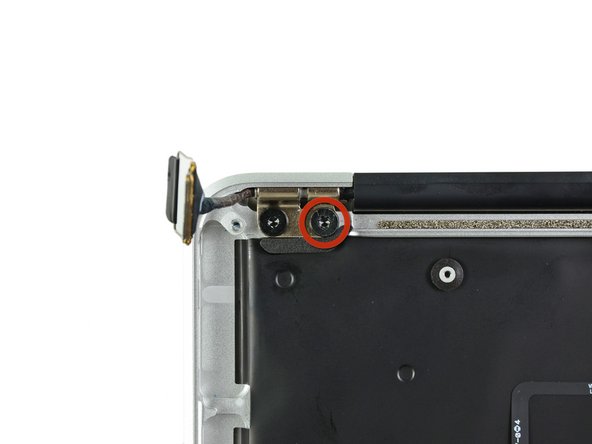
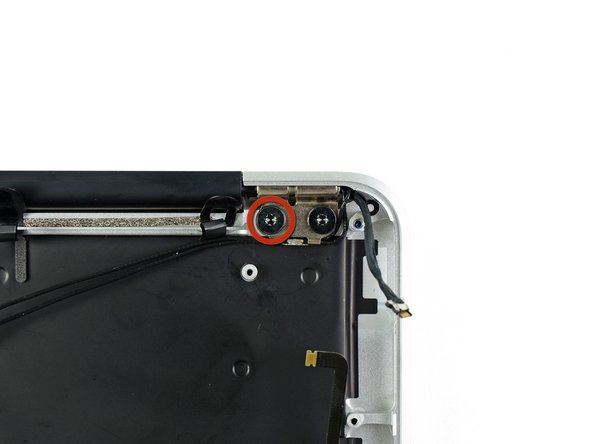


Volg deze instructies in omgekeerde volgorde om je apparaat weer in elkaar te zetten.
Annuleren: ik heb deze handleiding niet afgemaakt.
47 andere personen hebben deze handleiding voltooid.


6 opmerkingen onder de handleiding
Amazing guide, finished in under 3 hours for less than $300!
Step 21, be careful when de-routing the wifi cables. Ensure they are Well away from the logic board when you remove it. The connectors appear to be little more than pushed onto the aerial wires and they can become EASILY separated from the cables if not fully pulled AWAY.
YOU HAVE BEEN WARNED!
Yep! I was warned but managed to pull one off anyway!Why are they so impossible to put back on? I bought a replacement cable and swapped them over. Getting that bezel off was a little stressful.
But thanks A Goldberg for the guide. Invaluable.
Hello Andrew, congratulations for the amazing guide! Wonderful job!
I need help trying to understand what's happening with a similar model which turns on only when he wants :)
I disassembled all of it and found nothing wrong, although it still shows the same behaviour. When it turns on (rarely), it works pretty fine, but randomly reboots sometimes. I suspect that there's something wrong with the switch key inside the display part, with some faulty electrical contact. I was trying to remove the black plastic bar below the "MacBook Air" label, but it seems to break if I force it.
My questions are: How can I remove this black bar without breaking it? Is it possible instead to remove first one of the display hinges to remove the black bar by sliding it to the side? Is there any way at all to make sure that the problem is not with the switch key inside it? Unfortunatelly I don't have a spare display to test it :(
I know it can be difficult to solve, but I appreciate any help if you have!
Thanks in advance!
So, I found this mac in an e-waste pile, and the display is broken. Handling 10.7 drivers, and I want to get the screen back... Although Macs are all about pretty (and I like pretty, too), if I'm not looking for pretty, and I can just put the screen on top of the broken one, can't I just unplug the data cable for the LCD, plug the new one back in and then do everything I need to do? Two screens isn't *half* as bad as one. I'm just asking to sum it up, remove data cable to screen one, attach it to another working screen, and bam? No? Yes? Plz, I really want to know. Alternatively, someone please write a guide on how to remotely make a monitor mirror a screen? That would be great! And thanks to the people that understood my subtle joke.
