Inleiding
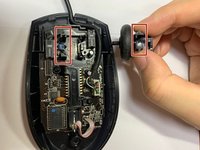
Use this guide to replace the scroll wheel in a Logitech G1 optical mouse.
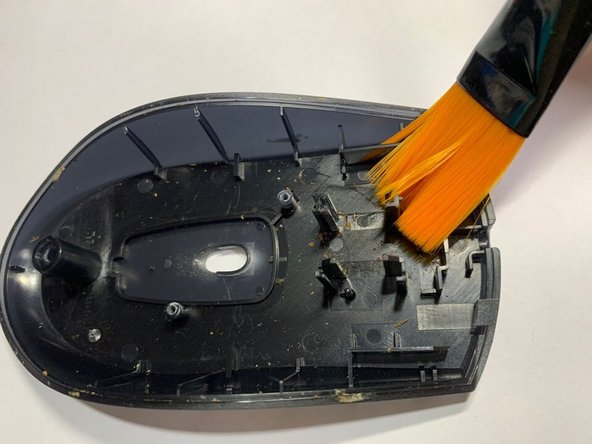
Sometimes the scroll wheel does not work when using the mouse. This guide not only shows you how to replace the mouse scroll wheel but also how to clean it.
Wat je nodig hebt


Bijna klaar!
Eindstreep
Annuleren: ik heb deze handleiding niet afgemaakt.
3 andere personen hebben deze handleiding voltooid.

Team

York University, Team S1-G33, Woodhouse Winter 2021 Lid van York University, Team S1-G33, Woodhouse Winter 2021
YORK-WOODHOUSE-W21S1G33
1 Lid
2 handleidingen geschreven