Ga door naar hoofdinhoud
Logic Board Shield Removal

Logic Board Shield Removal

Chayton Ritter

Chayton Ritter

Voor het laatst geüpdatet op October 27, 2023

Geen schatting
Moeilijk
Alleen vereisten
Deze handleiding is alleen bedoeld als vereiste voor andere handleidingen. Het staat niet op zichzelf.

This is a prerequisite-only guide! This guide is part of another procedure and is not meant to be used alone.

Wat je nodig hebt

Gereedschap

Toon meer…

  1. Logic Board Shield Removal, Unfasten the logic board shield: stap 1, afbeelding 1 van 2 Logic Board Shield Removal, Unfasten the logic board shield: stap 1, afbeelding 2 van 2
    • Use a Phillips PH00 screwdriver to remove the eight screws securing the shield to the logic board:

    • Five 2 mm screws

    • Three 1.2 mm screws

  2. Logic Board Shield Removal, Heat the logic board shield: stap 2, afbeelding 1 van 1
    • Apply a heated iOpener to the top of the logic board for two minutes.

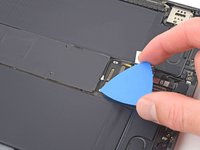
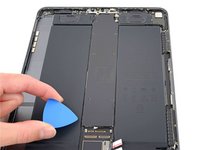
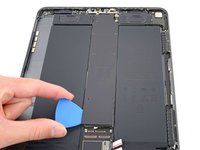
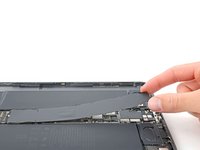
  3. Logic Board Shield Removal, Separate the bottom edge shield adhesive: stap 3, afbeelding 1 van 3 Logic Board Shield Removal, Separate the bottom edge shield adhesive: stap 3, afbeelding 2 van 3 Logic Board Shield Removal, Separate the bottom edge shield adhesive: stap 3, afbeelding 3 van 3
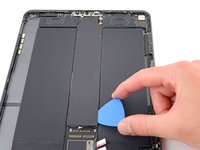
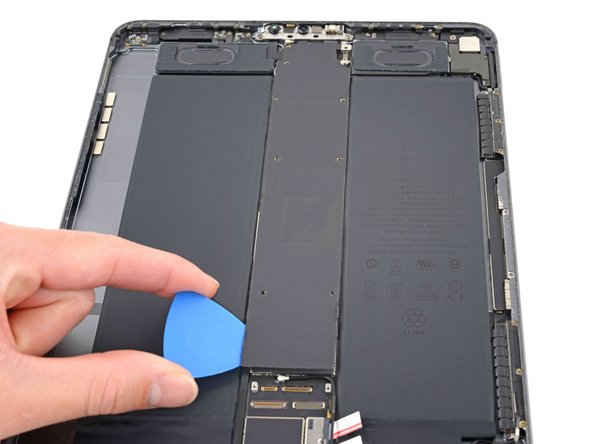
    • Insert an opening pick between the shield and the shielding gasket on the bottom edge of the logic board.

    • Slide the pick along the bottom edge to separate the adhesive.

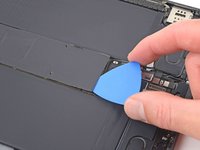
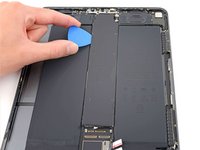
  4. Logic Board Shield Removal, Separate the right edge shield adhesive: stap 4, afbeelding 1 van 3 Logic Board Shield Removal, Separate the right edge shield adhesive: stap 4, afbeelding 2 van 3 Logic Board Shield Removal, Separate the right edge shield adhesive: stap 4, afbeelding 3 van 3
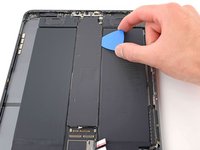
    • Repeat the previous step for the right edge of the logic board shield.

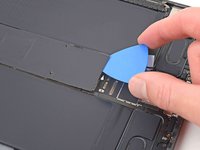
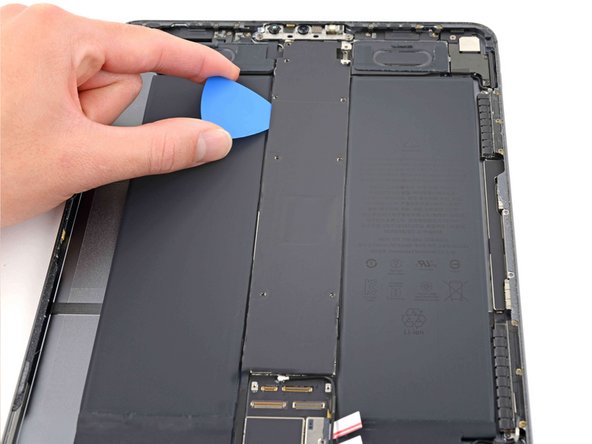
  5. Logic Board Shield Removal, Separate the left edge shield adhesive: stap 5, afbeelding 1 van 3 Logic Board Shield Removal, Separate the left edge shield adhesive: stap 5, afbeelding 2 van 3 Logic Board Shield Removal, Separate the left edge shield adhesive: stap 5, afbeelding 3 van 3
    • Repeat the previous step for the left edge of the logic board shield.

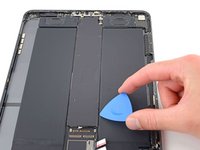
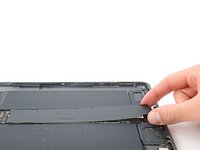
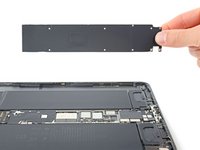
  6. Logic Board Shield Removal, Remove the logic board shield: stap 6, afbeelding 1 van 3 Logic Board Shield Removal, Remove the logic board shield: stap 6, afbeelding 2 van 3 Logic Board Shield Removal, Remove the logic board shield: stap 6, afbeelding 3 van 3
    • Grip the logic board shield at the top and lift it up.

    • Stop lifting if the shield is stuck or begins to bend—a bent shield will reduce thermal transfer from the logic board. Use an opening pick to separate any remaining adhesive.

Conclusie

To reassemble your device, follow these instructions in reverse order.

Chayton Ritter

Lid sinds: 08/21/20

22.518 Reputatie

105 handleidingen geschreven

Team

Guide Team Lid van Guide Team

Staff

9 Leden

11.421 handleidingen geschreven

0 opmerkingen

Voeg opmerking toe

Weergavestatistieken:

Afgelopen 24 uren: 0

Afgelopen 7 dagen: 0

Afgelopen 30 dagen: 5

Altijd: 43