Ga door naar hoofdinhoud

Lenovo Yoga C930-13IKB Display Replacement

Wat je nodig hebt

  1. Lenovo Yoga C930-13IKB Display Replacement, Display: stap 1, afbeelding 1 van 2 Lenovo Yoga C930-13IKB Display Replacement, Display: stap 1, afbeelding 2 van 2
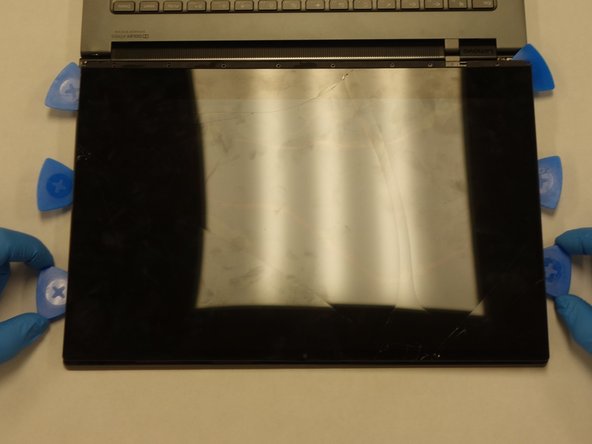
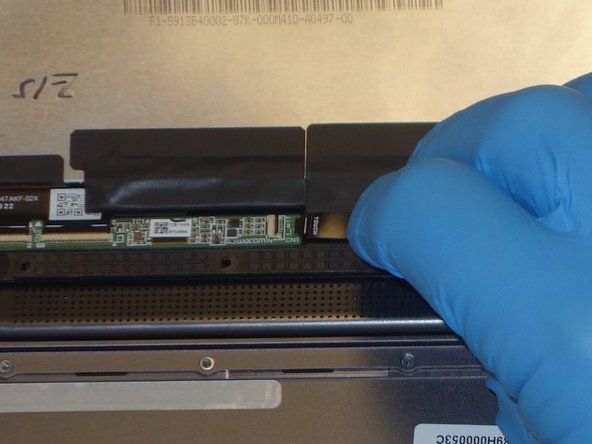
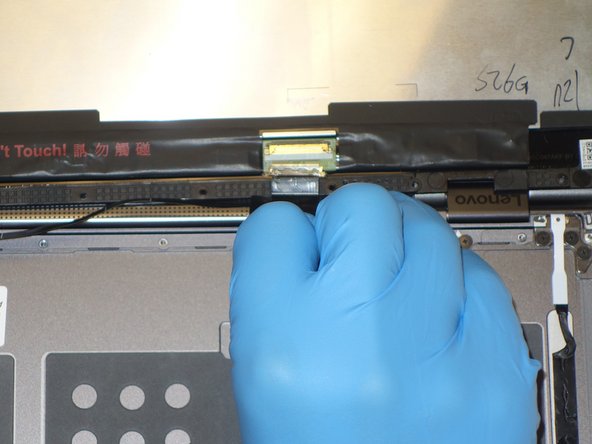
    • Using a halberd spudger, gently lift up the metal bezel that lines the lower edge of the display.

  2. Lenovo Yoga C930-13IKB Display Replacement: stap 2, afbeelding 1 van 1
    • Remove the ten 3 mm screws along the bottom edge of the display with a Phillips #00 screwdriver.

  3. Lenovo Yoga C930-13IKB Display Replacement: stap 3, afbeelding 1 van 2 Lenovo Yoga C930-13IKB Display Replacement: stap 3, afbeelding 2 van 2
    • Gently wedge two opening picks underneath the display.

    • Slowly work the opening picks around the display.

    • Add opening picks as needed to keep display separated from the frame.

    • Use caution if dealing with broken glass.

    • The iFixit suction cup tool can be used to add some extra leverage to the mix when removing the display.

  4. Lenovo Yoga C930-13IKB Display Replacement: stap 4, afbeelding 1 van 2 Lenovo Yoga C930-13IKB Display Replacement: stap 4, afbeelding 2 van 2
    • Gently flip the display assembly to rest on top of the keyboard.

  5. Lenovo Yoga C930-13IKB Display Replacement: stap 5, afbeelding 1 van 2 Lenovo Yoga C930-13IKB Display Replacement: stap 5, afbeelding 2 van 2
    • Use the halberd spudger to lift the locking tab of the ZIF connector holding the black ribbon cable that runs vertically across the display.

    • Pull out the black ribbon cable from the connector.

  6. Lenovo Yoga C930-13IKB Display Replacement: stap 6, afbeelding 1 van 3 Lenovo Yoga C930-13IKB Display Replacement: stap 6, afbeelding 2 van 3 Lenovo Yoga C930-13IKB Display Replacement: stap 6, afbeelding 3 van 3
    • Use the halberd spudger to lift the latch on the ZIF connector of the horizontal black ribbon cable.

    • Pull out the horizontal black ribbon cable from the connector.

    • Gently pull the rest of the horizontal black ribbon cable from the back of the display.

  7. Lenovo Yoga C930-13IKB Display Replacement: stap 7, afbeelding 1 van 3 Lenovo Yoga C930-13IKB Display Replacement: stap 7, afbeelding 2 van 3 Lenovo Yoga C930-13IKB Display Replacement: stap 7, afbeelding 3 van 3
    • Use the halberd spudger to flip the metal latch of the display cable up.

    • Using the halberd spudger, gently pull the connector out of the display.

  8. Lenovo Yoga C930-13IKB Display Replacement: stap 8, afbeelding 1 van 1
    • Gently lift the display away from the laptop frame.

Conclusie

To reassemble your device, follow these instructions in reverse order.

Één andere persoon heeft deze handleiding voltooid.

Één opmerking

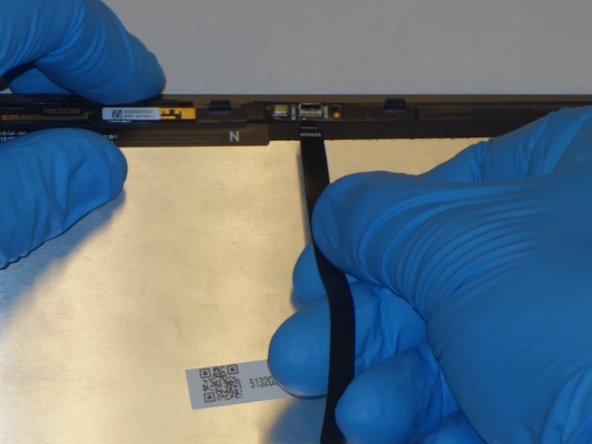
The screen is glued with iphone battery tape so you have to pull the white tabs at the bottom of the screen to release the tape as like almost all the last generation screens.

Roberto Meniketti - Antwoord

Voeg opmerking toe

Weergavestatistieken:

Afgelopen 24 uren: 3

Afgelopen 7 dagen: 12

Afgelopen 30 dagen: 28

Altijd: 2,136