Inleiding
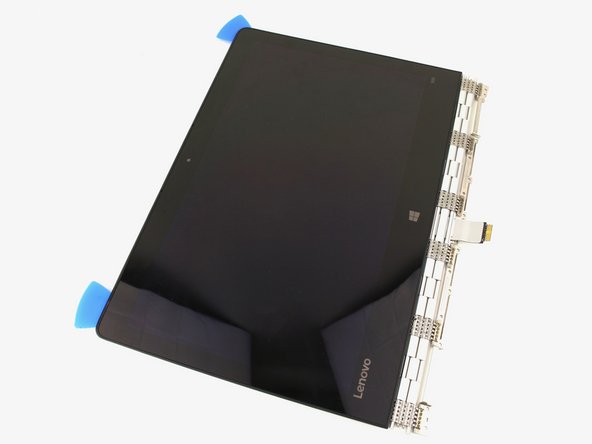
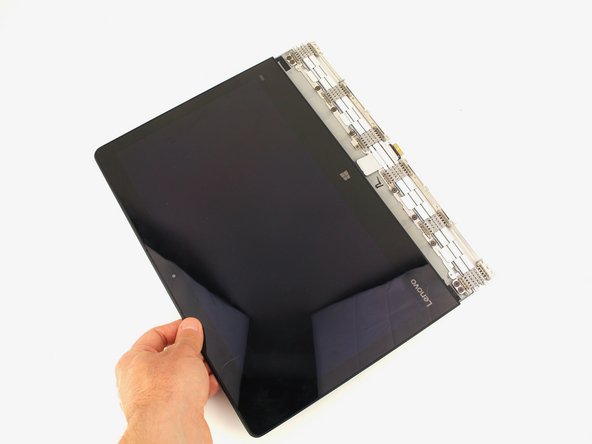
This guide will demonstrate the process of removing the hinge assembly of the 13 inch Lenovo Yoga 900. The hinge of this 2-in-1 convertible laptop rotates 360° around the base, allowing it to be used as a tablet as well. The hinge for the Yoga 900-13ISK is a single assembly that stretches across the entire edge of the laptop, so it will likely fail as a single unit and must be replaced as a full unit. If your hinge is failing to close or open, is visibly broken, or becomes too loose to hold the screen in a desired position, a replacement is in order to fix the problem.
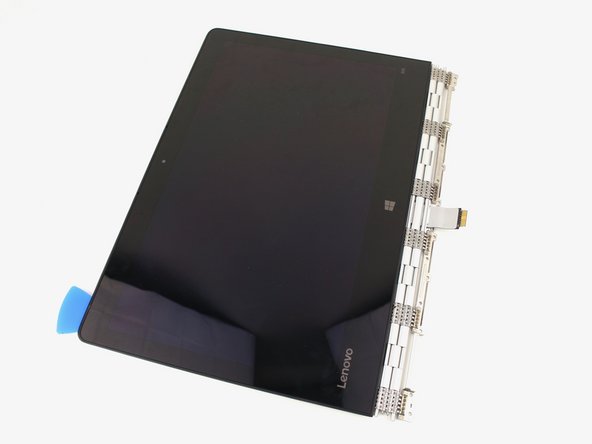
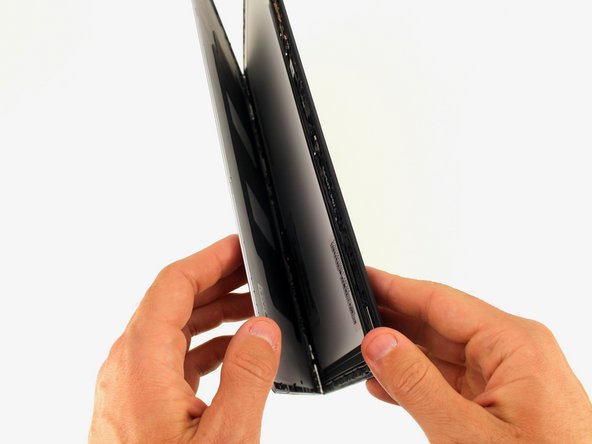
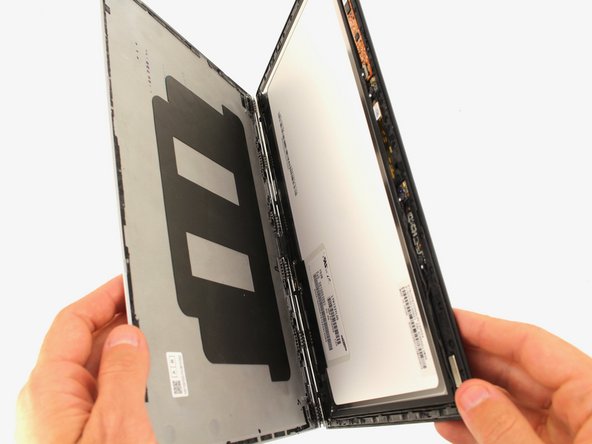
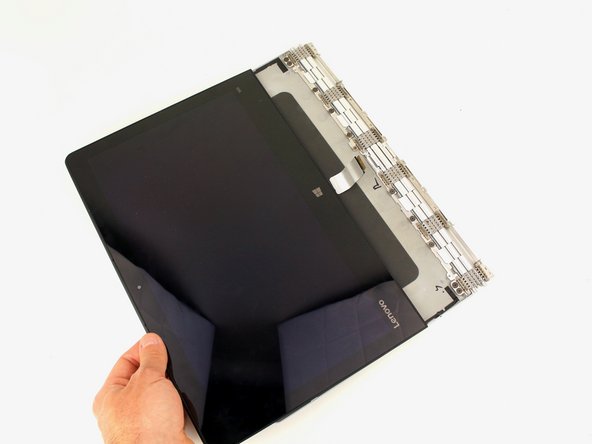
To access the upper hinge screws, the display assembly will have to be opened, requiring the adhesive holding it together to be cut away. In many cases, the old adhesive can be reused by sticking the two panels back together. However, you may want to purchase some replacement adhesive to ensure that your display sticks back together completely. If you are using fresh adhesive, be sure to completely clean any old adhesive from both sides of the assembly before applying the new adhesive.
Be sure to unplug and completely turn off your device before you start working.
Wat je nodig hebt
-
-
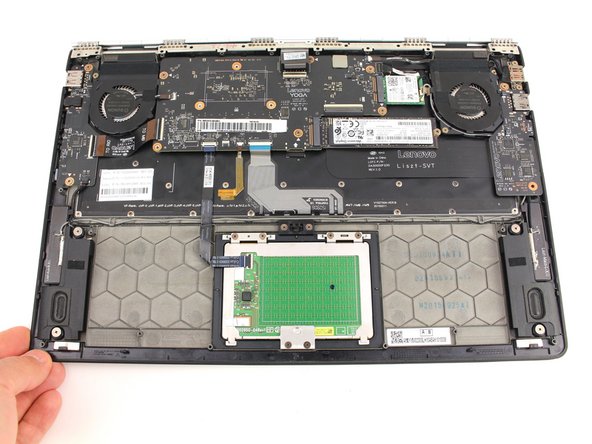
Using a T5 Torx screwdriver, remove the ten 5.5 mm screws from the back case of the laptop.
-
-
-
Remove the five 3.6 mm screws from the battery with a Phillips #00 screwdriver.
-
-
-
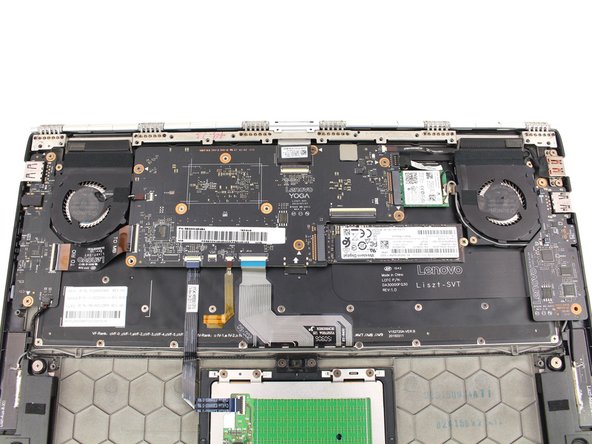
Remove the ten 3.6 mm screws from the hinge bracket with a Phillips #00 screwdriver.
-
-
-
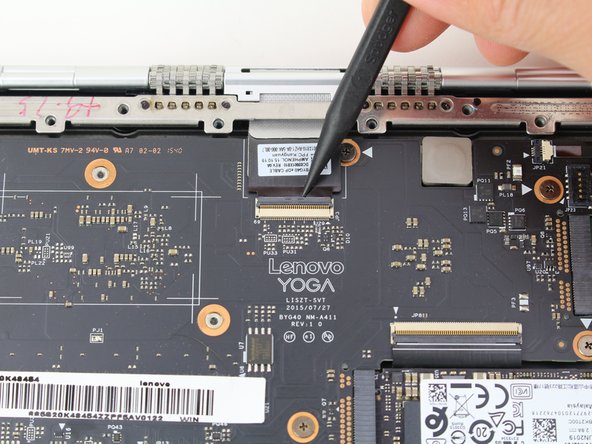
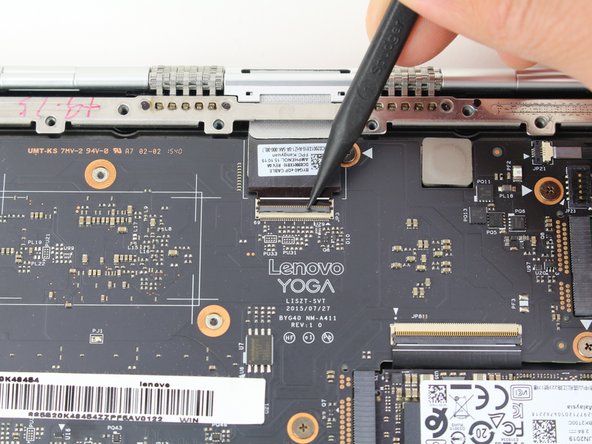
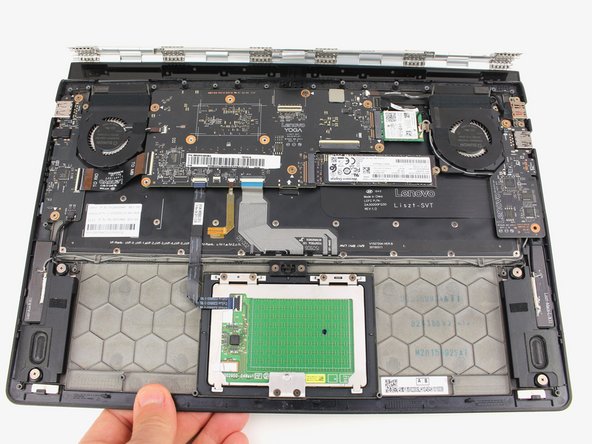
Use the pointed end of a spudger to lift the hinged locking flap of the display ZIF connector.
-
-
-
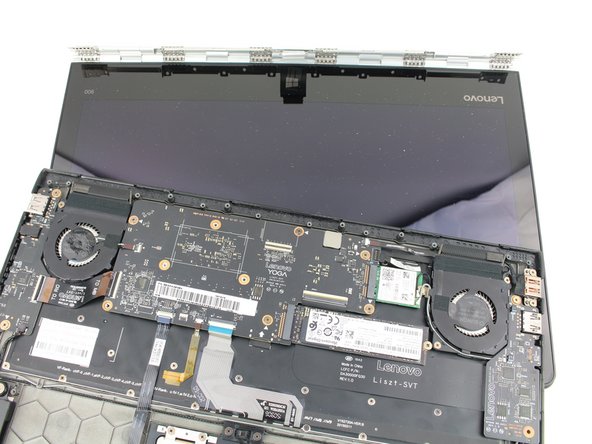
Stap 10 Display Opening Prereq
Voorzichtig: stappen 10-16 komen van een handleiding die in bewerking is.
-
Apply heat along the bottom and left edges of the screen, either with a heat gun or iOpener.
-
-
-
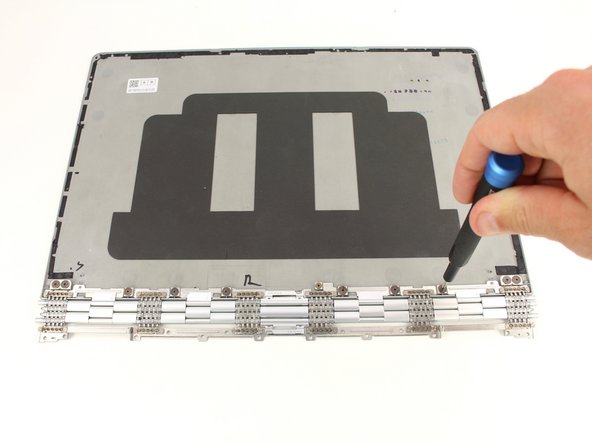
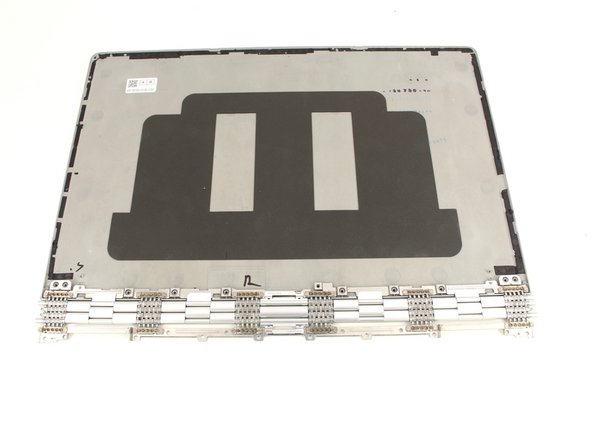
Remove the ten 2.3 mm screws from the hinge assembly with a Phillips #00 screwdriver.
-
Remove the single 2.2 mm screw from the hinge assembly with a Phillips #00 screwdriver.
-


To reassemble your device, follow these instructions in reverse order.
To reassemble your device, follow these instructions in reverse order.

