Ga door naar hoofdinhoud

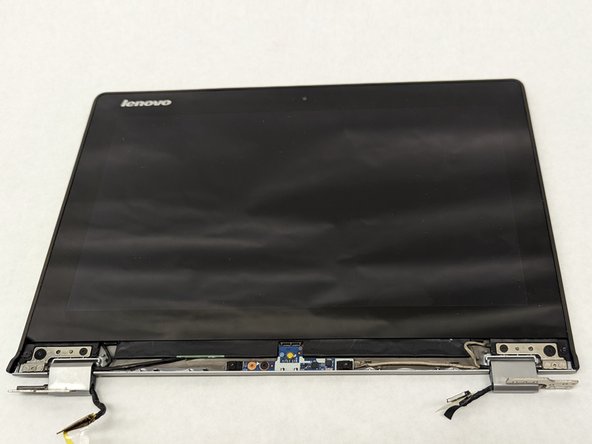
Lenovo Yoga 2 11" 20428 Display Replacement

Wat je nodig hebt

  1. Lenovo Yoga 2 11" 20428 Display Replacement, Display: stap 1, afbeelding 1 van 2 Lenovo Yoga 2 11" 20428 Display Replacement, Display: stap 1, afbeelding 2 van 2
    • Remove the plastic square covers on the hinge cover.

  2. Lenovo Yoga 2 11" 20428 Display Replacement: stap 2, afbeelding 1 van 2 Lenovo Yoga 2 11" 20428 Display Replacement: stap 2, afbeelding 2 van 2
    • Remove the two 3.8 mm screws from the hinge cover.

  3. Lenovo Yoga 2 11" 20428 Display Replacement: stap 3, afbeelding 1 van 2 Lenovo Yoga 2 11" 20428 Display Replacement: stap 3, afbeelding 2 van 2
    • Remove the hinge cover.

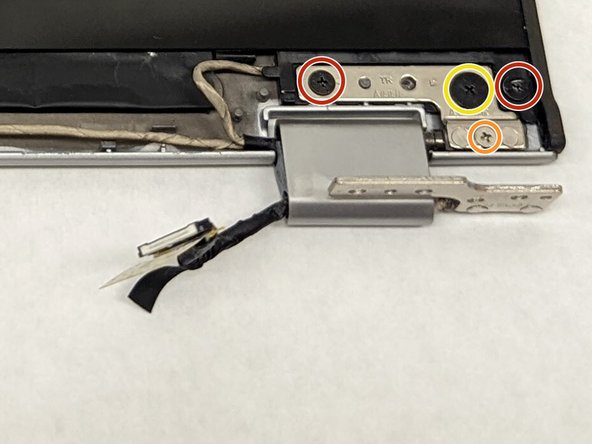
  4. Lenovo Yoga 2 11" 20428 Display Replacement: stap 4, afbeelding 1 van 3 Lenovo Yoga 2 11" 20428 Display Replacement: stap 4, afbeelding 2 van 3 Lenovo Yoga 2 11" 20428 Display Replacement: stap 4, afbeelding 3 van 3
    • Remove the 2.8mm screws.

    • Remove the 5mm screws.

    • Remove the 2.4mm screws.

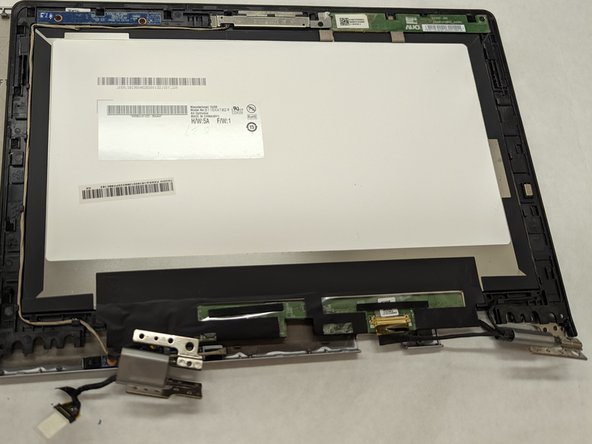
  5. Lenovo Yoga 2 11" 20428 Display Replacement: stap 5, afbeelding 1 van 2 Lenovo Yoga 2 11" 20428 Display Replacement: stap 5, afbeelding 2 van 2
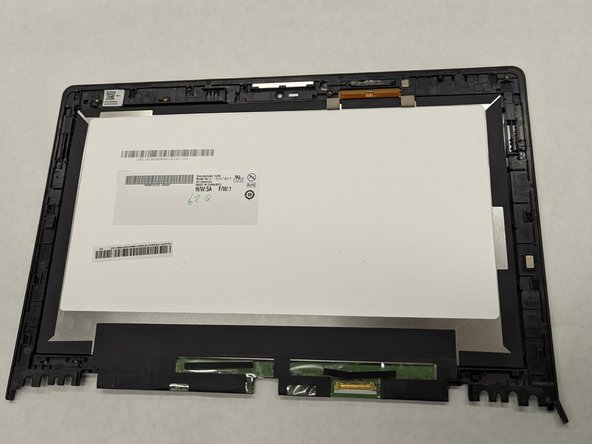
    • Remove the front cover of the display

  6. Lenovo Yoga 2 11" 20428 Display Replacement: stap 6, afbeelding 1 van 1
    • Unplug the button sensor board.

    • Do not damage the teeth. Damaging the teeth of the sensor board may require you to replace the part.

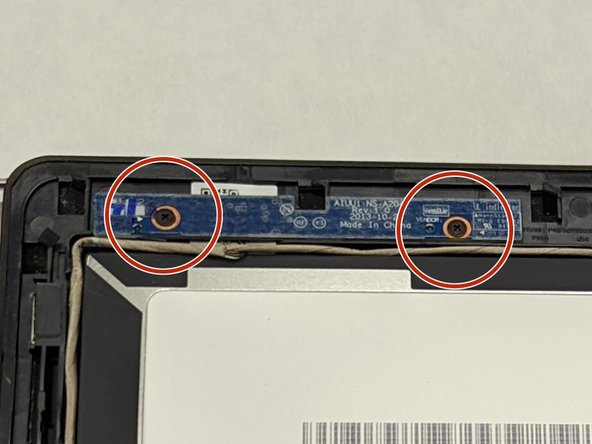
  7. Lenovo Yoga 2 11" 20428 Display Replacement: stap 7, afbeelding 1 van 2 Lenovo Yoga 2 11" 20428 Display Replacement: stap 7, afbeelding 2 van 2
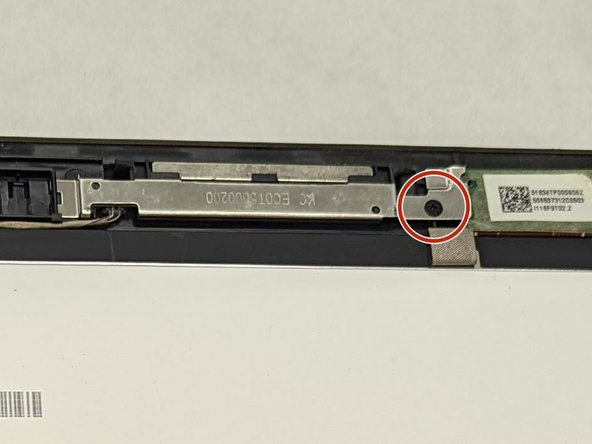
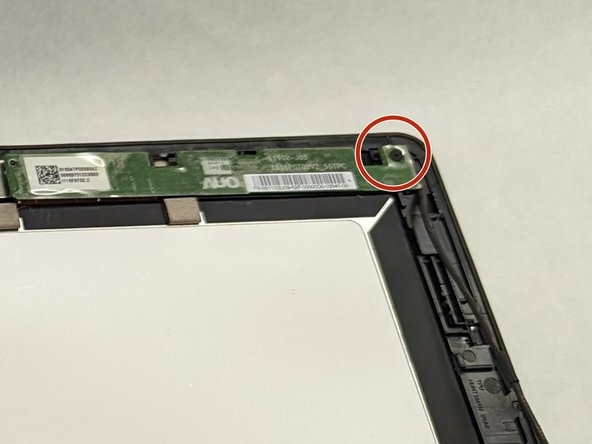
    • Remove the 2.1 mm screws from the brightness sensor board.

  8. Lenovo Yoga 2 11" 20428 Display Replacement: stap 8, afbeelding 1 van 2 Lenovo Yoga 2 11" 20428 Display Replacement: stap 8, afbeelding 2 van 2
    • Remove the 3.3 mm screw on the camera.

    • Removal of the camera will result in the connecting wire to be disconnected as well

  9. Lenovo Yoga 2 11" 20428 Display Replacement: stap 9, afbeelding 1 van 2 Lenovo Yoga 2 11" 20428 Display Replacement: stap 9, afbeelding 2 van 2
    • Remove the 3.3 mm screw on the touch control board.

  10. Lenovo Yoga 2 11" 20428 Display Replacement: stap 10, afbeelding 1 van 2 Lenovo Yoga 2 11" 20428 Display Replacement: stap 10, afbeelding 2 van 2
    • Remove the touch control board

    • Do not damage the teeth. Damaging the teeth may call for replacement of the part.

    • Removal of the touch control board will result in the connecting wires to be removed as well

Conclusie

To reassemble your device, follow these instructions in reverse order.

Één andere persoon heeft deze handleiding voltooid.

Devin McCuen

Lid sinds: 03/30/22

181 Reputatie

1 Handleiding geschreven

Team

IUPUI, Team 1-3, Harley Spring 2022 Lid van IUPUI, Team 1-3, Harley Spring 2022

IUPUI-HARLEY-S22S1G3

3 Leden

3 handleidingen geschreven

0 opmerkingen

Voeg opmerking toe

Weergavestatistieken:

Afgelopen 24 uren: 3

Afgelopen 7 dagen: 4

Afgelopen 30 dagen: 9

Altijd: 178