Ga door naar hoofdinhoud

Lenovo V14-IIL Screen Bezel Replacement

Wat je nodig hebt

  1. Lenovo V14-IIL Screen Bezel Replacement, Back Panel: stap 1, afbeelding 1 van 2 Lenovo V14-IIL Screen Bezel Replacement, Back Panel: stap 1, afbeelding 2 van 2
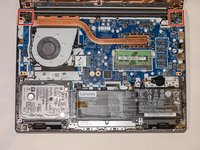
    • Make sure the laptop is powered off and unplug all cables before beginning any repair.

    • Flip your laptop over and place on a flat surface so you can access the screws on the base cover.

    • Remove the six 7 mm screws from the back panel of the laptop using a Phillips #0 screwdriver.

    • Remove the four 4 mm screws from the bottom edge of the laptop using a Phillips #0 screwdriver.

  2. Lenovo V14-IIL Screen Bezel Replacement: stap 2, afbeelding 1 van 1
    • Use an iFixit opening tool to pry apart the case by sliding it along each side of the laptop.

    • You may need to move the tool to different locations to fully release the back cover.

  3. Lenovo V14-IIL Screen Bezel Replacement: stap 3, afbeelding 1 van 1
    • Lift away the back panel and set it aside.

  4. Lenovo V14-IIL Screen Bezel Replacement, Display Assembly: stap 4, afbeelding 1 van 2 Lenovo V14-IIL Screen Bezel Replacement, Display Assembly: stap 4, afbeelding 2 van 2
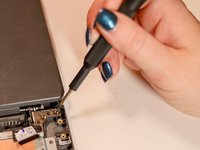
    • Using a Phillips #0 screwdriver, remove the four 5 mm screws from the hinges of the laptop.

  5. Lenovo V14-IIL Screen Bezel Replacement: stap 5, afbeelding 1 van 1
    • Lift up the latch and gently pull the display cable free.

  6. Lenovo V14-IIL Screen Bezel Replacement: stap 6, afbeelding 1 van 2 Lenovo V14-IIL Screen Bezel Replacement: stap 6, afbeelding 2 van 2
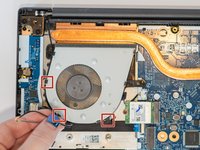
    • Using the spudger, disconnect the two wireless LAN cables (black and gray) from the wireless LAN card.

    • Remove the LAN cables from the three brackets on the fan.

  7. Lenovo V14-IIL Screen Bezel Replacement: stap 7, afbeelding 1 van 1
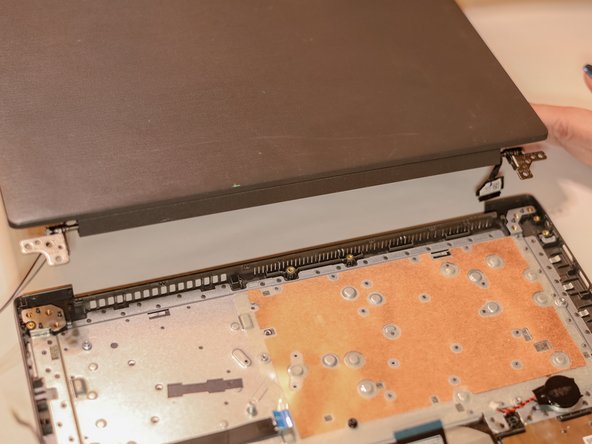
    • Ensure that all cables and hinges are detached.

    • Lift the display assembly away from the base.

  8. Lenovo V14-IIL Screen Bezel Replacement, Screen Bezel: stap 8, afbeelding 1 van 2 Lenovo V14-IIL Screen Bezel Replacement, Screen Bezel: stap 8, afbeelding 2 van 2
    • Slide the cable hinge cover to the right.

    • Pull the part away from the screen.

  9. Lenovo V14-IIL Screen Bezel Replacement: stap 9, afbeelding 1 van 2 Lenovo V14-IIL Screen Bezel Replacement: stap 9, afbeelding 2 van 2
    • Use the iFixit opening tool to separate the bezel panel.

    • Slide the opening tool all the way around to loosen the bezels on all sides.

    • You may need to use the tool to gently loosen the adhesive tape.

    • Lift away the bezel panel.

Conclusie

To reassemble your device, follow these instructions in reverse order.

Kristen Gismondi

Lid sinds: 11/12/14

85.251 Reputatie

215 handleidingen geschreven

Team

iFixit Lid van iFixit

Staff

140 Leden

18.079 handleidingen geschreven

0 opmerkingen

Voeg opmerking toe

Weergavestatistieken:

Afgelopen 24 uren: 0

Afgelopen 7 dagen: 1

Afgelopen 30 dagen: 12

Altijd: 15