Ga door naar hoofdinhoud

Lenovo IdeaPad Flex 5 14ARE05 Display Replacement

Wat je nodig hebt

  1. Lenovo IdeaPad Flex 5 14ARE05 Display Replacement, Back Panel: stap 1, afbeelding 1 van 2 Lenovo IdeaPad Flex 5 14ARE05 Display Replacement, Back Panel: stap 1, afbeelding 2 van 2
    • Remove the five 8 mm screws using a T5 Torx Screwdriver.

    • Remove the four 5 mm screws using a T5 Torx Screwdriver.

  2. Lenovo IdeaPad Flex 5 14ARE05 Display Replacement: stap 2, afbeelding 1 van 3 Lenovo IdeaPad Flex 5 14ARE05 Display Replacement: stap 2, afbeelding 2 van 3 Lenovo IdeaPad Flex 5 14ARE05 Display Replacement: stap 2, afbeelding 3 van 3
    • Use a small suction cup to pull open the back case at the two hinge cutouts.

    • Gently, use the plastic opening tool around the edges of the laptop to pry up the rest of the back panel.

  3. Lenovo IdeaPad Flex 5 14ARE05 Display Replacement: stap 3, afbeelding 1 van 1
    • Once all the clips have been disengaged, lift off the back cover.

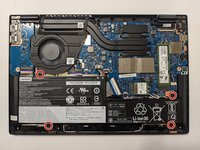
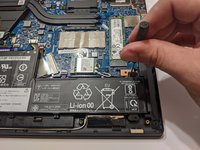
  4. Lenovo IdeaPad Flex 5 14ARE05 Display Replacement, Battery: stap 4, afbeelding 1 van 2 Lenovo IdeaPad Flex 5 14ARE05 Display Replacement, Battery: stap 4, afbeelding 2 van 2
    • Remove the four 5 mm Phillips #00 screws that secure the battery in place.

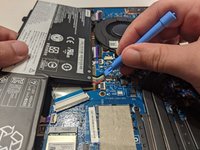
  5. Lenovo IdeaPad Flex 5 14ARE05 Display Replacement: stap 5, afbeelding 1 van 2 Lenovo IdeaPad Flex 5 14ARE05 Display Replacement: stap 5, afbeelding 2 van 2
    • Rotate the device 90 degrees.

    • Gently lift up on the battery and use a spudger to disconnect the battery connector.

  6. Lenovo IdeaPad Flex 5 14ARE05 Display Replacement, Cooling Fan: stap 6, afbeelding 1 van 1
    • Remove the four 2 mm screws using a JIS #1 screwdriver.

    • Remove the three 5 mm screws using a JIS #1 screwdriver.

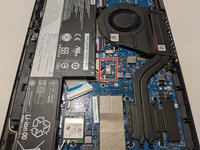
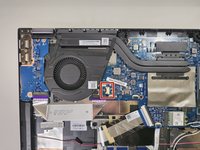
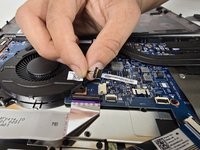
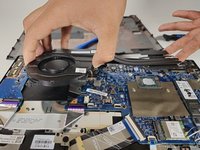
  7. Lenovo IdeaPad Flex 5 14ARE05 Display Replacement: stap 7, afbeelding 1 van 3 Lenovo IdeaPad Flex 5 14ARE05 Display Replacement: stap 7, afbeelding 2 van 3 Lenovo IdeaPad Flex 5 14ARE05 Display Replacement: stap 7, afbeelding 3 van 3
    • Unplug the wire at the bottom right of the fan.

    • Carefully lift the fan from its place.

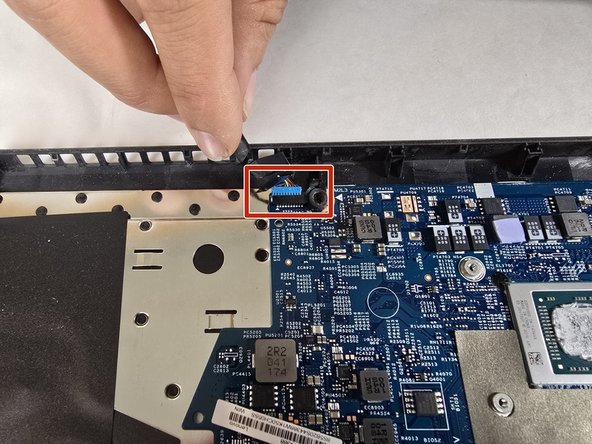
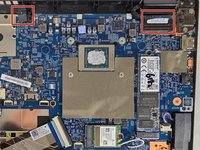
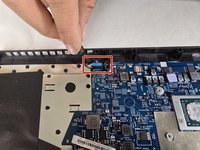
  8. Lenovo IdeaPad Flex 5 14ARE05 Display Replacement, Display: stap 8, afbeelding 1 van 2 Lenovo IdeaPad Flex 5 14ARE05 Display Replacement, Display: stap 8, afbeelding 2 van 2
    • Disconnect the two connectors connected to the display.

    • Be careful not to break any of the wires or connectors.

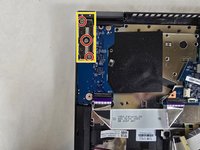
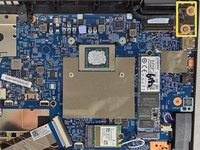
  9. Lenovo IdeaPad Flex 5 14ARE05 Display Replacement: stap 9, afbeelding 1 van 2 Lenovo IdeaPad Flex 5 14ARE05 Display Replacement: stap 9, afbeelding 2 van 2
    • Remove the three 2 mm screws from the left hinge using a Phillips #2 screwdriver.

    • Remove the two 2 mm screws from the right hinge using a Phillips #2 screwdriver.

    • Bend the metal brackets, lift the hinges off the frame, and remove the display.

Conclusie

To reassemble your device, follow these instructions in reverse order.

Jaynilson

Lid sinds: 10/18/24

97 Reputatie

1 Handleiding geschreven

Team

UMass Dartmouth, Team 1-6, Konn Fall 2024 Lid van UMass Dartmouth, Team 1-6, Konn Fall 2024

UMASSD-KONN-F24S1G6

4 Leden

5 handleidingen geschreven

0Gids Commentaar

Voeg opmerking toe

Weergavestatistieken:

Afgelopen 24 uren: 2

Afgelopen 7 dagen: 18

Afgelopen 30 dagen: 86

Altijd: 273