Ga door naar hoofdinhoud

Lenovo 300e Chromebook 2nd gen MTK Battery Replacement

Wat je nodig hebt

  1. Lenovo 300e Chromebook 2nd gen MTK Battery Replacement, Remove the bottom screws: stap 1, afbeelding 1 van 2 Lenovo 300e Chromebook 2nd gen MTK Battery Replacement, Remove the bottom screws: stap 1, afbeelding 2 van 2
    • Start by removing the 9 bottom screws using a Philips #1 screwdriver and set the screws aside.

  2. Lenovo 300e Chromebook 2nd gen MTK Battery Replacement, Unclip the keyboard: stap 2, afbeelding 1 van 2 Lenovo 300e Chromebook 2nd gen MTK Battery Replacement, Unclip the keyboard: stap 2, afbeelding 2 van 2
    • Start by lifting the black from the grey with your flathead/Jimmy an lift up. You can then put a opening pick in there to keep it from snapping in again.

    • Now insert your spudger about 1cm in and slide it around all edges of the keyboard listening for the snap of a clip.

    • You can follow the diagram on the second photo casue that is how i did it but you can do it any way you like.

    • Now lift the keyboard in the way that is shown in the video and lay it down

    • Be very careful when doing this as there is a risk at ripping the flex cables.

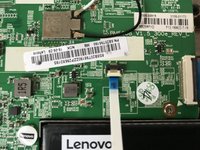
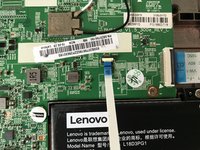
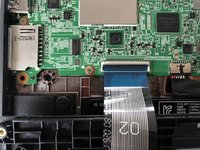
  3. Lenovo 300e Chromebook 2nd gen MTK Battery Replacement, Remove the Trackpad flex from the mainboard: stap 4, afbeelding 1 van 3 Lenovo 300e Chromebook 2nd gen MTK Battery Replacement, Remove the Trackpad flex from the mainboard: stap 4, afbeelding 2 van 3 Lenovo 300e Chromebook 2nd gen MTK Battery Replacement, Remove the Trackpad flex from the mainboard: stap 4, afbeelding 3 van 3
    • Find the white flex cable that runs from the trackpad to the mainboard.

    • Find where the connector is on the mainboard and use your finger to lift up the retention clip.

    • If your fingers are to big to lift up a tiny connector you can try to use a spudger instead.

    • Then pull out the cable.

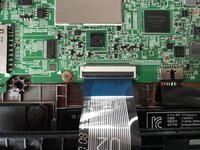
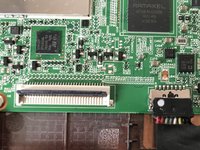
  4. Lenovo 300e Chromebook 2nd gen MTK Battery Replacement, Remove the keyboard flex from the mainboard: stap 5, afbeelding 1 van 3 Lenovo 300e Chromebook 2nd gen MTK Battery Replacement, Remove the keyboard flex from the mainboard: stap 5, afbeelding 2 van 3 Lenovo 300e Chromebook 2nd gen MTK Battery Replacement, Remove the keyboard flex from the mainboard: stap 5, afbeelding 3 van 3
    • Find the larger flex cable that runs from the keyboard to the mainboard.

    • Find where the connector is on the mainboard and use your finger to lift up the retention clip.

    • If your fingers are to big to lift up a tiny connector you can try to use a spudger instead.

    • Then pull out the cable

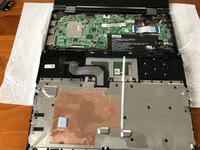
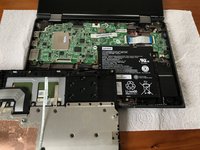
  5. Lenovo 300e Chromebook 2nd gen MTK Battery Replacement, Remove the keyboard/trackpad: stap 6, afbeelding 1 van 3 Lenovo 300e Chromebook 2nd gen MTK Battery Replacement, Remove the keyboard/trackpad: stap 6, afbeelding 2 van 3 Lenovo 300e Chromebook 2nd gen MTK Battery Replacement, Remove the keyboard/trackpad: stap 6, afbeelding 3 van 3
    • Move the keyboard/trackpad aside

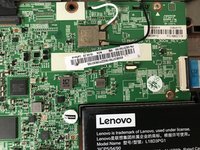
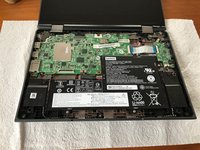
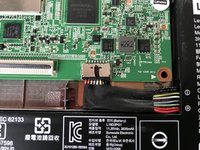
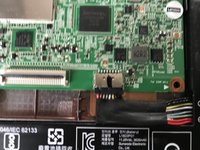
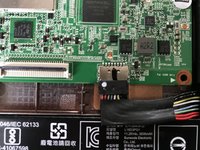
  6. Lenovo 300e Chromebook 2nd gen MTK Battery Replacement, Remove the battery connector: stap 7, afbeelding 1 van 3 Lenovo 300e Chromebook 2nd gen MTK Battery Replacement, Remove the battery connector: stap 7, afbeelding 2 van 3 Lenovo 300e Chromebook 2nd gen MTK Battery Replacement, Remove the battery connector: stap 7, afbeelding 3 van 3
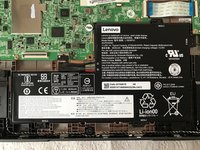
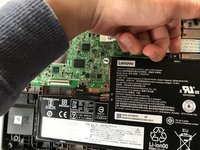
    • Use your fingers or pliers to pull out the battery connector.

    • Do this slowly to avoid breaking the connector or hitting the battery

  7. Lenovo 300e Chromebook 2nd gen MTK Battery Replacement, Unscrew the battery: stap 8, afbeelding 1 van 2 Lenovo 300e Chromebook 2nd gen MTK Battery Replacement, Unscrew the battery: stap 8, afbeelding 2 van 2
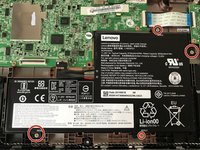
    • Undo the 4 battery screws holding the battery in with your Phillips #1 screwdriver.

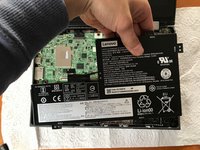
  8. Lenovo 300e Chromebook 2nd gen MTK Battery Replacement, Remove the battery: stap 9, afbeelding 1 van 3 Lenovo 300e Chromebook 2nd gen MTK Battery Replacement, Remove the battery: stap 9, afbeelding 2 van 3 Lenovo 300e Chromebook 2nd gen MTK Battery Replacement, Remove the battery: stap 9, afbeelding 3 van 3
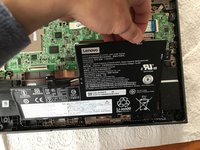
    • Lift out the battery from the top

  9. Lenovo 300e Chromebook 2nd gen MTK Battery Replacement, Finished!: stap 10, afbeelding 1 van 1
    • Boom! Here is your battery.

Conclusie

To reassemble your device, follow these instructions in reverse order.

BeijingCorn

Lid sinds: 09/25/23

206 Reputatie

1 Handleiding geschreven

0Gids Commentaar

Voeg opmerking toe

Weergavestatistieken:

Afgelopen 24 uren: 1

Afgelopen 7 dagen: 2

Afgelopen 30 dagen: 8

Altijd: 47