Ga door naar hoofdinhoud

Lenovo 100e 2nd gen Battery Replacement

Gearchiveerde handleiding
Deze handleiding wordt enkel nog bijgehouden voor historische doeleinden. Gebruik de laatste versie van deze gids om uw reparatie uit te voeren.

Wat je nodig hebt

  1. Lenovo 100e 2nd gen Battery Replacement, Battery: stap 1, afbeelding 1 van 3 Lenovo 100e 2nd gen Battery Replacement, Battery: stap 1, afbeelding 2 van 3 Lenovo 100e 2nd gen Battery Replacement, Battery: stap 1, afbeelding 3 van 3
    • Before you begin, make sure the laptop is powered off and unplug all cables from the device.

    • Use the Phillips #0 screwdriver to remove the nine 1.2 mm screws on the bottom side of the laptop.

  2. Lenovo 100e 2nd gen Battery Replacement: stap 2, afbeelding 1 van 3 Lenovo 100e 2nd gen Battery Replacement: stap 2, afbeelding 2 van 3 Lenovo 100e 2nd gen Battery Replacement: stap 2, afbeelding 3 van 3
    • Use a plastic opening tool to pry the bottom cover from the laptop.

    • Pry all four sides of the bottom panel to safely remove the bottom panel from the device.

    • Carefully remove the bottom panel and place it to the side.

  3. Lenovo 100e 2nd gen Battery Replacement: stap 3, afbeelding 1 van 3 Lenovo 100e 2nd gen Battery Replacement: stap 3, afbeelding 2 van 3 Lenovo 100e 2nd gen Battery Replacement: stap 3, afbeelding 3 van 3
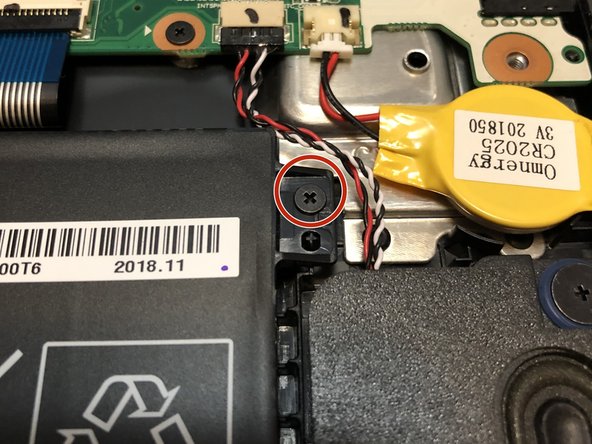
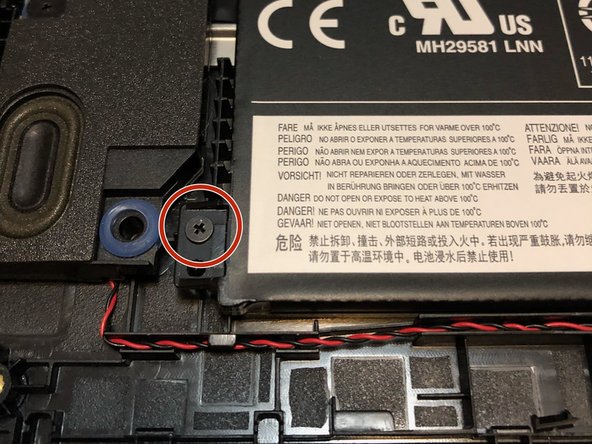
    • Use a Phillips #0 screwdriver to remove the four 1 mm screws that are holding the battery in place.

  4. Lenovo 100e 2nd gen Battery Replacement: stap 4, afbeelding 1 van 3 Lenovo 100e 2nd gen Battery Replacement: stap 4, afbeelding 2 van 3 Lenovo 100e 2nd gen Battery Replacement: stap 4, afbeelding 3 van 3
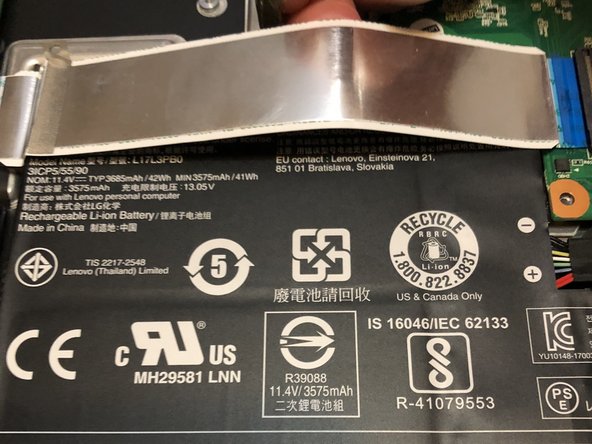
    • Unplug the battery from the motherboard.

    • Lift the daughterboard ribbon to make it easier to remove the battery safely.

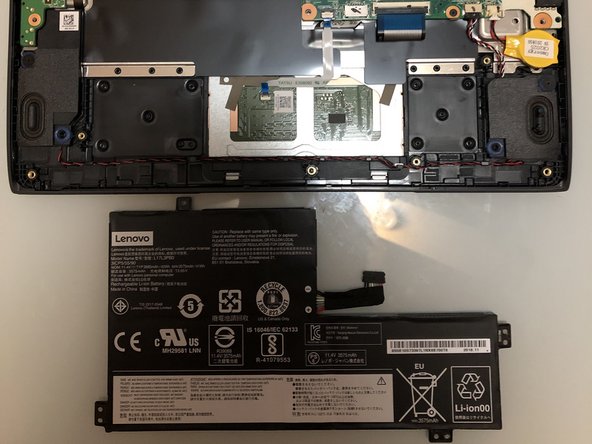
    • Completely remove the old battery and place it to the side.

  5. Lenovo 100e 2nd gen Battery Replacement: stap 5, afbeelding 1 van 2 Lenovo 100e 2nd gen Battery Replacement: stap 5, afbeelding 2 van 2
    • Insert the new battery by connecting the battery to the motherboard.

    • Lift the daughterboard ribbon and place the new battery under the ribbon.

Conclusie

To reassemble your device, follow these instructions in reverse order.

2 andere personen hebben deze handleiding voltooid.

0 opmerkingen

Voeg opmerking toe

Weergavestatistieken:

Afgelopen 24 uren: 0

Afgelopen 7 dagen: 1

Afgelopen 30 dagen: 4

Altijd: 1,022