If you ever notice that the stitching on your wallet or leather electronic case is frayed or torn, follow this guide to replace the leather thread.
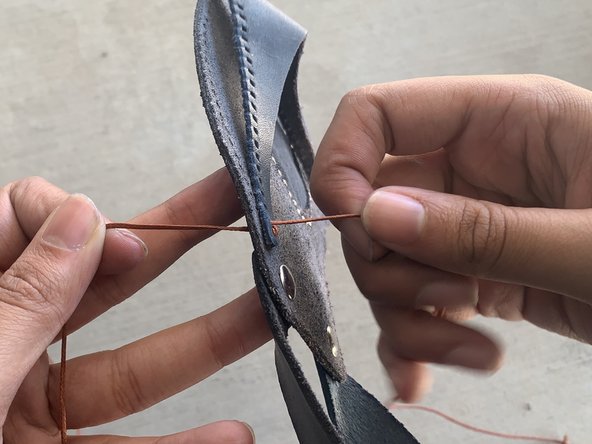
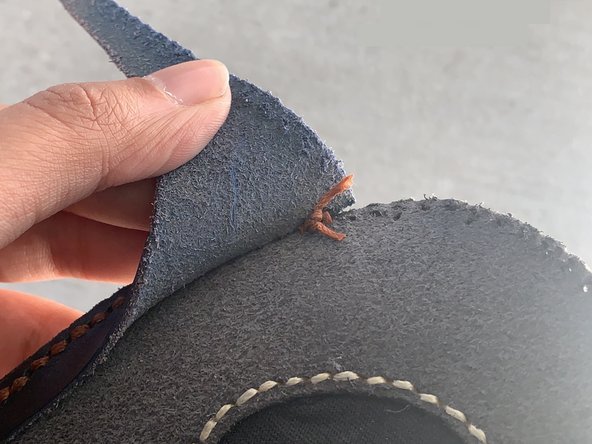
The leather stitching holds two pieces of leather together. The stitching can become torn or frayed through natural use or even by an accidental cut. If you choose not to replace it, the pieces will fall apart or even become too loose and let dirt, water, or grime inside.
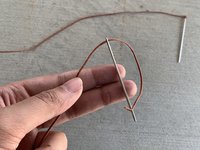
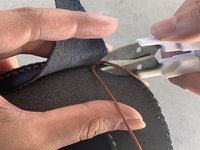
This guide uses the Saddle-Stitch method but has a few adjustments to make it simpler for a first-time user. For other stitching techniques and tools, click here.