Ga door naar hoofdinhoud

LG Voyager Keyboard Replacement

Wat je nodig hebt

  1. LG Voyager Keyboard Replacement, Battery: stap 1, afbeelding 1 van 1
    • Turn over the phone so the front screen is facing down and the back side is up.

  2. LG Voyager Keyboard Replacement: stap 2, afbeelding 1 van 1
    • Pull down on the button at the bottom of the phone. The battery will pop up and can then be safely removed.

  3. LG Voyager Keyboard Replacement: stap 3, afbeelding 1 van 1
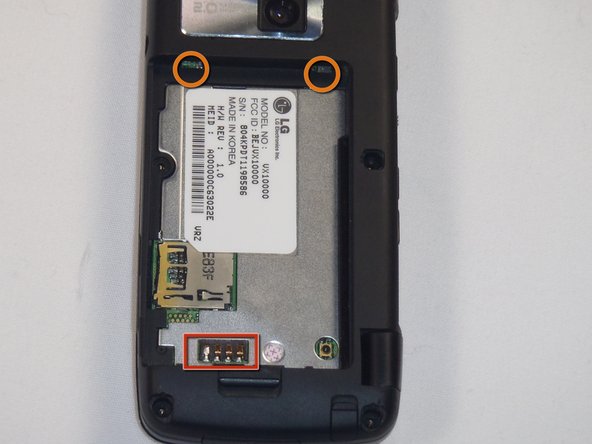
    • To install the new battery, position the battery so that the three small metal contacts of the battery are facing the three metal contacts of the phone

    • Insert the top of the battery, with the two plastic tabs, into their respective holes in the top

    • Then press down on the bottom of the battery and it should snap into place

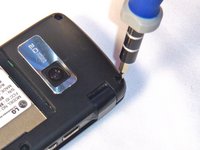
  4. LG Voyager Keyboard Replacement, Keyboard: stap 4, afbeelding 1 van 2 LG Voyager Keyboard Replacement, Keyboard: stap 4, afbeelding 2 van 2
    • First remove the rubber stoppers covering the screws on the back of the phone by prying them up and away from the phone.

  5. LG Voyager Keyboard Replacement: stap 5, afbeelding 1 van 2 LG Voyager Keyboard Replacement: stap 5, afbeelding 2 van 2
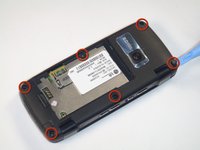
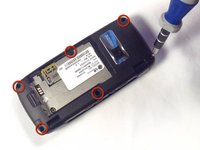
    • Remove the 3.61mm length, Phillips screws from the back of the phone using the #00 screwdriver.

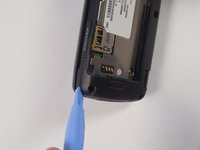
  6. LG Voyager Keyboard Replacement: stap 6, afbeelding 1 van 2 LG Voyager Keyboard Replacement: stap 6, afbeelding 2 van 2
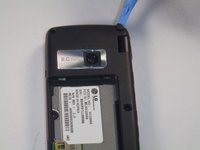
    • Now pry open the back of the phone.

    • Make sure that you use the plastic opening tool to go around the entire phone to help open the phone.

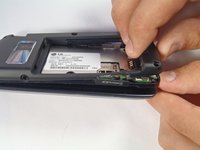
  7. LG Voyager Keyboard Replacement: stap 7, afbeelding 1 van 2 LG Voyager Keyboard Replacement: stap 7, afbeelding 2 van 2
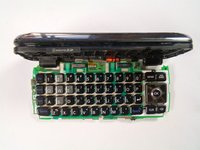
    • Carefully separate the keyboard from the top of the phone.

    • Be careful not to break the ribbon cable.

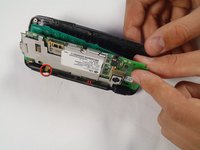
  8. LG Voyager Keyboard Replacement: stap 8, afbeelding 1 van 1
    • Detach the keyboard from the phone by taking off the little metal latches.

    • When replacing the old keyboard with a new one you will have to solder the metal latches to the new board.

Conclusie

To reassemble your device, follow these instructions in reverse order.

Lance Collins

Lid sinds: 04/12/12

7 Reputatie

1 Handleiding geschreven

Team

Cal Poly, Team 17-26, Amido Spring 2012 Lid van Cal Poly, Team 17-26, Amido Spring 2012

CPSU-AMIDO-S12S17G26

4 Leden

4 handleidingen geschreven

0 opmerkingen

Voeg opmerking toe

Weergavestatistieken:

Afgelopen 24 uren: 0

Afgelopen 7 dagen: 0

Afgelopen 30 dagen: 1

Altijd: 409