Inleiding
Please look at LG Versa Teardown for help.
Wat je nodig hebt


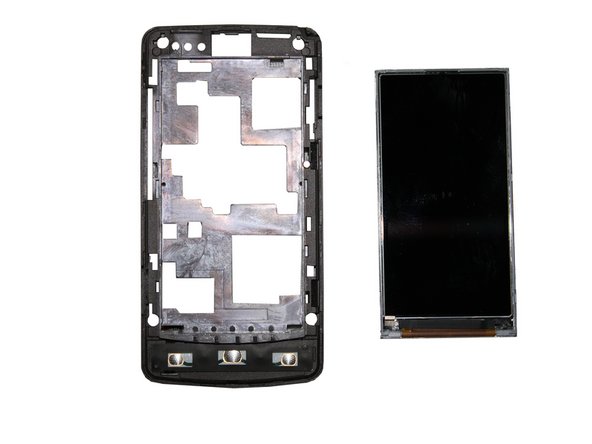


Bijna klaar!
To reassemble your device, follow these instructions in reverse order.
Conclusie
To reassemble your device, follow these instructions in reverse order.
Team

University of Maryland, Team 1-1, Calloway Spring 2011 Lid van University of Maryland, Team 1-1, Calloway Spring 2011
UMD-CALLOWAY-S11S1G1
2 Leden
3 handleidingen geschreven