Deze versie kan foutieve bewerkingen bevatten. Schakel over naar de recentste gecontroleerde momentopname.
Wat je nodig hebt
-
Deze stap is niet vertaald. Help het te vertalen
-
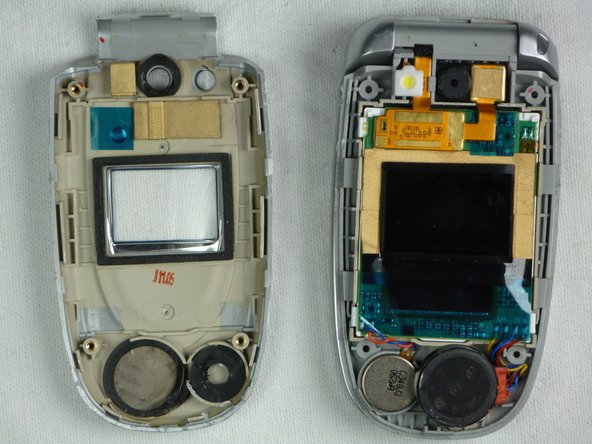
Pry the grey pieces of plastic off the corners of the screen with a spudger.
-
-
Deze stap is niet vertaald. Help het te vertalen
-
Unscrew each of the four screws with a Phillips #00 Screwdriver.
-
-
-
Deze stap is niet vertaald. Help het te vertalen
-
Close the phone after removing the screws.
-
Slide a spudger into the cracks in the top half of the phone's casing.
-
Wedge and lever the spudger to remove the casing.
-
-
Deze stap is niet vertaald. Help het te vertalen
-
Remove the chipboard from the screen by sliding a plastic spudger under the screen and lifting.
-
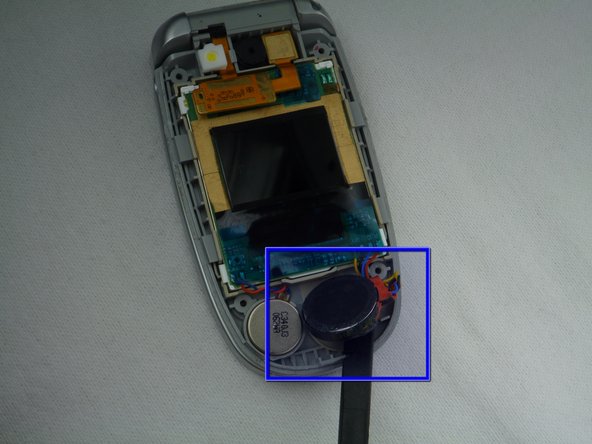
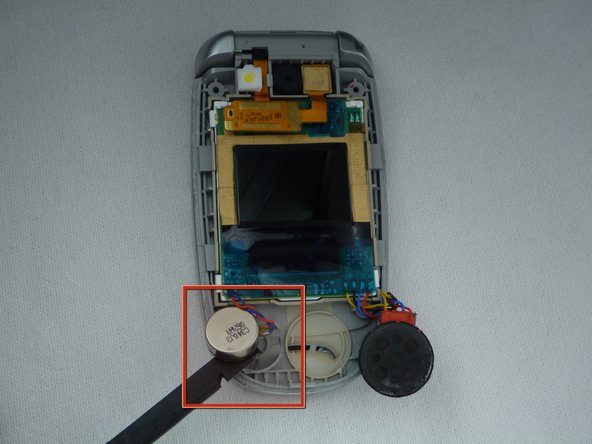
Gently lift the speaker out of the plastic casing using a plastic spudger.
-
Remove the small battery adjacent to the speaker with a plastic spudger.
-
-
Deze stap is niet vertaald. Help het te vertalen
-
Slide and lever a plastic spudger between the screen and it's housing.
-
Remove the chip connecting the screen to the camera using your fingers.
-


Team

Cal Poly, Team 9-18, Regan Fall 2009 Lid van Cal Poly, Team 9-18, Regan Fall 2009
CPSU-REGAN-F09S9G18
5 Leden
2 handleidingen geschreven
Één opmerking
The “battery” beside the speaker isn’t the battery, it’s the phone vibrator. Still a good guide, however